
The NCP blog
Understanding the Concrete Polishing Stages in Fort Lauderdale
Polished concrete10 min read
Concrete polishing moves step by step from coarse diamond grinding to fine polishing, ending in a high-gloss, durable surface.
The concrete polishing process steps involve a systematic progression from coarse diamond grinding to fine polishing that transforms ordinary concrete into a high-gloss, durable surface. In Fort Lauderdale, where humidity levels average 76% annually, each stage must be executed with precision to achieve floors that last 20 to 25 years with minimal maintenance. Professional contractors typically complete the full process in 2 to 5 days depending on floor size and desired finish level, with costs ranging from $3 to $12 per square foot.
According to the Concrete Polishing Council, properly executed polishing increases surface hardness by 40% compared to untreated concrete. This guide breaks down each stage of the process, explains the specific requirements for Fort Lauderdale’s climate, and shows you what to expect from professional installation. Understanding these stages helps you evaluate contractor quality and ensure you get floors that meet polished concrete reflectivity standards for your specific application.
Why the Polishing Process Matters in South Florida
Skipping steps or rushing the concrete polishing process leads to premature failures, cloudy finishes, and surfaces that wear unevenly. Research from the Portland Cement Association shows that floors polished without proper densification lose 60% more surface material in high-traffic areas within the first five years.
Fort Lauderdale’s unique climate creates specific challenges that make process adherence critical:
High humidity (averaging 76%) affects cure times between polishing stages and requires careful moisture management
Salt air corrosion from coastal proximity demands thorough surface preparation and quality sealants
Year-round temperatures averaging 75 to 85 degrees Fahrenheit accelerate chemical reactions in densifiers and guards
Frequent rain events require precise scheduling to avoid moisture contamination during installation
Understanding how humidity affects concrete floors in this region helps you appreciate why professional contractors follow strict protocols. The concrete moisture mitigation requirements for Florida exceed those in drier climates by a significant margin.
Stage 1: Pre-Polishing Assessment and Testing
Every successful polishing project begins with comprehensive substrate evaluation. This diagnostic phase identifies potential problems before they become expensive failures and determines the optimal approach for your specific concrete.
Moisture Testing Requirements
ASTM F2170 calcium chloride testing measures moisture vapor emission rate (MVER), which must fall below 3 pounds per 1,000 square feet per 24 hours for most polishing applications. In Fort Lauderdale, the International Concrete Repair Institute (ICRI) recommends testing at minimum 3 locations per 1,000 square feet due to variable moisture conditions from high water tables.
Relative humidity testing per ASTM F2170 provides additional data, with acceptable readings typically below 75% RH at 40% slab depth. Understanding how concrete moisture testing works in Florida helps you verify your contractor follows proper protocols.
Surface Condition Assessment
Professional assessment evaluates:
Existing coatings, sealers, or contaminants that require removal
Crack patterns and depth (hairline versus structural)
Surface hardness using Mohs scale testing or rebound hammer
Flatness and levelness per ASTM E1155 (F-numbers)
Concrete age and mix composition when available
The concrete surface profile requirements determine starting grit selection for the grinding phase. Understanding how concrete age affects polishing results is particularly important for older Fort Lauderdale buildings.
Stage 2: Surface Preparation and Repair
Before diamond grinding begins, the concrete surface must be properly prepared. This stage addresses defects that would compromise the final finish and ensures uniform results across the entire floor area.
Crack and Joint Repair
Structural cracks wider than 1/8 inch require epoxy injection or routing and filling with semi-rigid polyurea. Control joints receive similar treatment to prevent telegraphing through the polished surface. The epoxy floor joint treatment process creates seamless transitions that maintain floor integrity.
Spalling areas, common in older Fort Lauderdale concrete exposed to salt air, need patching with polymer-modified repair mortars matched to the existing concrete hardness. According to ICRI Technical Guideline 310.2, repair materials should fall within 500 psi of the original concrete compressive strength for optimal blending.
Coating and Contamination Removal
Existing coatings, adhesives, and surface contaminants must be completely removed before polishing. Shot blasting efficiently removes thick coatings, while diamond grinding handles thinner applications. Oil stain removal requires specific degreasing protocols to prevent finish contamination.
Stage 3: Diamond Grinding (Coarse to Medium)
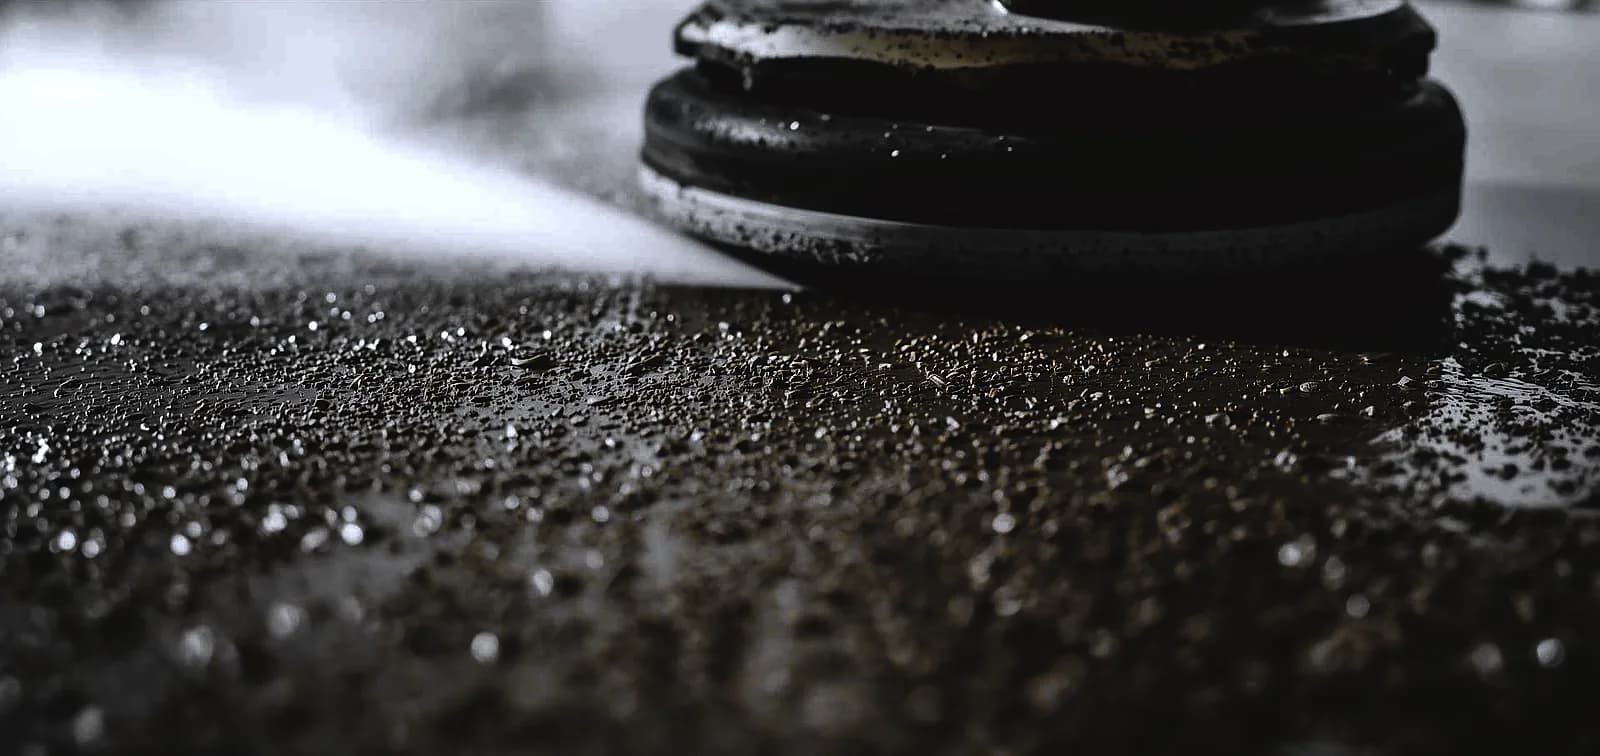
The grinding phase removes the top layer of concrete to expose fresh material and create the foundation for polishing. This multi-step process uses progressively finer diamond tooling to refine the surface.
Initial Grinding (16 to 30 Grit)
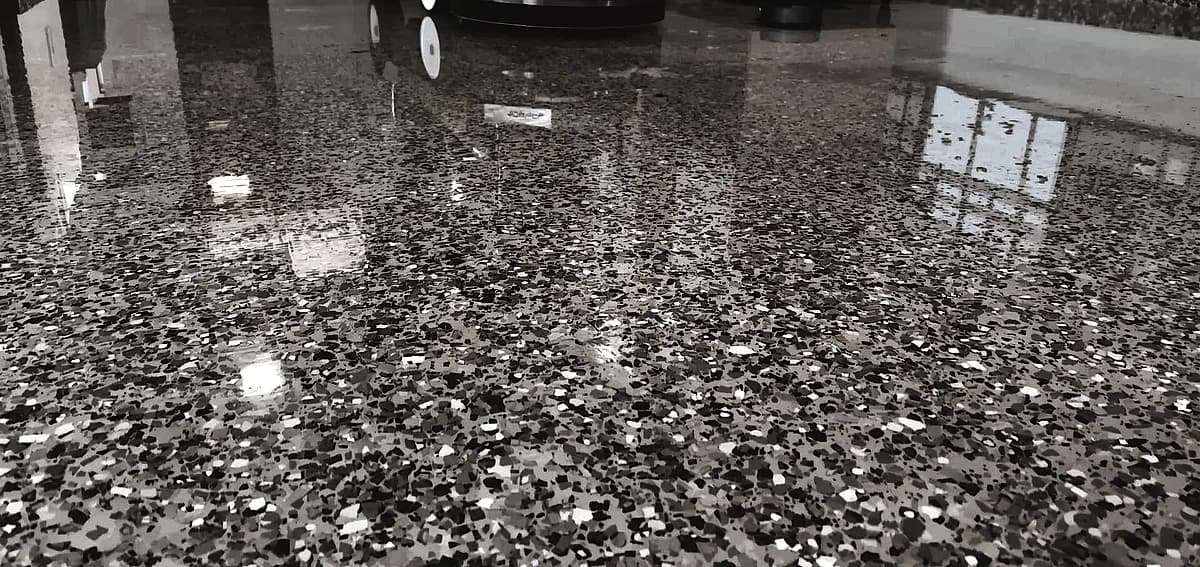
Coarse metal-bond diamonds (typically 16 to 30 grit) cut through the concrete surface to remove imperfections and expose aggregate if desired. This step removes approximately 1/16 to 1/8 inch of material depending on surface condition. The Concrete Polishing Association of America (CPAA) recommends 30 to 50 grit for general applications, with lower grits reserved for heavily damaged surfaces.
The concrete grinding methods used vary based on floor condition. Proper diamond tooling selection matches the concrete hardness for efficient cutting without excessive wear.
Secondary Grinding (40 to 80 Grit)
Finer metal-bond diamonds refine the scratch pattern, reducing visible marks and preparing the surface for densification. Each grit step should remove scratches from the previous pass, creating progressively smoother surfaces. Skipping grits results in visible scratches in the final finish.
Cross-hatching patterns (grinding in perpendicular directions) ensure complete coverage and prevent linear scratch patterns. Professional contractors typically make 2 to 3 passes per grit level, allowing 10 to 15 minutes of work time per pass on standard floor areas.
Aggregate Exposure Levels
The amount of material removed determines aggregate visibility. Learn more about concrete aggregate exposure levels to choose the right look for your space:
| Exposure Class | Material Removed | Appearance | Best Applications |
|---|---|---|---|
| Cream Finish (Class A) | Less than 1/16 inch | Smooth, minimal aggregate | Retail, offices |
| Fine Aggregate (Class B) | 1/16 to 1/8 inch | Small stones visible | Residential, hospitality |
| Medium Aggregate (Class C) | 1/8 to 1/4 inch | Moderate stone exposure | Showrooms, public spaces |
| Large Aggregate (Class D) | Over 1/4 inch | Bold stone patterns | Decorative, high-end design |
Stage 4: Concrete Densification
Densification is the critical chemical treatment that transforms concrete from a porous material into a hardened, polishable surface. This stage occurs between grinding and polishing phases.
How Chemical Densifiers Work
Lithium silicate, sodium silicate, or potassium silicate densifiers penetrate the concrete surface and react with free lime (calcium hydroxide) to form calcium silicate hydrate (CSH). This crystalline structure fills microscopic pores and increases surface hardness by 40% according to NIST testing standards.
The concrete densifier guide for South Florida explains application rates and product selection. Understanding the difference between a concrete sealer versus densifier helps you evaluate contractor recommendations.
Application Process
Proper densifier application requires:
Clean, dry concrete surface free of grinding residue
Even application using low-pressure sprayer (typically 200 to 400 square feet per gallon)
Keeping surface wet for 10 to 20 minutes to allow penetration
Scrubbing with auto-scrubber to work product into surface
Complete removal of excess product before drying to prevent white residue
In Fort Lauderdale’s humidity, contractors must work efficiently to prevent premature drying while avoiding excess moisture that dilutes the product. The concrete sealing process before polishing may be required on highly porous substrates.
Stage 5: Polishing (Fine Grits)
After densification, resin-bond diamonds progressively refine the surface to achieve the desired gloss level. This stage creates the reflective finish that defines polished concrete.
Grit Progression Sequence
The standard diamond grit sequence for concrete polishing progresses through these stages:
| Grit Level | Bond Type | Purpose | Gloss Result |
|---|---|---|---|
| 100 Grit | Resin-bond | Transition from metal to resin | Flat, matte |
| 200 Grit | Resin-bond | Refine scratch pattern | Low sheen |
| 400 Grit | Resin-bond | Begin developing gloss | Medium satin |
| 800 Grit | Resin-bond | Increase reflectivity | Semi-gloss |
| 1500 Grit | Resin-bond | Maximize clarity | High gloss |
| 3000 Grit | Resin-bond | Mirror finish | Ultra high gloss |
Learn more about finish options in our high gloss concrete polishing guide or explore matte polished concrete for spaces requiring lower reflectivity.
Gloss Level Standards
Gloss is measured in gloss units (GU) using a 60-degree gloss meter per ASTM D523. The CPAA defines these finish levels:
Level 1 (Flat/Ground): Less than 20 GU, functional surface with no sheen
Level 2 (Satin/Matte): 20 to 40 GU, subtle sheen, popular for industrial and retail
Level 3 (Semi-Polished): 40 to 70 GU, noticeable reflectivity, common for commercial spaces
Level 4 (High Polish): Over 70 GU, mirror-like finish, ideal for showrooms and luxury residential
Stage 6: Guard Application and Curing
The final stage applies a protective guard that enhances stain resistance and simplifies maintenance. This surface treatment determines long-term floor performance.
Guard Product Options
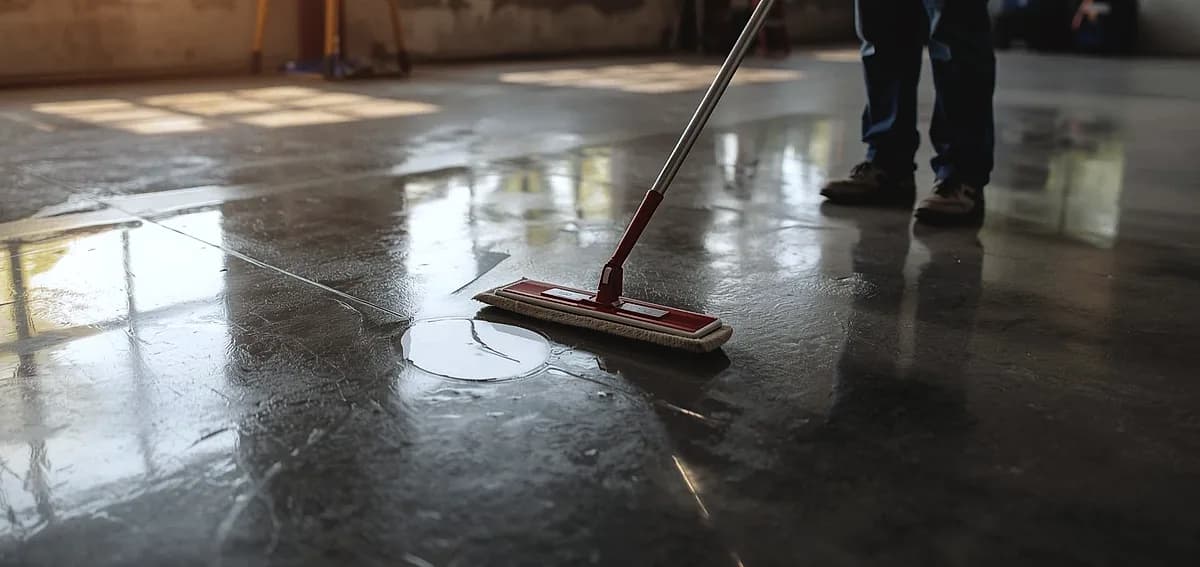
Penetrating guards (silane/siloxane blends) absorb into the concrete surface without changing appearance. These products provide excellent water and stain resistance while allowing the concrete to breathe, which is critical in Fort Lauderdale’s humid environment. Film-forming guards (acrylics, polyurethanes) create a surface coating that adds gloss but may require more frequent reapplication.
The oil repellent treatments for polished concrete provide additional protection for garage and industrial applications where petroleum-based contamination is likely.
Curing and Traffic Allowance
After guard application, proper curing determines final performance. In Fort Lauderdale’s climate, typical cure times include:
Light foot traffic: 4 to 8 hours
Full foot traffic: 24 hours
Light vehicular traffic: 48 to 72 hours
Full chemical resistance: 7 days
High humidity may extend cure times by 20 to 30 percent. Review maintenance requirements for resurfaced concrete to protect your investment long-term.
Quality Verification and Testing
Professional contractors verify work quality at multiple stages. Understanding these checks helps you evaluate finished work.
Standard Quality Tests
Gloss meter readings at multiple locations confirm consistent finish levels. CPAA specifications require readings within 10 GU variance across the floor area.
DOI (Distinctness of Image) testing measures reflection clarity. Higher DOI indicates better polishing technique with fewer micro-scratches that diffuse reflections.
Water droplet testing verifies guard penetration. Properly sealed surfaces bead water rather than allowing absorption.
The concrete polishing specifications document outlines industry standards for commercial and residential projects. Learn about floor coating cure verification testing to ensure proper completion.
Polished Concrete vs. Alternative Finishes
Understanding how polished concrete compares to other floor finishes helps you make informed decisions. The concrete polishing versus epoxy coating comparison provides detailed analysis of both options.
| Factor | Polished Concrete | Epoxy Coating | Stained Concrete | Terrazzo |
|---|---|---|---|---|
| Cost per sq ft | $3 to $12 | $4 to $15 | $2 to $8 | $15 to $50 |
| Lifespan | 20 to 25 years | 10 to 20 years | 5 to 10 years | 30+ years |
| Maintenance | Very low | Low to moderate | Moderate | Very low |
| Chemical Resistance | Moderate | Excellent | Low | Moderate to high |
| Best For | Retail, offices, homes | Garages, industrial | Decorative, patios | Hospitals, airports |
For applications requiring maximum chemical resistance, explore our commercial epoxy flooring services in Fort Lauderdale. Compare concrete polishing versus staining for decorative applications.
Frequently Asked Questions
How long does the concrete polishing process take in Fort Lauderdale?
Most residential projects (400 to 800 square feet) complete in 2 to 3 days. Commercial spaces of 2,000 to 5,000 square feet typically require 4 to 5 days. Fort Lauderdale’s humidity may add 1 day for proper cure times between stages. Large-scale projects over 10,000 square feet can take 1 to 2 weeks depending on finish level requirements.
What grit level should I choose for my polished concrete floor?
For warehouses and industrial spaces, stopping at 400 grit provides adequate durability with a satin finish. Retail and commercial spaces typically use 800 to 1500 grit for noticeable reflectivity. Residential and showroom applications often extend to 3000 grit for maximum gloss. Your contractor can show samples at different grit levels to help you decide.
Can existing concrete be polished in older Fort Lauderdale buildings?
Yes, but results depend on concrete condition. Buildings constructed before 1970 may have softer concrete requiring additional densifier applications. Surface repairs, crack filling, and contamination removal add to project scope. A professional assessment identifies potential challenges and provides realistic expectations. Learn more about how concrete age affects polishing outcomes.
Is polished concrete slippery when wet?
Polished concrete meets OSHA slip resistance standards (coefficient of friction above 0.5) when dry. When wet, highly polished surfaces can become slippery. Contractors can add anti-slip additives to the guard coat or use lower gloss finishes in areas prone to water exposure. For spaces requiring maximum slip resistance, consider polyaspartic coatings with aggregate instead.
How much does concrete polishing cost in the Fort Lauderdale area?
Prices range from $3 to $12 per square foot depending on desired finish level, concrete condition, and project size. Basic grinding to 400 grit starts around $3 to $5 per square foot. High-gloss finishes to 3000 grit with decorative scoring run $8 to $12 per square foot. Repairs, crack filling, and moisture mitigation add $1 to $3 per square foot when required.
What maintenance does polished concrete require?
Daily dust mopping and weekly damp mopping with pH-neutral cleaner maintains appearance. Guard reapplication every 1 to 3 years preserves stain resistance. Avoid acidic cleaners that etch the surface and wax-based products that create buildup. Commercial spaces may benefit from auto-scrubber cleaning. See our complete polished concrete maintenance guide for detailed instructions.
Get Expert Concrete Polishing in Fort Lauderdale
National Concrete Polishing brings 13+ years of experience to every Fort Lauderdale project. Our crews understand the specific requirements of South Florida’s climate and follow industry best practices at every stage of the polishing process.
Contact us for a free on-site assessment and detailed quote. We serve Fort Lauderdale, Miami, Pompano Beach, and surrounding South Florida communities. Explore our concrete polishing services or view completed projects in our project gallery.
Written by

Founder and CEO
Chris Lavin is an esteemed leader in concrete polishing and epoxy coatings with a distinguished 20-year career. As founder and CEO of National Concrete Polishing and owner of Xtreme Polishing Systems, he's renowned for polishing and epoxy coating more floors than anyone globally. Chris is recognized for his innovative approach and commitment to enhancing floor durability and aesthetics. His hands-on experience and technical proficiency make him a respected authority and a valuable resource in the field of floor polishing and coatings.
Same topic
Related articles
All stories
Polished concrete11 min read
Polished Concrete vs Epoxy Coatings: Which Floor Is Right for Your Space?
Two systems, two price curves, one slab. What each one costs to install and to keep, and which spaces each one actually suits.
Read it
Polished concrete8 min read
What to Know Before Polishing Your Existing Concrete Slab
Before any mechanical refinement can begin, a thorough evaluation of the current foundation is required.
Read it
Polished concrete8 min read
Is Polished Concrete Worth the Investment for Miami Properties?
It is essential to distinguish between a simple topical seal and mechanically refined concrete.
Read it
Tell us about the floor
Tell us the space and roughly how big it is.We come back with what it would cost and when we could start.
Prefer to talk? Call +1 844-876-5474
- Leads@
nationalconcretepolishing.net - 2200 NW 32nd St #600,
Pompano Beach, FL 33069 Mon to Fri, 9:00 to 5:30