
The NCP blog
Understanding Diamond Grit Sequences for Concrete Polishing
Polished concrete10 min read
This comprehensive guide explains the critical role of diamond grit sequences in concrete polishing.
Concrete polishing diamond tooling requires precise grit sequencing to achieve professional results in Pompano Beach and throughout South Florida. The right diamond pad progression transforms rough concrete into glossy, reflective surfaces that enhance durability and aesthetics. Understanding diamond grit sequences is essential for anyone considering polished concrete floors for residential or commercial properties. National Concrete Polishing uses systematic diamond tooling methods to deliver mirror-like finishes that last for decades with minimal maintenance.
Overview
This comprehensive guide explains the critical role of diamond grit sequences in concrete polishing. You’ll learn about metal-bond versus resin-bond diamonds, proper grit progression from coarse to fine, densification timing, and how each stage contributes to floor durability and appearance. We’ll also cover common mistakes that compromise results and why professional techniques produce superior outcomes for South Florida properties.
What Is Diamond Tooling for Concrete?
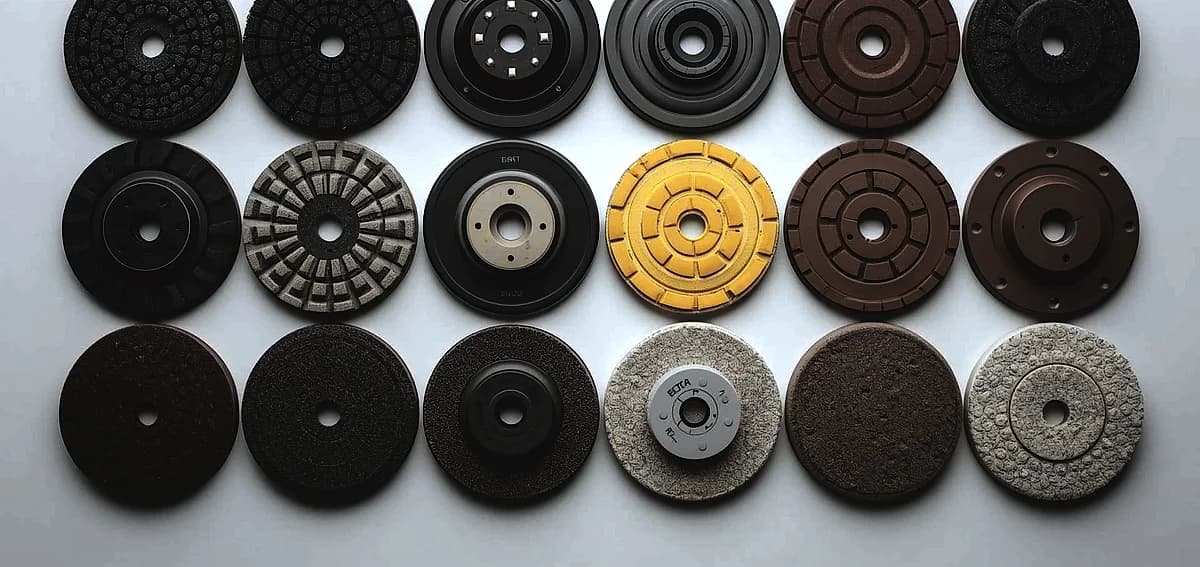
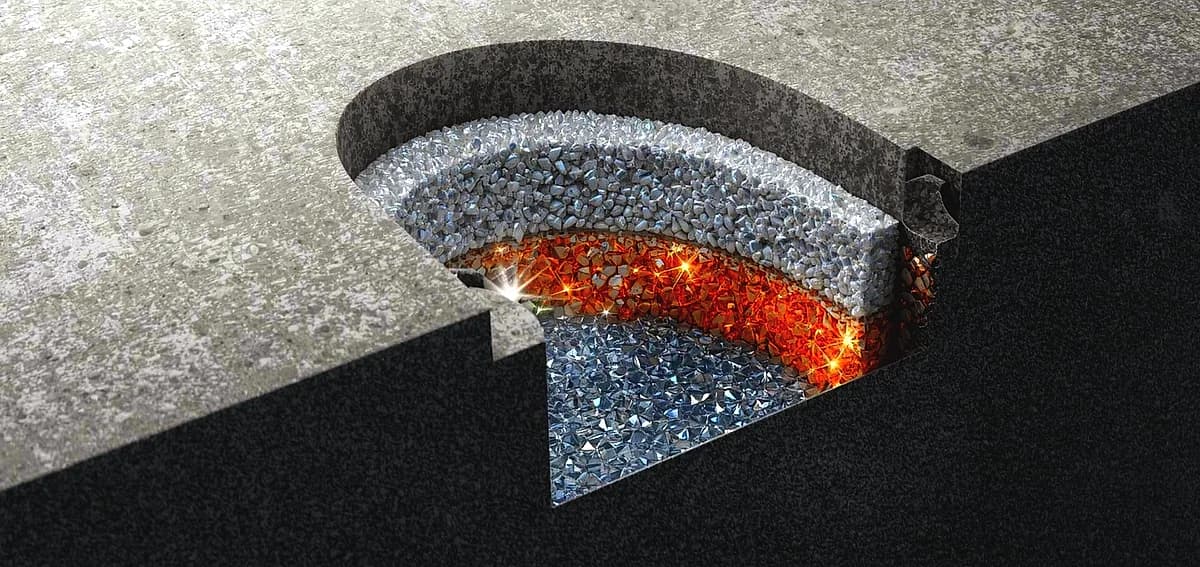
Diamond tooling consists of industrial diamonds embedded in metal or resin matrices attached to grinding equipment. These tools physically abrade concrete surfaces, progressively removing material and refining texture with each pass. Metal-bond diamonds handle aggressive grinding while resin-bond pads deliver the final polish.
The diamonds in these tools range from large, coarse particles (low grit numbers) to microscopic particles (high grit numbers). As you progress through finer grits, each stage eliminates scratches from the previous level while creating smaller, less visible scratches. This methodical refinement is what transforms dull concrete into reflective polished concrete surfaces.
Coarse Grinding Stage: Metal-Bond Diamonds
The initial grinding phase uses 30-80 grit metal-bond diamonds to level uneven surfaces and expose fresh concrete. This aggressive stage removes old sealers, coatings, stains, and surface imperfections that would otherwise show through the final polish. Diamond grinding with 30-40 grit tools takes 3-4 hours per 1,000 square feet depending on concrete condition.
After the initial pass, contractors move to 80 grit metal-bond diamonds to smooth the deep scratches left by coarser tools. This stage requires 2-3 hours per 1,000 square feet and creates a uniform base for subsequent refinement. Surface profile requirements must be met before advancing to finer grits to ensure proper adhesion and finish quality.
Transitional Grinding: 100-150 Grit Range
The 100-150 grit range serves as a bridge between aggressive grinding and fine polishing. These transitional diamonds continue removing scratches while preparing the surface for densification. Many professionals use hybrid or transition bonds during this phase that combine characteristics of both metal and resin systems.
This stage takes approximately 1.5-2 hours per 1,000 square feet and is critical for preventing visible scratch patterns in the final finish. Rushing through transitional grits is one of the most common mistakes that leads to polished concrete developing traffic wear prematurely or showing inconsistent sheen levels across the floor.
Densification: Hardening the Concrete
After completing the metal-bond grinding stages, contractors apply liquid densifier to chemically strengthen the concrete. These solutions—typically sodium silicate or lithium-based formulas—react with calcium hydroxide in the concrete to form calcium silicate hydrate, a harder compound that fills pores and increases surface density.
Proper densifier application dramatically improves concrete durability and allows finer diamond pads to achieve higher gloss levels. The densifier must fully penetrate and dry before proceeding to resin-bond polishing, typically requiring several hours depending on temperature and humidity conditions. This chemical hardening process is essential for creating truly high-gloss polishing results.
Resin-Bond Polishing: 100-400 Grit
Once densification is complete, the polishing phase begins with 100-200 grit resin-bond diamond pads. Resin-bond tools use smaller diamonds in a flexible matrix that creates smoother finishes than metal-bond diamonds. The 100 grit resin pass removes any remaining scratches from the transitional stage.
Progression to 200 grit and then 400 grit gradually refines the surface texture and begins developing a subtle sheen. Each resin-bond stage must be completed thoroughly—incomplete coverage leaves dull spots or visible scratches that become more apparent at higher polish levels. This methodical approach ensures uniform polished concrete reflectivity across the entire floor.
Fine Polishing: 800-1500 Grit
The 800-1500 grit range transforms semi-gloss surfaces into highly reflective finishes suitable for commercial spaces and upscale residential applications. These fine resin-bond pads eliminate micro-scratches that scatter light, allowing the floor to reflect like a mirror. The concrete’s natural aggregate patterns become more visible and vibrant at these polishing levels.
Many contractors apply a second densifier treatment before or during this stage to maximize hardness and light reflection. The 800-1500 grit progression is where the floor’s final aesthetic truly develops—this is when you see the dramatic transformation from ordinary concrete to modern polished concrete floors that rival marble or granite in appearance.
Ultra-Fine Finishing: 3000 Grit & Beyond
For the highest gloss levels and maximum light reflection, the final stage uses 3000 grit resin-bond pads. This ultra-fine polishing creates glass-like surfaces with exceptional clarity and depth. The 3000 grit pass is typically followed by burnishing pads or specialized buffing compounds that enhance shine without further abrasion.
Polished concrete sheen levels at this stage can achieve 80+ gloss readings on industry-standard meters, comparable to waxed floors but without the maintenance burden. Ultra-fine finishes are ideal for retail showrooms, hotel lobbies, and luxury residential spaces where appearance is paramount.
Why Grit Sequence Order Matters
Skipping grit levels or reversing the progression leaves scratches that cannot be removed by subsequent finer grits. Each diamond pad size is designed to eliminate scratches from the previous stage while creating uniformly smaller scratches of its own. Jumping from 100 grit directly to 800 grit, for example, leaves 100-grit scratches visible under the 800-grit polish.
Proper sequencing also affects concrete floor durability—incomplete grinding stages can leave weak surface areas prone to spalling or dusting. The systematic grit progression ensures complete material removal at each level, creating a uniformly dense surface that withstands heavy traffic. This is why concrete polishing for schools and other high-traffic environments demands strict adherence to proper grit sequences.
Common Diamond Tooling Mistakes
Using granite or marble polishing pads on concrete is a frequent error that wastes time and money. These pads wear away too quickly on concrete’s abrasive surface because their matrix bonds are too soft. Concrete-specific diamond tooling uses harder matrices that expose fresh diamonds at the optimal rate for effective polishing.
Another common mistake is applying excessive pressure or running equipment at incorrect RPMs, which can cause heat damage or premature pad wear. Operating at too high a speed with fine-grit pads can actually burn the concrete surface, creating discoloration that’s difficult to remove. Professional contractors like National Concrete Polishing use calibrated equipment and proper techniques to avoid these issues while achieving consistent results.
Wet vs Dry Diamond Polishing
Wet polishing uses water to cool the diamonds and wash away debris, extending pad life and reducing dust. The water lubrication allows for more aggressive cutting action and helps prevent heat buildup that can damage both the diamonds and concrete surface. Most metal-bond grinding stages use wet methods for these reasons.
Dry polishing with specialized pads and dust extraction systems offers faster completion and immediate surface inspection. Some contractors use dry diamond pads with water spray (a hybrid approach) to achieve the benefits of both methods. The choice between wet and dry polishing depends on project requirements, available equipment, and environmental conditions—Florida humidity can affect drying times between wet polishing stages.
Equipment Considerations for Diamond Grinding
Planetary grinders with multiple diamond heads deliver the most uniform results for large commercial projects. These machines feature counter-rotating heads that eliminate directional scratching and create consistent surface profiles. Single-head grinders work well for smaller areas but require more operator skill to maintain uniform coverage.
Equipment weight, RPM range, and horsepower must match the diamond tooling specifications. Using 30-grit metal-bond diamonds on an underpowered machine produces slow progress and uneven results, while excessive speed with fine resin pads causes heat damage. Professional concrete polishing equipment is specifically designed for the demanding multi-stage polishing process.
Timeline for Complete Diamond Polishing
Standard concrete polishing projects take 2-4 days depending on square footage, concrete condition, and desired finish level. Each grit stage requires thorough coverage before advancing—rushing leads to visible defects that necessitate rework. Densifier application and drying adds several hours between the grinding and polishing phases.
Large commercial projects like warehouses or shopping centers may extend to a week or more due to area size and coordination requirements. The timeline also depends on whether you’re polishing old concrete that requires extensive surface preparation or working with new slabs in better condition.
Factors Affecting Diamond Tool Selection
Concrete hardness significantly influences diamond bond selection—harder concrete requires softer-bond diamonds that expose fresh cutting edges more quickly. Conversely, soft concrete needs harder bonds to prevent excessive matrix wear. Professional contractors assess concrete hardness before selecting their diamond tooling lineup.
Aggregate exposure level also determines grinding depth and grit sequence. Cream finishes (no aggregate exposure) require less aggressive initial grinding than exposed aggregate polished concrete that showcases decorative stone. Concrete mix design and concrete age further impact which diamond tools produce optimal results.
Maintenance After Diamond Polishing
Properly polished concrete requires minimal maintenance compared to coated floors. Regular dust mopping and occasional damp cleaning with pH-neutral cleaners preserves the finish for years. The densified surface resists staining and eliminates the need for waxes or topical sealers that require frequent reapplication.
High-traffic commercial areas benefit from periodic re-polishing with fine-grit diamonds every 3-5 years to restore gloss. This maintenance polishing is much faster and less expensive than the initial full-sequence process since the concrete is already prepared and densified. Polished concrete maintenance costs in Florida are significantly lower than alternatives like tile or vinyl flooring.
Cost Factors in Professional Diamond Polishing
Diamond tooling represents a significant portion of polishing costs—professional-grade diamond pads range from $30-$150 each depending on size, bond type, and quality. A complete grit sequence for 1,000 square feet typically consumes 8-12 pads, plus multiple metal-bond segments. These costs are reflected in professional service pricing but ensure proper results.
Labor and equipment expenses also factor into total project costs, with professional concrete polishing typically ranging $3-$12 per square foot depending on finish level and concrete condition. While DIY polish concrete floor approaches might seem appealing, improper technique and equipment often produces substandard results requiring expensive professional correction. The investment in expert diamond polishing pays dividends through decades of low-maintenance, beautiful flooring.
Frequently Asked Questions
What is the proper diamond grit sequence for concrete polishing?
The standard sequence progresses from 30-40 grit metal-bond diamonds through 80, 150, then transitions to resin-bond pads at 100, 200, 400, 800, 1500, and 3000 grit for high-gloss finishes.
Can I skip grit levels to save time?
No, skipping grit levels leaves scratches from coarser diamonds that finer pads cannot remove, resulting in visible defects and compromised durability.
What’s the difference between metal-bond and resin-bond diamonds?
Metal-bond diamonds handle aggressive grinding and surface leveling, while resin-bond pads provide the refined polishing that creates glossy, reflective finishes.
When should densifier be applied during polishing?
Densifier is typically applied after metal-bond grinding (around 80-150 grit) and before transitioning to resin-bond polishing pads, with some contractors applying a second treatment before final polishing.
How long does each grit stage take?
Coarse grinding (30-40 grit) takes 3-4 hours per 1,000 square feet, intermediate stages 1.5-3 hours each, with finer polishing stages completing more quickly.
Can granite polishing pads work on concrete?
No, granite pads wear away too quickly on concrete’s abrasive surface because they use softer matrix bonds—always use concrete-specific diamond tooling.
What grit level creates the highest gloss?
3000 grit resin-bond pads create the highest gloss levels, often followed by burnishing pads for glass-like finishes with maximum light reflection.
Is wet or dry diamond polishing better?
Wet polishing extends pad life and reduces dust, while dry polishing with proper dust extraction offers faster completion—many professionals use hybrid approaches depending on project requirements.
How does concrete hardness affect diamond selection?
Harder concrete requires softer-bond diamonds for effective cutting, while soft concrete needs harder bonds to prevent excessive pad wear.
How often does polished concrete need re-polishing?
High-traffic commercial floors may benefit from maintenance polishing every 3-5 years to restore gloss, while residential applications often last decades with only routine cleaning.
Conclusion
Mastering concrete polishing diamond tooling and proper grit sequences is essential for achieving durable, beautiful polished concrete floors in South Florida. The systematic progression from coarse metal-bond diamonds through fine resin-bond pads, combined with strategic densification, creates surfaces that rival natural stone in appearance while offering superior longevity and lower maintenance. While understanding these techniques helps property owners make informed decisions, professional execution ensures optimal results that maximize your flooring investment.
National Concrete Polishing brings 13+ years of diamond tooling expertise to every project in Pompano Beach, Fort Lauderdale, and Miami, delivering mirror-like finishes that transform concrete into stunning architectural features. Contact us today for a free consultation and discover how proper diamond grit sequences can elevate your residential or commercial space with modern polished concrete floors designed to last for generations.
Written by

Founder and CEO
Chris Lavin is an esteemed leader in concrete polishing and epoxy coatings with a distinguished 20-year career. As founder and CEO of National Concrete Polishing and owner of Xtreme Polishing Systems, he's renowned for polishing and epoxy coating more floors than anyone globally. Chris is recognized for his innovative approach and commitment to enhancing floor durability and aesthetics. His hands-on experience and technical proficiency make him a respected authority and a valuable resource in the field of floor polishing and coatings.
Same topic
Related articles
All stories
Polished concrete11 min read
Polished Concrete vs Epoxy Coatings: Which Floor Is Right for Your Space?
Two systems, two price curves, one slab. What each one costs to install and to keep, and which spaces each one actually suits.
Read it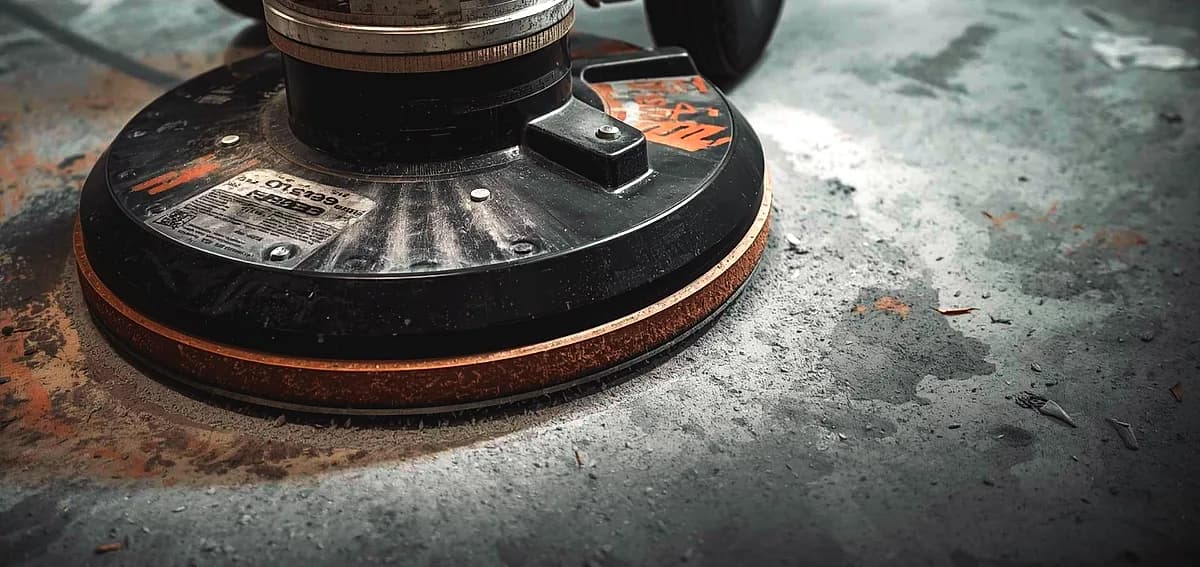
Polished concrete8 min read
What to Know Before Polishing Your Existing Concrete Slab
Before any mechanical refinement can begin, a thorough evaluation of the current foundation is required.
Read it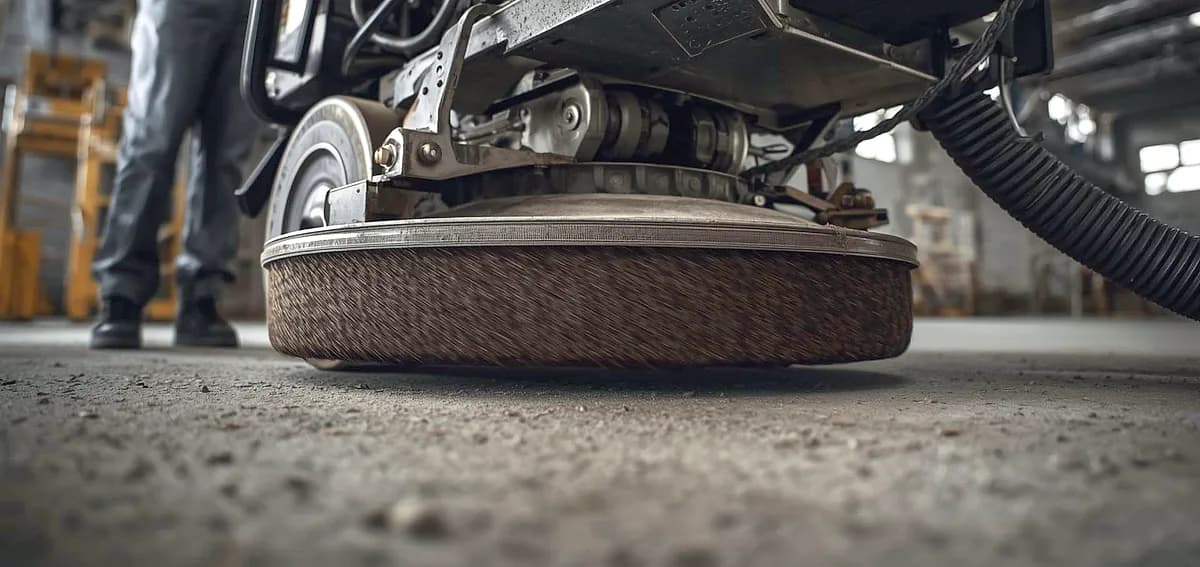
Polished concrete8 min read
Is Polished Concrete Worth the Investment for Miami Properties?
It is essential to distinguish between a simple topical seal and mechanically refined concrete.
Read it
Tell us about the floor
Tell us the space and roughly how big it is.We come back with what it would cost and when we could start.
Prefer to talk? Call +1 844-876-5474
- Leads@
nationalconcretepolishing.net - 2200 NW 32nd St #600,
Pompano Beach, FL 33069 Mon to Fri, 9:00 to 5:30