
The NCP blog
Understand What is the Concrete Polishing Diamond Grit Sequence for Your Floors
Polished concrete6 min read
The diamond grit sequence for polishing concrete: what each grit level does, from coarse grinding to final polish.
The finish of a polished floor depends on one critical factor: strategic abrasive progression. Skipping steps leaves visible scratches from the coarser grits.
Professionals start with coarse tools to eliminate imperfections, then gradually refine surfaces. Coarser abrasives (like 30-40 grit) strip away old coatings and level uneven areas. Mid-range options (80-150 grit) smooth edges and prepare for final treatments.
Higher grit levels (800+) create that coveted glass-like finish. Skipping steps or rushing this progression leaves visible scratches. That’s why National Concrete Polishing chooses the starting and final grit for each slab. Call +1 844-876-5474 to talk it through.
Overview of Polished Concrete: Benefits & Considerations
South Florida properties thrive with surfaces that blend beauty and resilience. Polished concrete delivers both, transforming ordinary slabs into high-performance assets. Let’s explore why this flooring solution dominates modern design.
Why Choose Polished Concrete for Your Space
Durability meets style here. These floors are hard enough for heavy use and are kept clean with routine dust mopping, but they remain porous and can stain, as Bob Harris notes in Concrete International.
Compare floors on life-cycle cost, not installation price alone: upkeep is never zero, but waxing is not needed. A reflective finish also brightens a space.
National Concrete Polishing: South Florida Experts
Local conditions matter. Humidity, salt air, and substrate variations all affect polishing results. Our team at +1 844-876-5474 brings 13+ years of experience to South Florida floors.
Polishing works on the existing slab, so no new covering is needed (more on the environmental side).
How the Diamond Grit Sequence Works
Proper surface treatment transforms ordinary slabs into architectural masterpieces. Strategic abrasive selection determines how uniform the finish is. Let’s explore how professionals systematically refine surfaces.
Understanding Diamond Grit Levels and Their Roles
Coarse abrasives (30-100 grit) act like heavy-duty sandpaper. They strip old sealants, flatten uneven patches, and expose fresh material. This stage removes deep stains and creates a uniform base for subsequent steps.
Medium-grade tools (100-400 grit) refine textures. These eliminate scratches from initial grinding while preparing for densification. Skipping this phase risks trapping imperfections under glossy finishes. These ranges follow the Concrete Polishing Council glossary, which describes the grinding stage as any bonded abrasive of 100 grit or lower, the honing stage as diamond tooling in the 100 to 400 grit range, and the polishing stage as 800 grit or higher.
Metal-Bond, Hybrid and Resin-Bond Tooling
The tools change along with the grit. According to the Concrete Polishing Council glossary, metal-bond tooling is typically used in the grinding and early honing stages, resin-bond tooling in the later honing and polishing stages, and hybrid tooling either as transitional tooling between the two or as a first cut on smooth concrete. Skipping a grit leaves the scratches of the coarser pad in the surface, which is why the sequence runs in order.
How the Grit Sequence Enhances Floor Durability and Appearance
Each progressive stage minimizes scratch visibility. Fine abrasives (800-3000 grit) refine the surface to its final sheen. The densifier, applied earlier in the sequence, is what hardens the surface.
Proper sequencing gives a uniform finish. Keeping that sheen takes maintenance: Bob Harris writes in Concrete International that floors that are not properly maintained will eventually lose their shine.
Step-by-Step Guide to Polishing Your Concrete Floors
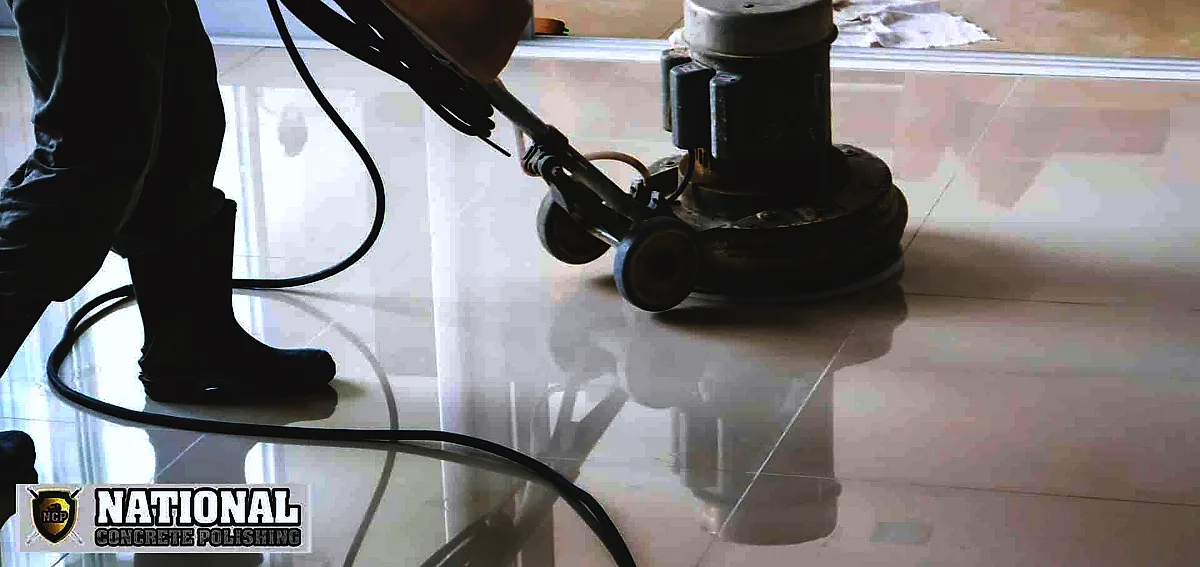
Achieving mirror-like floors requires following a systematic approach. Careful execution at each phase gives a more uniform result and avoids costly mistakes. Let’s break down the stages professionals use to transform ordinary slabs into showstopping surfaces.
Preparation: Cleaning, Repair, and Surface Evaluation
Start by clearing debris and old adhesives. Use mechanical scrapers or eco-friendly solvents for stubborn residues. Inspect for cracks and fill them with a suitable repair material, such as polyurea.
Test moisture levels and check for uneven areas. Address low spots with patching compounds to create a flat base. A clean, stable foundation is non-negotiable for flawless finishes.
Grinding, Densification, and Progressive Refinement
A typical sequence begins with 30 to 40 grit metal-bond tools to level the slab. This aggressive grinding removes imperfections and exposes fresh material. Move to 80 grit to smooth scratches, then 150 grit for finer refinement. No single sequence fits every slab, so the real steps depend on the floor. One documented National Concrete Polishing sequence for an 800-grit finish runs 30, 70 and 120 metal, then 50, 100 and 200 resin, a densifier, 400 and 800 resin, a guard and a high-speed burnish.
A densifier is applied partway through the sequence: after the 80 or 150 grit pass in the sequence described in Concrete International, or after the 200 resin step in one documented National Concrete Polishing 800-grit sequence. The solution reacts with calcium hydroxide near the surface to form calcium silicate hydrate, which hardens it.
Final Polishing and Protective Sealing Techniques
Switch to 400 grit and finer resin tools for glossier finishes. Higher grits (800 to 3000) raise the sheen; 800 grit is a common finish, and 1,500 and 3,000 grit are upgrades when specified.
Apply a guard or sealer after the final resin step, as the product manufacturer directs. How often it needs reapplying depends on traffic and cleaning, so follow the manufacturer’s guidance.
As a planning range, National Concrete Polishing plans on about 1,500 to 3,000 square feet per day for polished concrete on an open slab; repairs, edges, small rooms and slab condition can reduce that. Allow for drying times between stages.
Essential Equipment, Techniques & Maintenance Best Practices
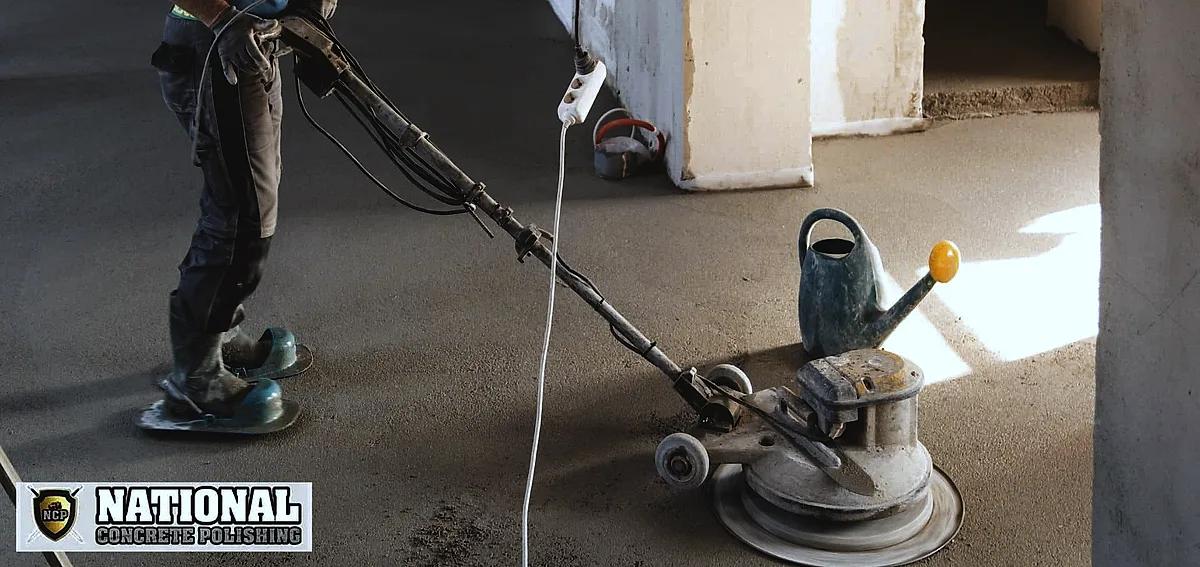
Quality results demand the right arsenal. Professional-grade tools streamline workflows while minimizing errors common with DIY approaches. Let’s look at the equipment and care routines that keep a floor looking as specified.
Key Tools and Diamond Abrasives for a Professional Finish
Start with diamond grinders featuring interchangeable discs (30-400 grit). These handle heavy material removal and precise refinishing. Pair them with HEPA-filtered vacuums: the EPA says a HEPA filter can theoretically remove at least 99.97% of airborne particles 0.3 microns in size, and OSHA’s silica rule for construction (29 CFR 1926.1153, Table 1) lists a HEPA-filtered vacuum for removing loose dust between passes when a walk-behind floor grinder with a dust collector is used indoors.
| Equipment Type | Purpose | Avg. Cost |
|---|---|---|
| Planetary Grinder | Initial surface leveling | $8,500+ |
| Edge Grinder | Perimeter work | $2,200+ |
| Burnisher | Final gloss enhancement | $1,800+ |
Concrete densifiers such as lithium silicate penetrate the pores and increase the hardness of the surface layer, according to a peer-reviewed study of lithium silicates.
Modern Techniques, Cost-Effectiveness, and Ongoing Maintenance Tips
Rentals cost $300-$600 daily but lack precision settings.
Preserve surfaces with:
- Daily dry mopping using microfiber pads
- A neutral cleaner or conditioner made for polished floors, for periodic deep cleaning
- Reapplying the guard when it wears, on the manufacturer’s schedule
Avoid highly alkaline or acidic cleaners, such as vinegar or ammonia mixes, because they quickly dull a polished floor, and wipe up spills promptly because acidic spills can etch the surface. With proper care, the floor keeps its sheen longer.
Conclusion
Transforming industrial slabs into elegant surfaces requires more than basic tools. Strategic abrasive progression creates floors combining resilience with visual appeal. Each stage in the refinement process builds upon the last, locking in structural integrity while enhancing light reflection.
While small DIY projects can yield decent results, professional execution gives the best chance of lasting performance. Experts assess substrate conditions, select optimal grit sequences, and apply advanced densifiers. This approach helps avoid premature wear and keeps the gloss level the specification calls for.
National Concrete Polishing polishes floors in South Florida, where humidity and heavy traffic shape the plan. Call +1 844-876-5474 to talk through your floor.
Proper surface treatment helps avoid rework and keeps the floor looking as specified. Partner with specialists who can explain the sequence they will use on your slab.
Frequently Asked Questions
Why do you start with coarse diamond grits during polishing?
Coarse grits (like 40-80) remove imperfections, stains, and old coatings. This creates a flat surface for finer grits to build upon. Skipping steps risks uneven finishes or trapped damage.
How does chemical densification improve floor durability?
Densifiers like lithium silicate penetrate pores, reacting with calcium hydroxide to harden surfaces. This reduces dusting and supports higher gloss levels during polishing, though the floor stays porous and can stain.
Can cracks in existing floors be fixed before polishing?
Yes. Epoxy fillers or polymer-modified cement repairs address cracks. Proper evaluation shows whether the slab is sound before grinding begins. Ignoring repairs leads to visible flaws post-polishing.
What equipment is essential for a DIY polished concrete project?
Rent a planetary grinder with diamond abrasives (metal-bonded for grinding, resin-bonded for refining). Use a vacuum to control dust and a burnisher for final gloss. Professional-grade tools yield consistent results.
How long does a polished concrete floor last with maintenance?
Expected life depends on the system and how the floor is used, not one fixed number. Regular cleaning with pH-neutral cleaners and periodic reapplications of guard products prevent wear. Avoid harsh chemicals to maintain shine and stain resistance.
Does higher grit (like 1500-3000) make floors slippery?
It can, depending on the finish and on whether the floor is wet: the NFSI B101.5 guide says maintenance, type of floor cleaner and gloss level can affect the safety of floors. Where traction matters, ask for a tested wet traction value for the finished floor. Discuss traffic needs with contractors like National Concrete Polishing for tailored solutions.
Written by

Founder and CEO
Chris Lavin is an esteemed leader in concrete polishing and epoxy coatings with a distinguished 20-year career. As founder and CEO of National Concrete Polishing and owner of Xtreme Polishing Systems, he's renowned for polishing and epoxy coating more floors than anyone globally. Chris is recognized for his innovative approach and commitment to enhancing floor durability and aesthetics. His hands-on experience and technical proficiency make him a respected authority and a valuable resource in the field of floor polishing and coatings.
Same topic
Related articles
All stories
Residential7 min read
Polished Concrete Garage Floor vs Epoxy: Pros and Cons
This process smooths the surface, and a densifier hardens it, so polished concrete is used in high-traffic areas.
Read it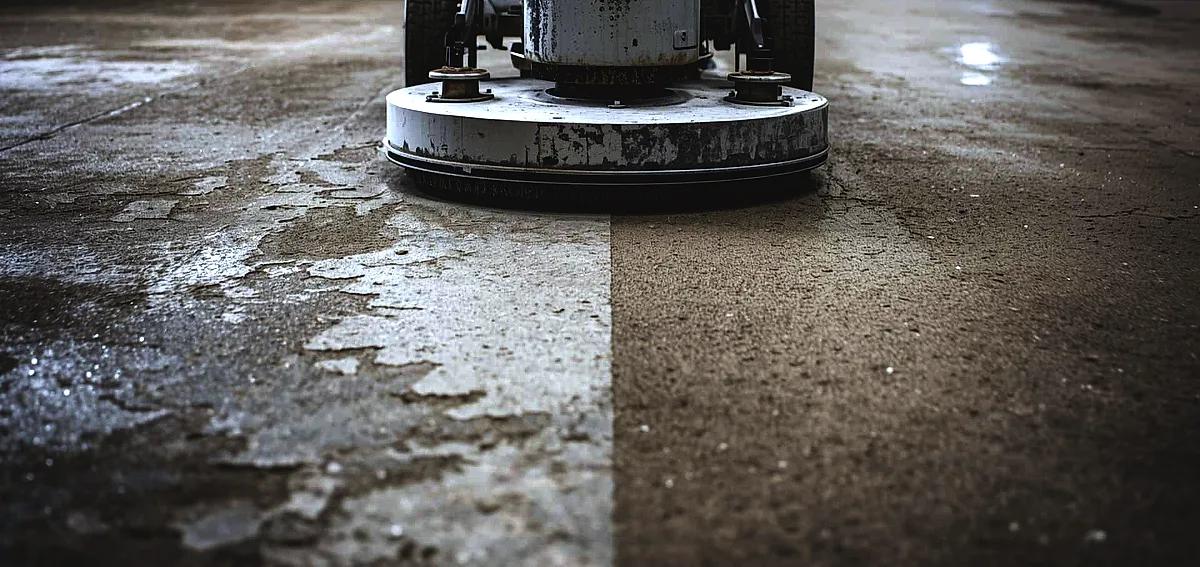
Polished concrete11 min read
Can You Polish Old Concrete? Transform Your Floors Today
Old concrete floors often hide tremendous potential beneath their weathered, dull surfaces.
Read it
Cost & ROI11 min read
How Much Does It Cost To Polish Concrete Floors?
Choosing polished concrete flooring for your residential or commercial space is a no-brainer these days.
Read it
Tell us about the floor
Tell us the space and roughly how big it is.We come back with what it would cost and when we could start.
Prefer to talk? Call +1 844-876-5474
- Leads@
nationalconcretepolishing.net - 2200 NW 32nd St #600,
Pompano Beach, FL 33069 Mon to Fri, 9:00 to 5:30