
The NCP blog
How to Control Aggregate Exposure Levels in Polished Concrete
Polished concrete10 min read
This finish requires minimal surface removal and is ideal for spaces prioritizing a refined, uniform look.
Controlling polished concrete aggregate exposure is essential for achieving the desired aesthetic and performance in South Florida flooring projects. The level of aggregate exposure from cream finish to fully exposed coarse aggregate determines your floor’s visual appeal, slip resistance, and maintenance requirements. Whether you’re renovating a Pompano Beach warehouse or upgrading a Fort Lauderdale showroom, understanding how to manipulate aggregate exposure through proper concrete mix design, grinding techniques, and polishing sequences ensures professional results that match your vision.
Overview
This comprehensive guide explores the methods, techniques, and industry standards for controlling aggregate exposure in polished concrete installations. You’ll discover the three primary exposure classifications defined by the Concrete Polishing Council, grinding depth requirements for each finish level, equipment selection strategies, and how factors like concrete age and mix composition affect final appearance. We’ll also cover common challenges in South Florida’s unique climate and provide actionable solutions for achieving consistent, beautiful polished concrete surfaces.
Understanding Aggregate Exposure Classifications
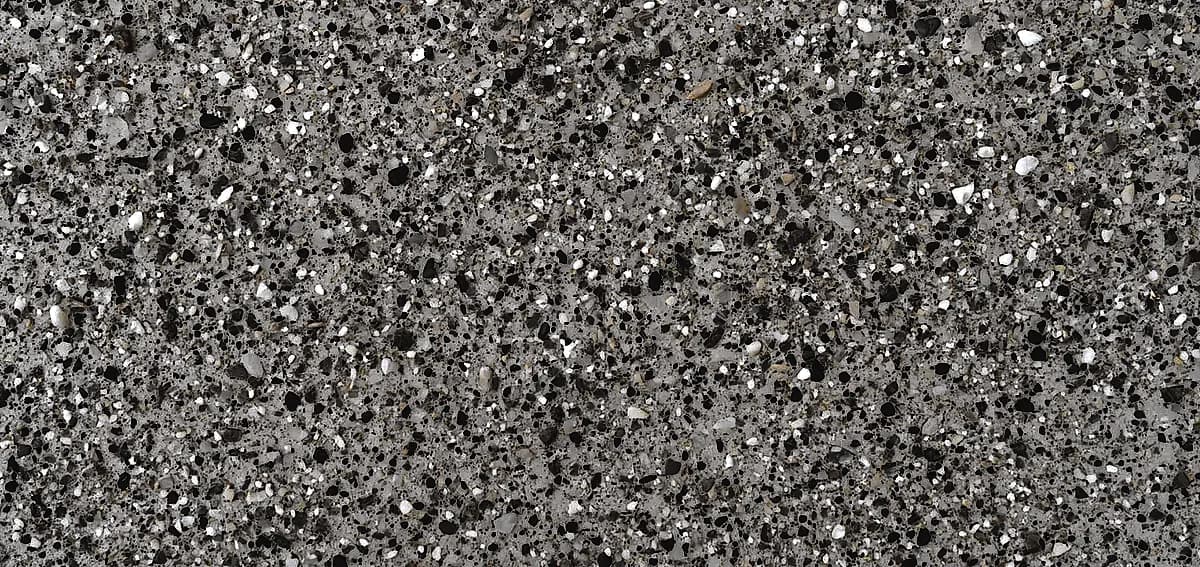
The Concrete Polishing Council established three standard aggregate exposure classifications that define surface appearance after grinding and polishing operations. Class A (Cream Finish) consists of 85-95% cement fines and 5-15% fine aggregate, creating a smooth, creamy appearance that exposes only the smallest sand particles. This finish requires minimal surface removal and is ideal for spaces prioritizing a refined, uniform look.
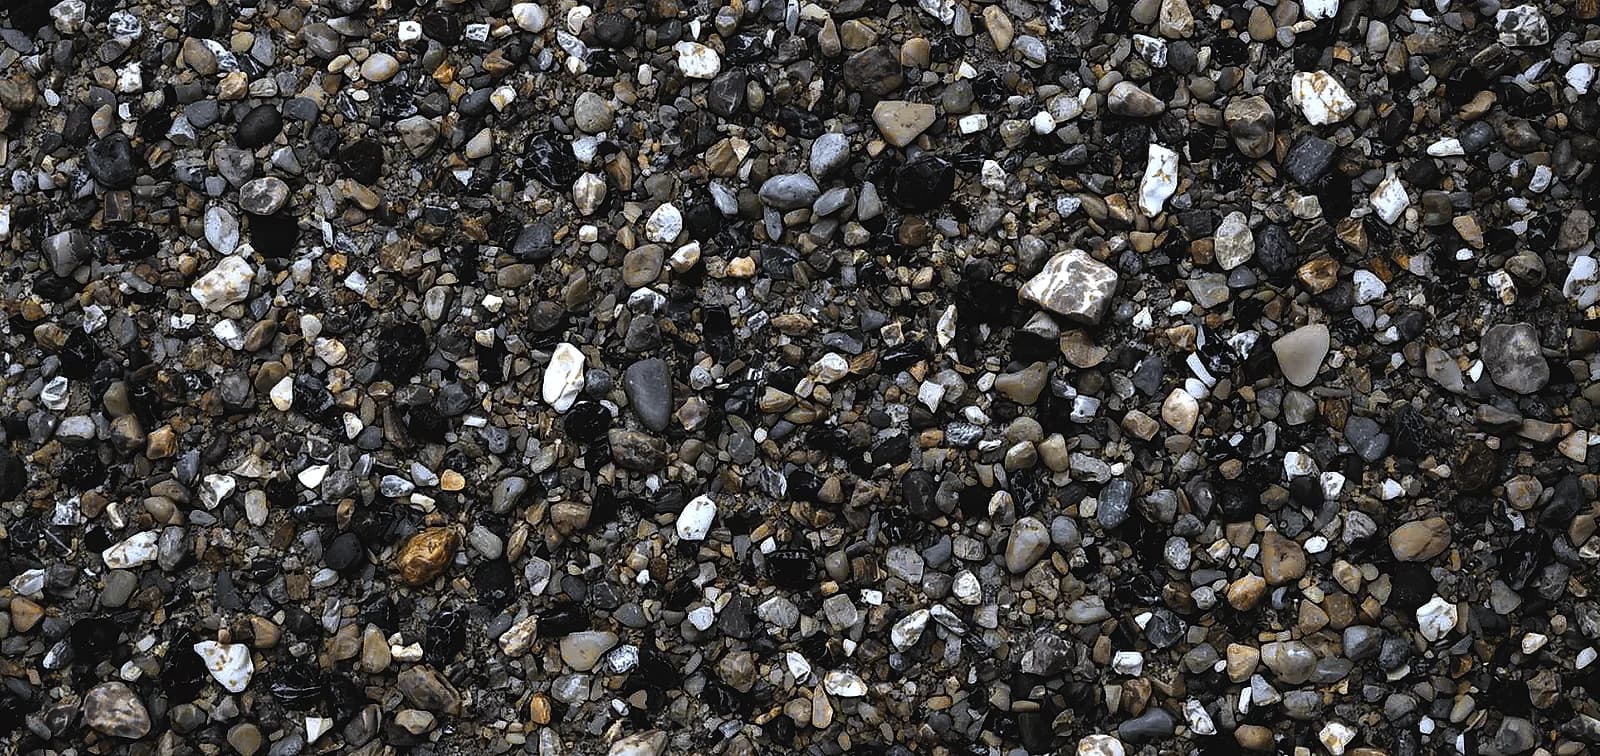
Class B (Salt and Pepper) reveals 85-95% fine aggregate with 5-15% blend of cement fines and coarse aggregate, producing the popular speckled appearance many clients request. Class C (Full Aggregate Exposure) exposes 80-90% coarse aggregate with 10-20% blend of cement fines and fine aggregate, showcasing the largest stones in the mix and delivering maximum visual impact. Each classification serves different aesthetic goals and functional requirements for residential and commercial applications.
Role of Concrete Mix Design
Concrete mix design is the foundation of successful aggregate exposure control and must be planned before pouring. The size, type, color, and distribution of aggregates in your mix directly determine what exposure levels are achievable during polishing. Specifying larger aggregates like crushed granite or decorative stones enables dramatic Class C finishes, while standard mixes with smaller aggregates suit Class A or B applications.
Aggregate density and placement within the concrete matrix affect surface consistency poorly distributed aggregates create uneven exposure patterns that compromise appearance. For new construction projects, collaborate with your concrete supplier to design mixes that support your desired finish level. Existing concrete may limit exposure options based on original mix composition and aggregate depth.
Grinding Depth Requirements
Grinding depth is the primary variable controlling how much aggregate becomes visible at the surface. Cream finishes (Class A) require minimal grinding—typically just removing the top layer of laitance and surface contaminants without cutting deep into the concrete matrix. This shallow approach preserves the cement paste while revealing only the finest sand particles.
Salt and pepper finishes (Class B) demand moderate grinding depths of approximately 1/16 to 1/8 inch to expose fine aggregates throughout the surface. Full aggregate exposure (Class C) requires the deepest cuts at 1/8 to 1/4 inch, removing enough cement paste to prominently display coarse aggregates. Older concrete or floors with limited substrate thickness may restrict how deeply you can grind, potentially limiting exposure options.
Diamond Grit Progression Strategy
Diamond grinding pad progression controls both the speed of aggregate exposure and final surface refinement. Start with coarse metal-bond diamonds (30-50 grit) to remove surface layers quickly and establish initial aggregate exposure. These aggressive grits cut through cement paste efficiently but leave visible scratches that require refinement.
Progress through medium grits (80-120) to smooth scratches from coarser diamonds while maintaining exposure depth. Transition to resin-bond diamonds (100-400 grit) for honing, which begins developing surface clarity without removing additional material. Final polishing steps (800-3000 grit) create the desired gloss level while preserving aggregate exposure achieved during earlier grinding phases. Skipping grit steps or rushing progression results in uneven exposure and poor surface quality.
Surface Preparation Impact
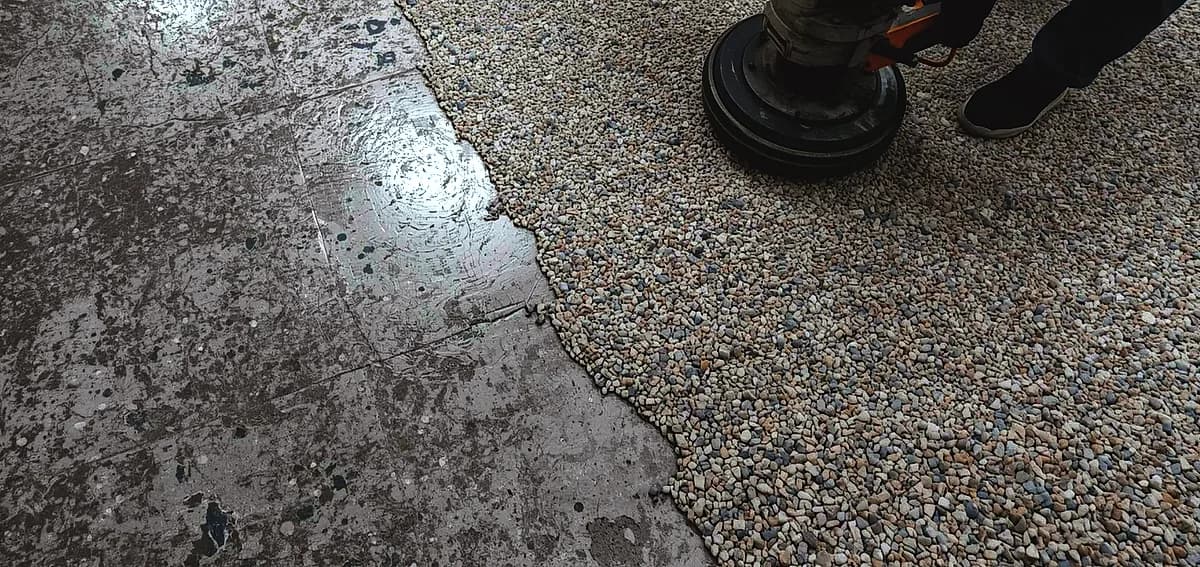
Proper surface preparation before grinding operations dramatically affects aggregate exposure consistency. Remove all existing sealers, coatings, adhesives, and contaminants that interfere with diamond tool performance and create uneven grinding patterns. Power washing 24 hours before work allows complete drying and reveals surface imperfections requiring attention.
Floor flatness at the time of grinding is critical—uneven floors cause inconsistent exposure as high spots grind deeper than low areas. Address significant variations through concrete resurfacing or targeted grinding to establish uniform contact before final polishing. Moisture content testing ensures the substrate is dry enough for effective grinding without loading diamond tools.
Densifier Application Timing
Concrete densifier application timing influences both aggregate visibility and surface hardness during the polishing process. Apply densifier after achieving desired aggregate exposure but before final polishing steps—typically between 100-400 grit stages depending on system specifications. The chemical reaction between densifier and concrete hardens the surface while enhancing aggregate color and clarity.
Multiple densifier applications may be necessary for softer concrete or to achieve specific hardness targets. Allow adequate dwell time (typically 30-60 minutes) for proper penetration and chemical reaction before continuing polishing. Premature polishing before densifier curing can disrupt the hardening process and compromise final results.
Equipment Selection Considerations
Choosing appropriate grinding equipment affects your ability to control exposure depth and consistency. Planetary grinders with multiple rotating heads provide even pressure distribution ideal for achieving uniform aggregate exposure across large commercial spaces. Edge grinders handle perimeter areas where planetary machines cannot reach, maintaining consistent exposure throughout the floor.
Variable speed controls allow operators to adjust disc speed based on aggregate hardness and concrete characteristics. Harder aggregates like quartz require slower speeds to prevent overheating, while softer limestone aggregates tolerate higher speeds. Proper dust extraction systems moving minimum 25 cubic meters per minute protect worker health and maintain visibility during grinding operations.
Controlling Exposure on Existing Floors
Polishing existing concrete presents unique challenges for aggregate exposure control compared to new installations. Concrete age affects grinding characteristics—older concrete is typically harder and requires more aggressive diamonds to achieve desired exposure. Surface wear patterns from years of traffic create inconsistent thickness that may limit grinding depth in certain areas.
Test grinding in inconspicuous areas reveals what exposure level is achievable given existing conditions. Some older floors contain aggregate distributions that don’t support uniform Class C exposure, making Class A or B finishes more practical choices. Existing sealers or coatings must be completely removed before assessing true aggregate potential.
Managing Cross-Directional Grinding
Cross-directional grinding technique ensures uniform aggregate exposure without creating directional wear patterns. Begin by grinding perpendicular to the concrete pour direction during your first coarse grit pass, which exposes aggregates evenly across the surface. Switch to parallel direction for subsequent grit progressions, creating a cross-hatching effect that prevents linear grinding marks.
This alternating pattern maintains consistent aggregate visibility while removing scratches from previous grit levels. Keep grinding equipment moving continuously stopping creates circular marks that require additional work to correct and can compromise exposure uniformity. Monitor exposure depth constantly during these passes to prevent over-grinding that exposes too much aggregate or damages substrate integrity.
Seeding Decorative Aggregates
Seeding decorative aggregates into fresh concrete enables custom aggregate exposure effects unavailable in standard mixes. Broadcast colored glass, recycled materials, or specialty stones onto freshly placed concrete before initial set, then trowel or vibrate them into the surface. This technique allows precise control over aggregate type, size, and distribution for dramatic Class C finishes.
Seed density determines final appearance heavier seeding rates produce more aggregate exposure while lighter rates maintain more cement matrix visibility. Plan grinding depths to reach seeded materials without cutting so deep that aggregate pieces dislodge from the matrix. Exposed aggregate polished concrete combining seeded materials with proper polishing techniques creates stunning custom floors for upscale residential and commercial projects.
Gloss Level vs Aggregate Exposure
Gloss level and aggregate exposure are independent variables that combine to create your floor’s final appearance. You can achieve any gloss level (flat, satin, semi-gloss, or high gloss) at any exposure classification by adjusting final polishing grit progression. A cream finish can range from matte honed to mirror-like depending on whether you stop at 400 grit or continue to 3000 grit.
Similarly, full aggregate exposure works with any desired reflectivity level based on project requirements. High-gloss polished concrete with Class C exposure creates dramatic reflective surfaces showcasing large aggregates, while honed finishes with Class A exposure deliver subtle sophistication. Specify both exposure class and gloss target separately to ensure contractors understand complete project vision.
Climate Considerations for South Florida
South Florida’s humid climate presents specific challenges for controlling aggregate exposure during polishing operations. High humidity levels affect concrete moisture content and can cause diamond tools to load prematurely, reducing grinding efficiency and exposure consistency. Use dehumidifiers to maintain optimal working conditions during installation, especially during summer months.
Coastal concrete exposure to salt air can affect aggregate hardness and grinding characteristics over time. Test samples help determine if standard diamond progression will achieve desired results or if adjustments are needed for local conditions. Temperature fluctuations between air-conditioned interiors and exterior humidity require careful moisture testing before beginning grinding operations.
Common Exposure Control Mistakes
Several common errors compromise aggregate exposure control and require expensive corrections. Using incorrect diamond grit progression—particularly skipping intermediate grits—creates uneven exposure with inconsistent aggregate visibility across the floor. Over-grinding removes too much material, potentially weakening the substrate or exposing aggregates that aren’t properly anchored in the matrix.
Insufficient surface preparation leaves contaminants that prevent uniform grinding and create blotchy exposure patterns. Applying densifier at wrong stages can seal the surface before desired exposure is achieved or fail to adequately harden softer areas. Working on concrete with high moisture content causes diamond loading and inconsistent exposure that’s difficult to correct once the floor is partially polished.
Quality Control During Installation
Implement systematic quality control measures throughout the polishing process to ensure consistent aggregate exposure. Mark test sections representing each exposure class specified in your project to serve as visual references during installation. Conduct regular visual inspections comparing work areas to approved samples, adjusting grinding depth or diamond selection as needed.
Document grinding depths, grit progressions, and densifier applications for each project phase to maintain consistency across large installations. Professional concrete polishing contractors use moisture meters, gloss levels, and exposure assessment tools to verify compliance with specifications before moving to subsequent phases. Address inconsistencies immediately rather than attempting corrections after final polishing—early intervention prevents costly remediation.
Maintenance Impact on Long-Term Appearance
Proper maintenance preserves aggregate exposure appearance and prevents surface degradation over your floor’s lifespan. Regular cleaning with pH-neutral cleaners maintains aggregate clarity without etching or dulling the polished surface. Avoid acidic or harsh chemical cleaners that can erode cement matrix and alter exposure levels over time.
Periodic repolishing restores original gloss and aggregate definition as traffic wear gradually dulls the surface. High-traffic areas may require more frequent maintenance than perimeter zones to maintain uniform appearance. Apply penetrating sealers as recommended by your contractor to protect exposed aggregates while enhancing color depth.
Frequently Asked Questions
What are the three main aggregate exposure levels in polished concrete?
The Concrete Polishing Council defines Class A (Cream Finish with 85-95% cement fines), Class B (Salt and Pepper with 85-95% fine aggregate), and Class C (Full Aggregate with 80-90% coarse aggregate exposure).
How deep do you grind for full aggregate exposure?
Full aggregate exposure typically requires grinding depths of 1/8 to 1/4 inch to remove cement paste and prominently reveal coarse aggregates.
Can I control aggregate exposure on existing concrete floors?
Yes, though options may be limited by original mix design, concrete age, and floor thickness—test grinding determines achievable exposure levels.
What diamond grit progression achieves best aggregate exposure control?
Start with 30-50 grit metal-bond diamonds for initial exposure, progress through 80-120 grit for refinement, then use 100-3000 grit resin bonds for final polishing.
Does concrete mix design affect aggregate exposure possibilities?
Absolutely—aggregate size, type, distribution, and density in the original mix determine what exposure levels are achievable during polishing.
When should densifier be applied during the polishing process?
Apply densifier after achieving desired aggregate exposure but before final polishing, typically between 100-400 grit stages.
Can you have high gloss with full aggregate exposure?
Yes, gloss level and aggregate exposure are independent—you can achieve any gloss level at any exposure class by adjusting final polishing grits.
How does floor flatness affect aggregate exposure consistency?
Uneven floors cause inconsistent exposure as high spots grind deeper than low areas, requiring preliminary leveling for uniform results.
What’s the difference between cream finish and salt and pepper?
Cream finish exposes mostly cement fines with minimal sand, while salt and pepper reveals predominantly fine aggregates creating a speckled appearance.
Can decorative aggregates be added for custom exposure effects?
Yes, seeding decorative stones, glass, or specialty aggregates into fresh concrete enables custom Class C finishes with unique visual characteristics.
Conclusion
Mastering polished concrete aggregate exposure control requires understanding the relationship between concrete mix design, grinding methods, diamond progression, and finishing specifications. The three standard exposure classifications Cream Finish, Salt and Pepper, and Full Aggregate—each demand specific grinding depths and grinding equipment strategies to achieve professional results. Whether you’re installing polished concrete in Miami showrooms, Fort Lauderdale retail spaces, or Pompano Beach commercial facilities, controlling aggregate exposure transforms ordinary concrete into stunning architectural flooring.
National Concrete Polishing’s experienced technicians combine industry expertise with South Florida climate knowledge to deliver precisely controlled aggregate exposure that matches your vision. Contact us today for a free consultation and discover how professional concrete polishing specifications and aggregate exposure control can elevate your concrete flooring project with lasting beauty and performance.
Written by

Founder and CEO
Chris Lavin is an esteemed leader in concrete polishing and epoxy coatings with a distinguished 20-year career. As founder and CEO of National Concrete Polishing and owner of Xtreme Polishing Systems, he's renowned for polishing and epoxy coating more floors than anyone globally. Chris is recognized for his innovative approach and commitment to enhancing floor durability and aesthetics. His hands-on experience and technical proficiency make him a respected authority and a valuable resource in the field of floor polishing and coatings.
Same topic
Related articles
All stories
Polished concrete11 min read
Polished Concrete vs Epoxy Coatings: Which Floor Is Right for Your Space?
Two systems, two price curves, one slab. What each one costs to install and to keep, and which spaces each one actually suits.
Read it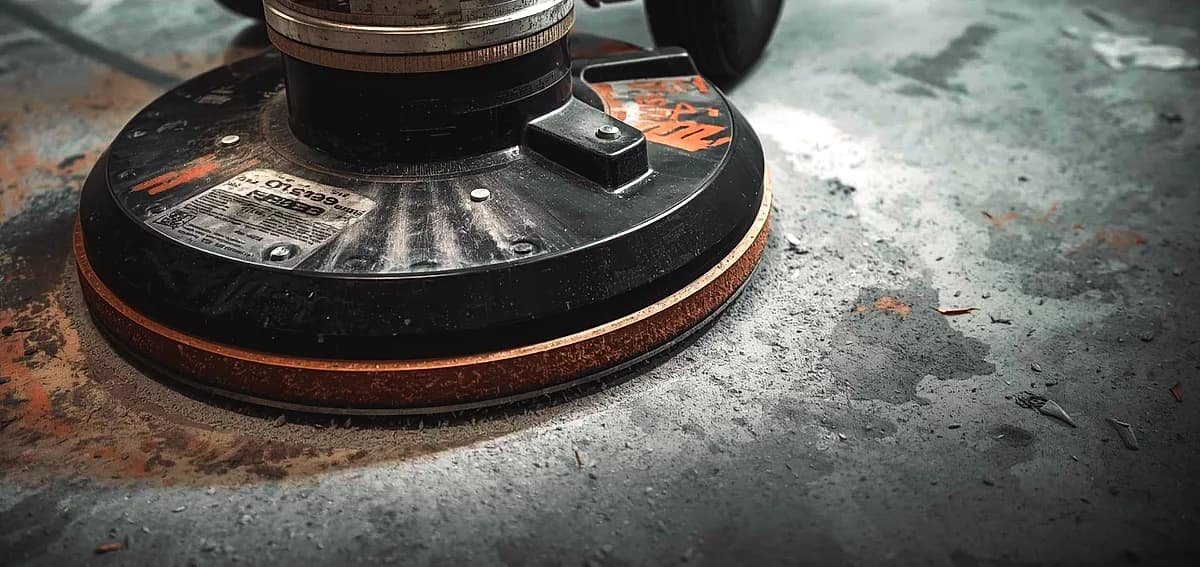
Polished concrete8 min read
What to Know Before Polishing Your Existing Concrete Slab
Before any mechanical refinement can begin, a thorough evaluation of the current foundation is required.
Read it
Polished concrete8 min read
Is Polished Concrete Worth the Investment for Miami Properties?
It is essential to distinguish between a simple topical seal and mechanically refined concrete.
Read it
Tell us about the floor
Tell us the space and roughly how big it is.We come back with what it would cost and when we could start.
Prefer to talk? Call +1 844-876-5474
- Leads@
nationalconcretepolishing.net - 2200 NW 32nd St #600,
Pompano Beach, FL 33069 Mon to Fri, 9:00 to 5:30