
The NCP blog
How to Know Your South Florida Floor Coating is Actually Cured and Ready
Epoxy & coatings9 min read
Rushing to use a floor before it has fully cured leads to tire marks, soft spots, and premature failure.
A freshly coated floor may look finished, but appearances can deceive. Understanding the floor coating cure verification test process is essential for homeowners and facility managers in South Florida who want their investment to last. Rushing to use a floor before it has fully cured leads to tire marks, soft spots, and premature failure. National Concrete Polishing helps property owners across Miami, Fort Lauderdale, and Pompano Beach avoid these costly mistakes through proper cure assessment.
South Florida presents unique challenges for floor coatings. High humidity, warm temperatures, and moisture-rich concrete slabs all influence how quickly and completely a coating cures. This guide explains the testing methods, timeline factors, and visual indicators that determine whether your epoxy or polyaspartic floor is truly ready for service.
Overview
This article covers the difference between dry time and cure time, the standard tests used to verify coating readiness, and how South Florida’s climate affects the curing process. Readers will learn about ASTM-standard moisture testing, adhesion verification methods, and practical indicators they can observe at home. The information applies to residential garage floors, commercial facilities, and industrial spaces.
Understanding Dry Time vs Cure Time
Many property owners confuse drying with curing. These are distinct chemical processes with different timelines. A coating becomes dry to the touch when surface solvents evaporate, typically within 6 to 24 hours depending on the product. Curing is the complete chemical reaction that gives a coating its final hardness, adhesion, and resistance properties.
For standard epoxy coatings, light foot traffic may be possible after 24 to 48 hours, but full cure takes 5 to 7 days. Heavy objects, vehicle traffic, and chemical exposure should wait until after complete cure. Polyaspartic coatings cure faster due to different chemistry. These systems are typically walkable in 2 to 4 hours and ready for vehicle traffic in 24 to 48 hours, with full chemical resistance developing over 5 to 7 days.
South Florida’s warm temperatures can accelerate the initial drying phase while high humidity may extend the full cure time. A floor that feels hard on day three might still be developing its maximum abrasion and chemical resistance. Patience during this window protects your investment.
Professional Floor Coating Cure Verification Methods
Adhesion Pull-Off Testing
The industry standard for verifying coating adhesion is ASTM D4541, the pull-off strength test. This method uses a portable adhesion tester with a metal dolly bonded to the coating surface. The tester applies perpendicular force until the coating detaches, measuring the exact pounds per square inch required to cause failure.
A properly cured epoxy or polyaspartic coating on well-prepared concrete should achieve 400 to 500 PSI or cause the concrete itself to fracture before the coating releases. Results below this threshold indicate incomplete cure, poor surface preparation, or moisture interference. National Concrete Polishing uses this testing method to verify commercial installations meet performance specifications.
Shore D Hardness Testing
Hardness testing measures the coating’s resistance to surface indentation. A durometer forces a metal point into the cured coating and records the resistance. Fully cured epoxy coatings typically measure 80 to 90 on the Shore D scale, while polyaspartic coatings range from 70 to 75. Lower readings suggest incomplete cure.
This test helps identify areas where thickness variations or environmental conditions caused uneven curing. Consistent hardness across the entire floor indicates proper application and uniform cure. Testing at multiple locations reveals problem areas before heavy use begins.
Moisture Testing Before and After Application
Concrete moisture causes more coating failures than any other factor in South Florida. Before application, professionals test slabs using two primary methods. ASTM F2170 requires drilling holes and inserting relative humidity probes to measure moisture at 40 percent of slab depth. Readings above 75 to 80 percent RH require a moisture barrier before coating.
ASTM F1869 uses calcium chloride dishes sealed over the concrete surface for 60 to 72 hours. Weight gain indicates moisture vapor emission rate, with most coatings requiring less than 3 to 5 pounds per 1,000 square feet per 24 hours. These pre-installation tests predict whether a coating will cure properly and bond to the substrate.
Visual and Tactile Cure Indicators
Property owners can perform several preliminary checks without specialized equipment. These observations provide useful guidance but do not replace professional testing for warranty compliance or critical applications.
The Thumbnail Test
Press your thumbnail firmly into the coating surface in an inconspicuous area. A fully cured coating resists indentation completely. If you can leave a mark or feel the surface give slightly, the coating needs more time. This test works for both epoxy garage floors and commercial coatings.
Gloss Consistency Check
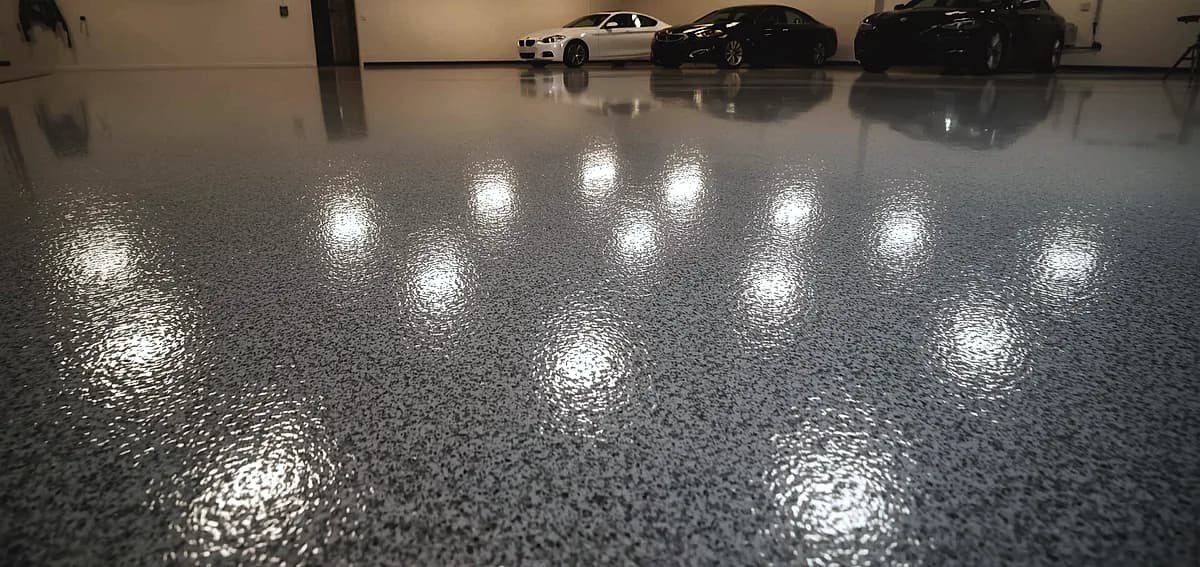
Walk around your coated floor and observe the sheen from multiple angles. A fully cured coating displays uniform gloss across the entire surface. Dull patches, hazy areas, or inconsistent reflection indicate incomplete cure, moisture problems, or application issues that need professional attention.
The Solvent Rub Test
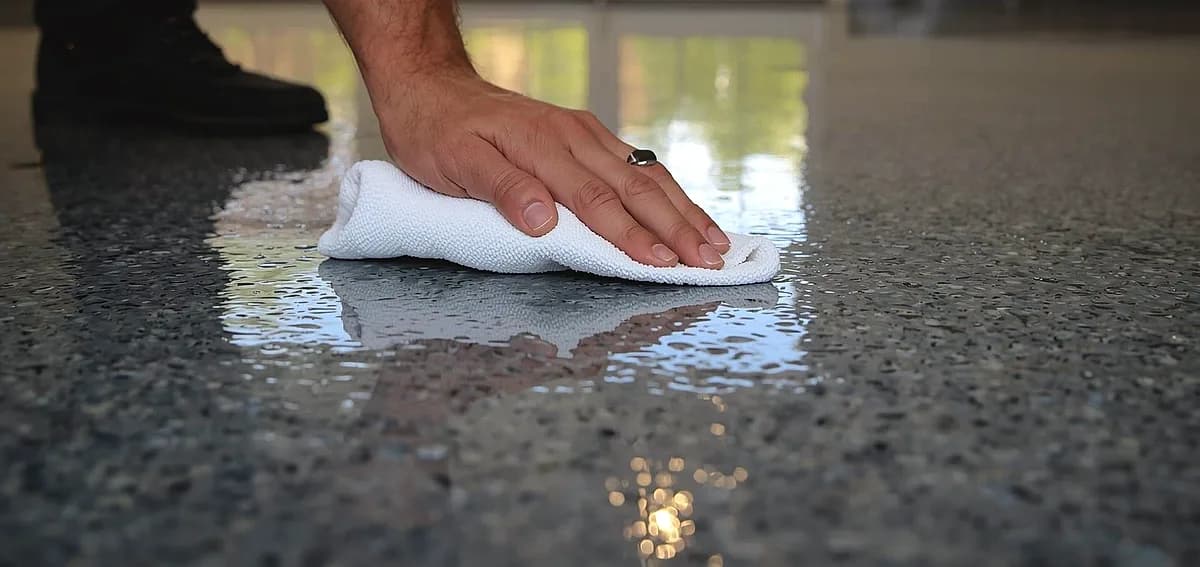
For a more definitive check, dampen a white cloth with acetone or MEK and rub a small area for 30 seconds. A fully cured coating shows no color transfer or surface softening. If pigment transfers to the cloth or the surface becomes tacky, the coating has not reached full chemical resistance. Wait additional time and retest.
How South Florida Climate Affects Cure Time
The subtropical climate of Miami, Fort Lauderdale, and surrounding areas creates specific challenges for floor coating cure. Understanding these factors helps property owners schedule projects appropriately and set realistic expectations.
Temperature Effects
Epoxy coatings require temperatures between 50 and 85 degrees Fahrenheit for proper cure. South Florida rarely drops below this range, but summer temperatures in unconditioned garages can exceed optimal levels. Excessive heat accelerates initial reaction but can cause improper crosslinking that weakens the final film. Air conditioning the space during cure improves results.
Polyaspartic coatings tolerate a wider temperature range, curing properly from below freezing to over 100 degrees. This flexibility makes them increasingly popular for Florida garage projects where temperature control is difficult. The chemical reaction still proceeds faster in warmth.
Humidity Considerations
High humidity slows solvent evaporation and can trap moisture at the coating surface, causing clouding or adhesion problems. Optimal conditions are 40 to 60 percent relative humidity. South Florida’s typical 70 to 90 percent outdoor humidity means enclosed spaces benefit from dehumidification during the cure period.
Interestingly, polyaspartic coatings actually cure faster in higher humidity because they use a different chemical mechanism. This makes them well-suited for South Florida’s seasonal timing considerations. The dry season from November through April offers ideal coating conditions for all product types.
Concrete Slab Moisture
Florida’s high water table and frequent rain create persistently moist concrete slabs. Even older buildings may have slabs without effective vapor barriers, allowing continuous moisture migration. This moisture interferes with coating adhesion and cure regardless of the product used.
Testing concrete moisture before coating is non-negotiable in South Florida. Properties near canals, in flood zones, or built before modern vapor barrier requirements need extra attention. Professional contractors include moisture testing as a standard part of every project.
Recommended Return-to-Service Timelines
The following guidelines assume proper application, adequate surface preparation, and reasonable environmental conditions. Adjust timelines based on actual temperature and humidity during cure.
Epoxy Floor Coatings
- Light foot traffic: 24 to 48 hours
- Normal foot traffic and light objects: 72 hours
- Furniture placement: 5 to 7 days
- Vehicle traffic: 7 days minimum
- Full chemical resistance: 7 to 14 days
Polyaspartic Floor Coatings
- Light foot traffic: 2 to 4 hours
- Normal foot traffic: 4 to 6 hours
- Furniture placement: 12 to 24 hours
- Vehicle traffic: 24 to 48 hours
- Full chemical resistance: 5 to 7 days
These timelines explain why polyaspartic systems have become popular for commercial applications where downtime costs money. A retail space can be coated after closing and reopened the following morning.
Signs of Incomplete or Failed Cure
Recognizing cure problems early allows corrective action before permanent damage occurs. Watch for these warning signs during the cure period and first weeks of use.
- Hot tire pickup: Warm tires leave marks or pull coating from the surface. This indicates the coating has not developed sufficient heat resistance.
- Persistent tackiness: Surface remains slightly sticky beyond expected cure time. Often caused by improper mixing ratios or excessive humidity.
- Soft spots: Localized areas that indent under pressure while surrounding areas are hard. Usually indicates moisture problems underneath.
- Blushing or cloudiness: White haze on the surface from moisture trapped during cure. May require sanding and recoating.
- Delamination: Coating peels in sheets from the concrete. Results from moisture, contamination, or inadequate surface preparation.
Frequently Asked Questions
How can I test if my epoxy floor is fully cured at home?
Perform the thumbnail test by pressing firmly into the surface. No mark should remain. The solvent rub test with acetone on a white cloth provides more definitive results. No color transfer or surface softening indicates full cure.
Why does my floor coating look cured but still feel soft?
Surface drying happens faster than chemical cure. High humidity or incorrect mixing ratios extend cure time significantly. Wait additional days and retest. If softness persists beyond two weeks, contact your coating contractor.
What temperature is ideal for floor coating cure in Florida?
Maintain 70 to 85 degrees Fahrenheit during application and cure. Air condition enclosed spaces if needed. Avoid coating when temperatures will drop below 50 degrees within the first 24 hours.
How does humidity affect polyaspartic cure time?
Unlike epoxy, polyaspartic coatings actually cure faster in higher humidity. However, extremely high humidity above 85 percent may cause surface defects. Moderate humidity between 40 and 70 percent produces optimal results.
Can I drive on my new garage floor after 24 hours?
For polyaspartic coatings in ideal conditions, yes. Epoxy coatings require 7 days minimum for vehicle traffic. Check with your installer for product-specific guidelines. Let hot tires cool 30 minutes before parking during the first week.
What is ASTM D4541 adhesion testing?
This industry standard measures the force required to pull a coating from its substrate. A metal fixture is bonded to the coating surface, and a calibrated tester pulls it away. Results in PSI indicate bond strength and proper cure.
Why did my coating fail the moisture test?
South Florida slabs often have high moisture vapor emission from groundwater, rain infiltration, or missing vapor barriers. Professional moisture mitigation systems can address this before coating application.
How long until my epoxy floor resists chemical spills?
Full chemical resistance develops over 7 to 14 days even though the coating may feel hard sooner. Avoid exposing the floor to solvents, gasoline, or harsh chemicals during this period to prevent staining or softening.
What causes white spots on a curing epoxy floor?
White spots typically indicate moisture blushing from high humidity during cure. Light cases may disappear as curing completes. Severe blushing requires sanding and recoating under better environmental conditions.
Should I run a dehumidifier while my floor cures?
Yes, for epoxy coatings in South Florida. Maintain 40 to 60 percent relative humidity if possible. Polyaspartic coatings are more tolerant but still benefit from controlled conditions during the first 24 hours.
Sources
ASTM D4541: Standard Test Method for Pull-Off Strength of Coatings
ASTM F2170: Standard Test Method for Determining Relative Humidity in Concrete Slabs
ASTM F1869: Moisture Vapor Emission Rate Testing
Get Expert Floor Coating Services in South Florida
Proper cure verification protects your floor coating investment and prevents costly failures. National Concrete Polishing provides professional installation with thorough moisture testing, proper surface preparation, and documented cure verification for projects throughout Miami, Fort Lauderdale, and Pompano Beach.
Ready to transform your floor with a coating that lasts? Contact us today for a free estimate and learn why South Florida property owners trust our expertise for garage floors, commercial spaces, and industrial facilities.
Written by

Founder and CEO
Chris Lavin is an esteemed leader in concrete polishing and epoxy coatings with a distinguished 20-year career. As founder and CEO of National Concrete Polishing and owner of Xtreme Polishing Systems, he's renowned for polishing and epoxy coating more floors than anyone globally. Chris is recognized for his innovative approach and commitment to enhancing floor durability and aesthetics. His hands-on experience and technical proficiency make him a respected authority and a valuable resource in the field of floor polishing and coatings.
Same topic
Related articles
All stories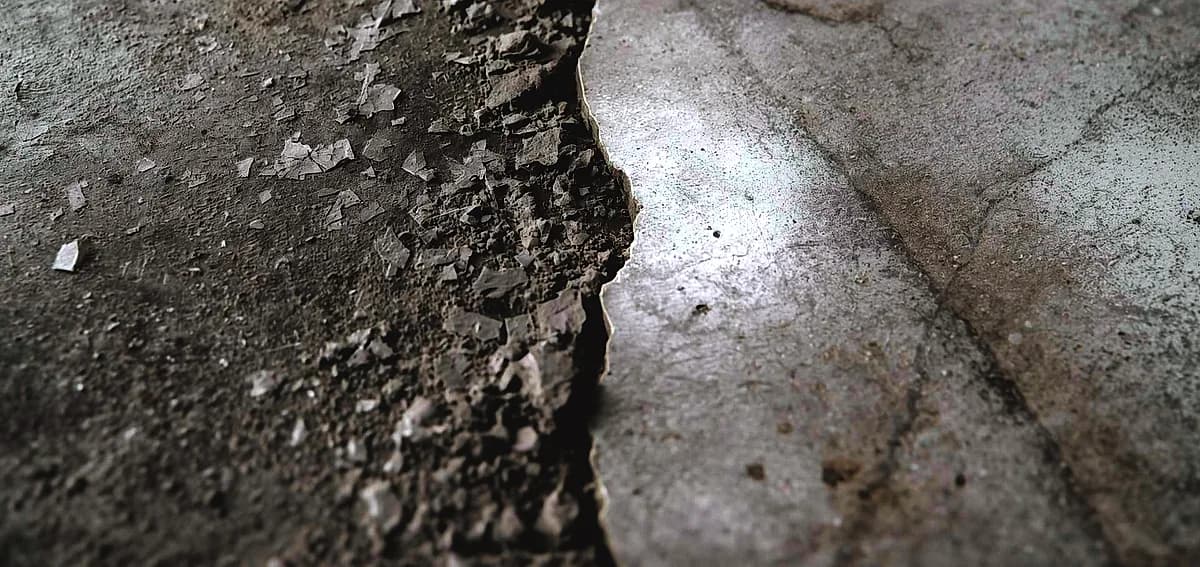
Epoxy & coatings8 min read
DIY vs Professional Epoxy Flooring in Fort Lauderdale
Hardware stores heavily market all-in-one boxes that promise a showroom finish with minimal effort.
Read it
Epoxy & coatings8 min read
Can You DIY Epoxy Flooring in Miami? Pros, Cons, and Tips
Applying a durable floor finish in a tropical or highly humid climate presents unique environmental challenges.
Read it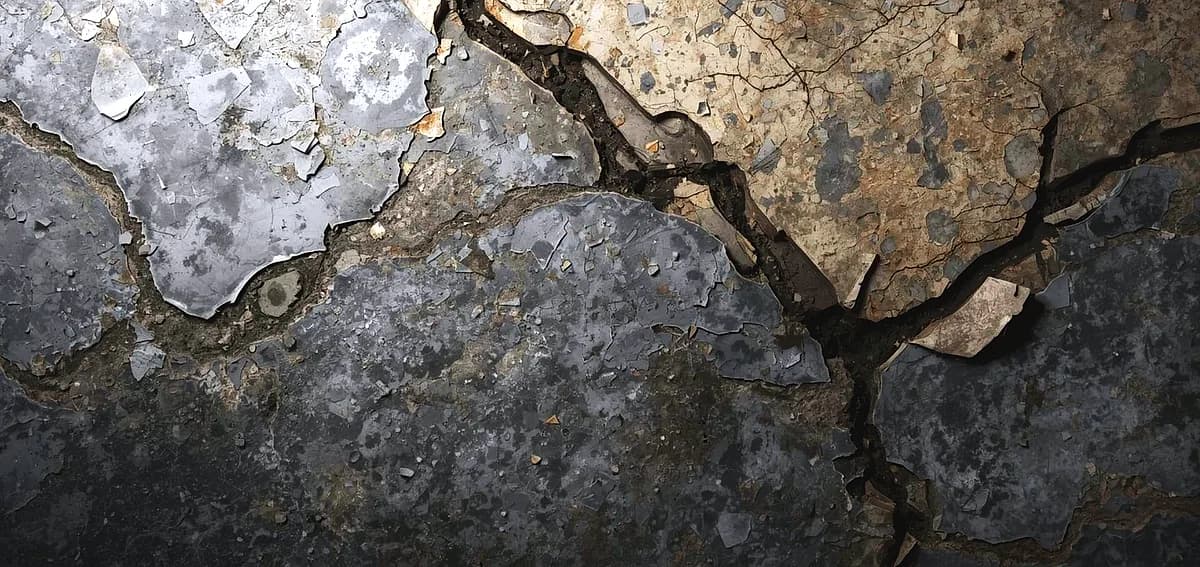
Epoxy & coatings7 min read
DIY Epoxy Flooring in South Florida: Is It Worth the Risk?
However, these products generally contain high levels of water or solvents to extend their pot life.
Read it
Tell us about the floor
Tell us the space and roughly how big it is.We come back with what it would cost and when we could start.
Prefer to talk? Call +1 844-876-5474
- Leads@
nationalconcretepolishing.net - 2200 NW 32nd St #600,
Pompano Beach, FL 33069 Mon to Fri, 9:00 to 5:30