
The NCP blog
How to Repair Damaged Epoxy Floors in Miami
Epoxy & coatings12 min read
This guide covers everything Miami property owners need to know about repairing damaged epoxy floors.
The epoxy floor repair process Miami property owners rely on involves assessment, surface preparation, crack filling, and recoating to restore damaged flooring. Whether dealing with peeling epoxy, chips, scratches, or cracks in your Miami home or business, understanding proper epoxy floor repair techniques ensures lasting results. National Concrete Polishing specializes in professional epoxy flooring repair throughout South Florida, addressing damage caused by Miami’s humidity, impact, wear, and improper installation. This comprehensive guide walks you through identifying damage types and executing repairs that restore your floor’s functionality and appearance.
Overview
This guide covers everything Miami property owners need to know about repairing damaged epoxy floors. You’ll learn how to assess different damage types, gather necessary materials, prepare surfaces properly, apply repair compounds, and finish repairs professionally. We’ll also address when DIY repairs are appropriate versus when professional intervention is essential, plus prevention strategies specific to South Florida’s challenging climate.
Types of Epoxy Floor Damage
Understanding the specific type of damage affecting your epoxy floor determines the appropriate repair method and materials needed. Surface scratches appear as light marks that haven’t penetrated through the topcoat and are the easiest to address. Chips and gouges result from heavy impacts or dropped objects, creating localized damage that exposes underlying concrete.
Cracks in epoxy flooring can be hairline or structural, often resulting from substrate movement or thermal expansion in Miami’s variable climate. Peeling and delamination occur when the bond between epoxy and concrete fails, typically due to moisture issues or inadequate surface preparation. Bubbling or blistering indicates trapped air or moisture beneath the coating, common in Florida installations.
Assessing the Damage Severity
Thorough damage assessment helps you determine whether DIY repair is feasible or professional help is necessary. Minor surface scratches, small chips under 2 inches, and hairline cracks can typically be addressed with homeowner-level repairs. Moderate damage including multiple chips, cracks wider than 1/8 inch, or peeling areas under 10 square feet may be manageable with proper materials and technique.
Extensive damage requiring professional repair includes widespread peeling covering more than 20% of the floor, deep structural cracks, significant delamination, or damage indicating substrate problems. If you notice color variations or discoloration across large areas, this often signals underlying issues that demand expert evaluation. Miami’s high water table makes moisture-related damage particularly common and may require specialized moisture mitigation before repairs.
Gathering Repair Materials & Tools
Successful epoxy floor repair requires specific materials and tools appropriate for your damage type and floor system. Essential materials include epoxy repair compound or filler that matches your existing floor, epoxy primer for adhesion, and topcoat sealer for finishing. For crack repairs, you’ll need epoxy crack injection resin or flexible crack filler designed for concrete substrates.
Required tools include angle grinder or floor sander for surface preparation, putty knife or trowel for applying compounds, mixing containers and sticks for epoxy components, and cleaning supplies including degreaser and alcohol. Safety equipment is essential—wear chemical-resistant gloves, safety glasses, respirator mask, and knee pads for floor work. Surface profile tools help ensure proper texture for adhesion, while moisture meters verify substrate dryness before application.
Step 1: Clean the Damaged Area
Cleaning is the foundation of any successful epoxy repair, removing contaminants that prevent proper adhesion. Start by sweeping and vacuuming the damaged area to remove loose debris, dust, and particles. Apply a commercial degreaser to remove any oil stains, grease, or chemical residues that could interfere with bonding.
Scrub the area with a stiff brush and rinse thoroughly with clean water, then allow it to dry completely for at least 24 hours. In Miami’s humid environment, use fans or dehumidifiers to accelerate drying and prevent moisture issues. For stubborn contaminants, use isopropyl alcohol or acetone for final cleaning, ensuring all residues are eliminated before proceeding.
Step 2: Remove Loose or Damaged Epoxy
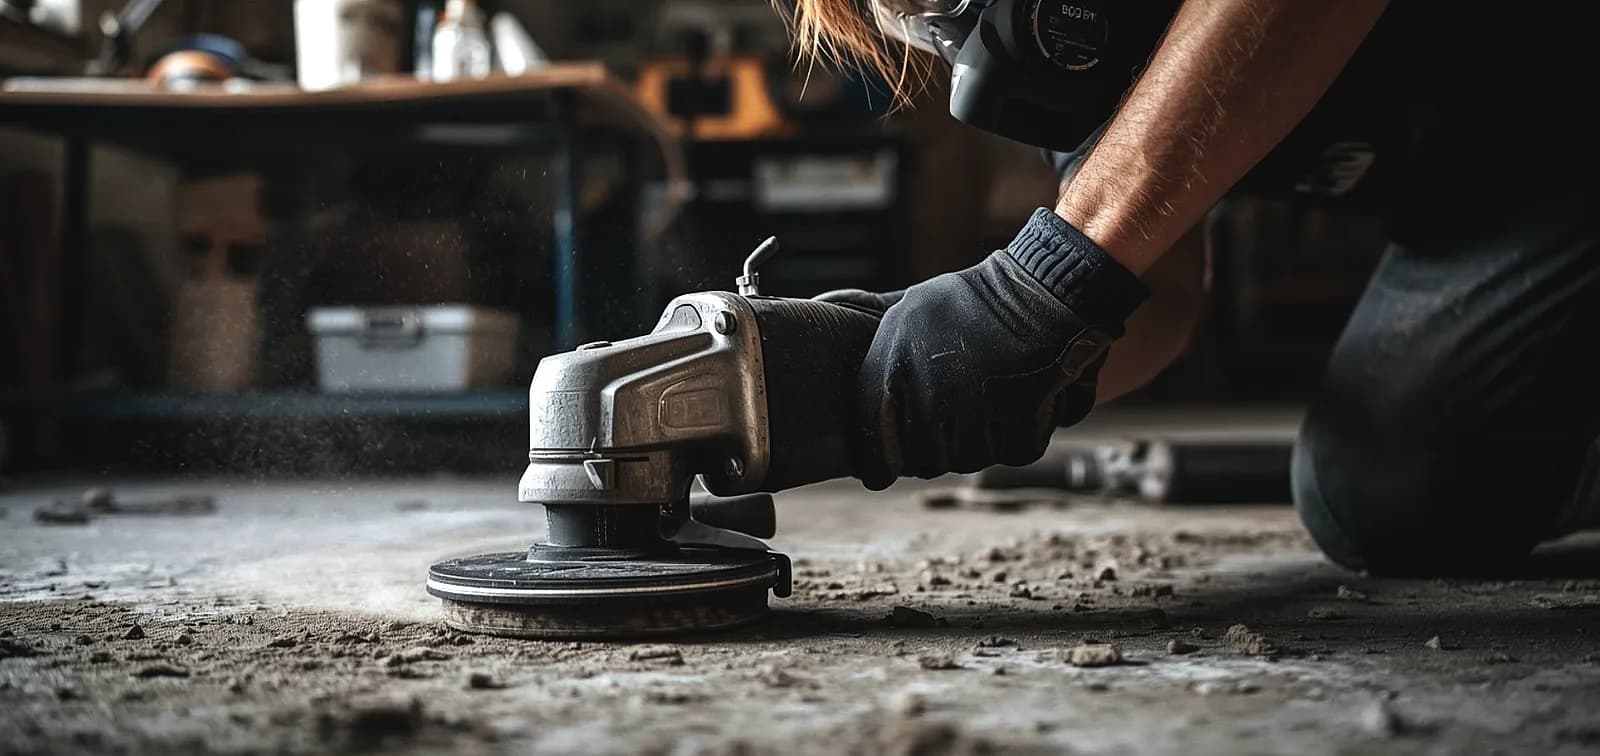
Removing all compromised epoxy material is critical to achieving a stable repair base. Use a putty knife, scraper, or wire brush to carefully remove any loose, peeling, or delaminated epoxy from the damaged area. For more extensive removal needs, an angle grinder with appropriate disc makes the process more efficient.
Extend removal approximately 2-3 inches beyond the visibly damaged area to ensure you’re working with solidly bonded material. Grinding techniques should create clean edges rather than feathering, which provides better patch integrity. Be careful not to damage the surrounding undamaged epoxy or the concrete substrate during removal.
Step 3: Sand and Profile the Surface
Proper surface preparation creates the mechanical bond necessary for repair adhesion. Sand the damaged area using 80-120 grit sandpaper or a floor sander to create surface roughness. The goal is achieving a concrete surface profile (CSP) of CSP-2 to CSP-3, which provides adequate tooth for bonding.
Sand in circular motions extending slightly beyond the repair area to ensure proper integration with existing flooring. Clean all sanding dust thoroughly using a vacuum followed by tack cloth or damp mop. Diamond grinding may be necessary for larger areas or when removing thick epoxy layers to reach sound concrete.
Step 4: Fill Cracks and Voids
Crack filling must address the root cause while providing flexible, durable repair. For hairline cracks less than 1/8 inch wide, use low-viscosity epoxy crack injection resin that can penetrate fully. Wider cracks require epoxy crack filler or concrete repair compound mixed according to manufacturer specifications.
Apply crack filler using a putty knife, ensuring complete penetration and slight overfill to account for shrinkage. For cracks deeper than 1/2 inch, use foam backer rod to fill the lower portion before applying epoxy filler. Structural cracks in Miami buildings may indicate foundation issues requiring professional evaluation before epoxy repair.
Step 5: Apply Epoxy Primer
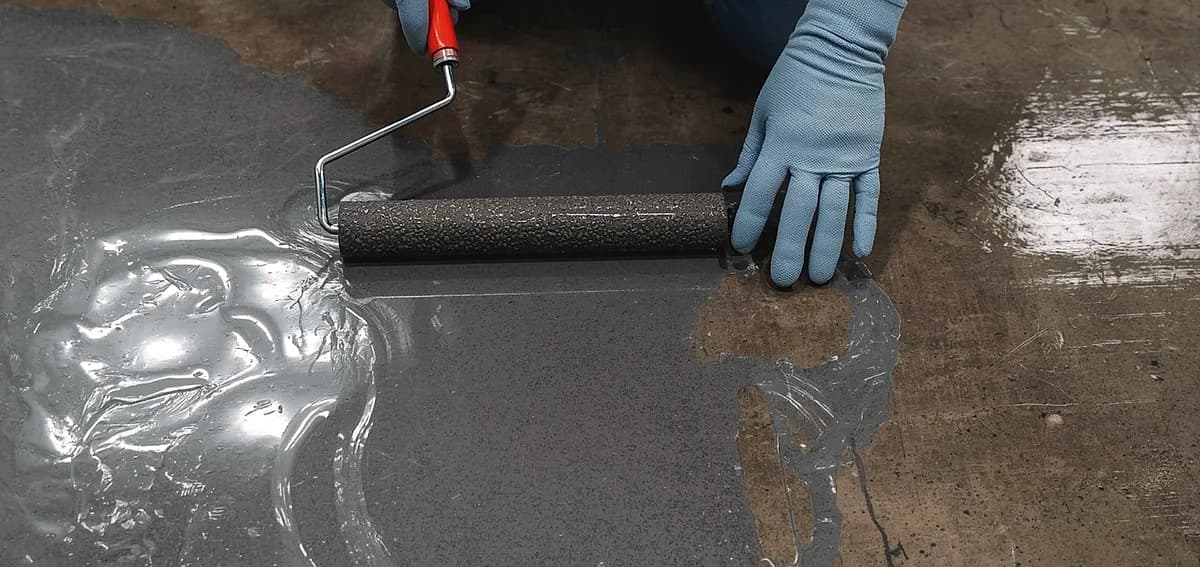
Priming ensures maximum adhesion between the repair material and prepared substrate. Mix the two-part epoxy primer according to manufacturer instructions, paying careful attention to ratios. Apply a thin coat of primer to the prepared area using a brush or roller, extending slightly beyond repair boundaries.
Allow the primer to become tacky but not fully cured before applying repair material typically 2-4 hours depending on Miami temperature and humidity. Moisture-mitigating primers are essential for Florida repairs where substrate moisture is common. Never skip the primer step, as it dramatically improves repair longevity and prevents future delamination.
Step 6: Mix and Apply Repair Compound
Proper mixing and application of epoxy repair compound determines patch quality and longevity. Measure epoxy components precisely using digital scales if possible, as incorrect ratios compromise curing and strength. Mix thoroughly for 2-3 minutes, scraping sides and bottom to ensure complete blending.
Apply the mixed epoxy repair material to the damaged area using a putty knife or trowel, slightly overfilling to allow for leveling. Work the material into corners and edges ensuring no air pockets remain. For shallow repairs, a single application may suffice, while deeper damage requires multiple layers with proper curing between coats. Color matching can be achieved by adding pigments to clear repair epoxy or by selecting pre-tinted products.
Step 7: Smooth and Level the Repair
Creating a smooth, level surface ensures your repair blends seamlessly with surrounding flooring. Use a straight edge or trowel to level the repair material flush with the existing floor surface. Work quickly as most epoxy repair compounds begin setting within 20-30 minutes.
Remove excess material immediately while the epoxy remains workable, feathering edges to blend with the existing surface. For larger repairs, a floor squeegee helps achieve consistent thickness and smoothness. Check levelness from multiple angles using a straightedge, making final adjustments before the material begins to gel.
Step 8: Allow Proper Curing Time
Curing is the chemical process that transforms liquid epoxy into a durable solid surface. Initial set occurs within 6-8 hours, but the repair remains vulnerable during this period. Light foot traffic may be possible after 24 hours, though full cure requires 5-7 days.
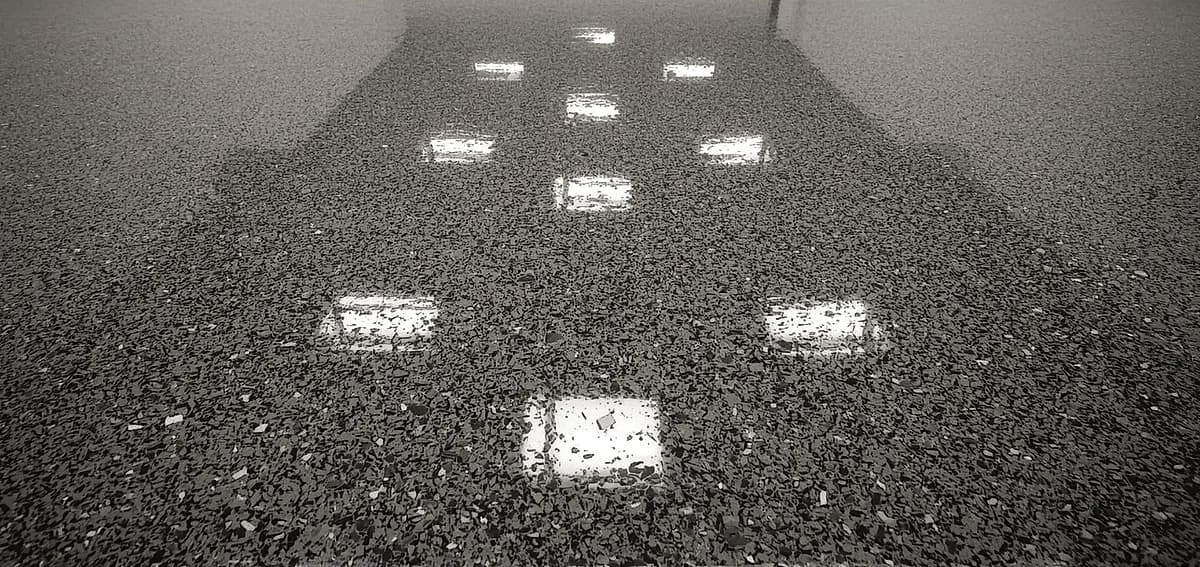
Miami’s temperature and humidity significantly affect curing rates—high heat accelerates curing while excessive humidity can slow it. Avoid using the repaired area for its intended purpose until reaching full cure, which develops maximum chemical resistance and mechanical strength. Proper curing conditions between 60-85°F with humidity below 50% produce optimal results.
Step 9: Sand and Finish the Repair
Final finishing creates an invisible repair that matches the existing floor texture and appearance. Once fully cured, lightly sand the repair area using 120-220 grit sandpaper to smooth any high spots or roughness. Vacuum or wipe away all sanding dust before proceeding to topcoat application.
Apply a matching topcoat over the repair area, extending several inches beyond the patch to blend it seamlessly. Multiple thin topcoat layers typically produce better results than a single thick application. Gloss level matching ensures visual consistency—satin, semi-gloss, or high-gloss depending on your existing floor.
Repairing Peeling Epoxy Floors
Peeling epoxy requires more extensive intervention than simple surface repairs. For localized peeling under 2 square feet, remove all loose material back to solidly bonded epoxy, then follow the standard repair process. Sand aggressively to create proper surface profile and ensure the remaining epoxy is firmly attached.
Widespread peeling typically indicates fundamental adhesion failure requiring complete floor removal and recoating. Chemical strippers or floor grinding remove failed epoxy down to bare concrete. Address the root cause—usually poor surface preparation, moisture issues or Miami humidity problems—before reapplication to prevent recurrence.
Fixing Bubbles and Blisters
Bubbles in epoxy floors result from trapped air, moisture, or off-gassing during application. Small bubbles can sometimes be popped with a pin roller immediately after application, but cured bubbles require grinding. Use an angle grinder to remove the affected area, creating a shallow depression.
Clean and vacuum thoroughly, then apply primer to the exposed area. Fill with matching epoxy repair material, level flush, and topcoat once cured. Large blister areas or those recurring after repair indicate substrate moisture problems common in Miami that require moisture testing and mitigation before permanent repair.
Addressing Deep Cracks and Gouges
Deep damage penetrating through epoxy into concrete requires structural repair before surface coating. Clean the damaged area and remove all loose material using wire brushes or grinders. For cracks deeper than 1/2 inch, insert foam backer rod to within 3/8 inch of the surface.
Apply epoxy crack injection resin for structural cracks, ensuring complete penetration. Fill gouges and chips with epoxy patching compound in layers no thicker than 1/4 inch, allowing each to cure before adding the next. Concrete resurfacing products may be necessary for extensive damage before applying new epoxy coatings.
Color Matching Repair Patches
Achieving invisible repairs requires careful color matching to blend patches with existing flooring. Contact your original installer or manufacturer for touch-up materials in the exact color formulation. Clear epoxy repair compounds can be tinted using universal pigments, though achieving perfect matches requires experimentation.
Consider recoating the entire floor section or room if precise matching proves difficult. Metallic epoxy floors and decorative finishes are particularly challenging to match, often requiring professional color-matching services. Test your repair material in an inconspicuous area before addressing visible damage to verify color accuracy.
When to Call Professional Repair Services
Certain situations demand professional expertise beyond DIY capabilities. Extensive damage covering more than 25% of floor area is more cost-effective to professionally recoat than patch. Structural issues, foundation cracks, or severe substrate damage require engineering assessment before cosmetic repairs.
Moisture problems in Miami buildings often need specialized testing and moisture mitigation systems before repairs will hold. Commercial and industrial facilities with operational demands benefit from professional repair services that minimize downtime. If your DIY repair fails within 6 months, underlying issues exist that require professional diagnosis and correction.
Preventing Future Epoxy Floor Damage
Proactive maintenance extends the life of repaired epoxy floors and prevents new damage. Implement regular cleaning protocols using pH-neutral cleaners and soft mops to prevent abrasive wear. Place protective mats under heavy equipment, workbenches, and at entry points to minimize impact and wear damage.
Address moisture issues promptly by improving drainage, fixing plumbing leaks, and managing Miami’s humidity with dehumidifiers. Apply fresh topcoat every 3-5 years to refresh protection and fill minor surface scratches before they worsen. Avoid hot tire pickup by allowing vehicles to cool before parking and using polyaspartic topcoats in garage applications.
Maintenance After Repair
Newly repaired areas require special care during the initial weeks to ensure maximum longevity. Avoid placing heavy loads on repairs for at least 7 days after completion. Clean repaired areas gently using recommended cleaners rather than harsh chemicals that could soften fresh epoxy.
Monitor repaired areas for signs of recurrence such as edge lifting, discoloration, or new cracks that might indicate incomplete repair. Apply a fresh topcoat over the repaired area after 6-12 months to fully integrate it with the surrounding floor. Regular maintenance including periodic topcoat renewal extends the life of both repairs and original flooring.
Frequently Asked Questions
How long does the epoxy floor repair process take in Miami?
Small repairs can be completed in 4-6 hours with 24-48 hours cure time, while extensive repairs require 2-3 days plus 5-7 days for full curing.
Can I repair epoxy flooring myself or should I hire professionals?
Minor scratches, small chips, and hairline cracks are suitable for DIY repair, but extensive peeling, structural damage, or moisture issues require professional services.
What causes epoxy floors to peel in Miami?
Peeling typically results from poor surface preparation, trapped moisture, improper curing conditions, or Miami’s high humidity during installation.
How much does epoxy floor repair cost in South Florida?
DIY repairs cost $50-200 for materials, while professional repairs range from $300-800 for small areas to $2,000-5,000 for extensive recoating.
Can I match the color of my existing epoxy floor?
Color matching is possible using manufacturer touch-up kits or tinted clear epoxy, though metallic and decorative floors are more challenging to match precisely.
How do I prevent bubbles in epoxy floor repairs?
Ensure proper surface preparation, maintain ideal temperature and humidity, mix thoroughly without introducing air, and apply in thin coats.
What’s the best way to repair cracks in garage epoxy floors?
Clean the crack thoroughly, use epoxy crack filler or injection resin, overfill slightly, then sand flush and topcoat after curing.
When should I completely recoat instead of patching?
If more than 20-25% of the floor is damaged, if repairs have failed repeatedly, or if the existing coating shows widespread adhesion failure, complete recoating is more practical.
How does Miami humidity affect epoxy floor repairs?
High humidity slows curing, can cause moisture-related failures, and may require dehumidification during repair for optimal results.
What tools do I need for DIY epoxy floor repair?
Essential tools include angle grinder or sander, putty knife, mixing supplies, cleaning materials, safety equipment, and appropriate epoxy repair products.
Conclusion
Successfully completing the epoxy floor repair process Miami homeowners and businesses depend on requires careful damage assessment, proper surface preparation, quality materials, and patience during curing. While minor repairs like scratches, small chips, and hairline cracks are manageable DIY projects, extensive damage, peeling, or moisture-related issues common in South Florida warrant professional intervention. Understanding repair techniques, respecting curing times, and implementing preventive maintenance protects your flooring investment and extends its lifespan in Miami’s challenging climate.
National Concrete Polishing offers expert epoxy floor repair services throughout South Florida, combining technical expertise with knowledge of local conditions to deliver lasting repairs. Contact us today for a free assessment of your damaged epoxy floor and discover how our professional repair services restore beauty and functionality to your Miami property.
Written by

Founder and CEO
Chris Lavin is an esteemed leader in concrete polishing and epoxy coatings with a distinguished 20-year career. As founder and CEO of National Concrete Polishing and owner of Xtreme Polishing Systems, he's renowned for polishing and epoxy coating more floors than anyone globally. Chris is recognized for his innovative approach and commitment to enhancing floor durability and aesthetics. His hands-on experience and technical proficiency make him a respected authority and a valuable resource in the field of floor polishing and coatings.
Same topic
Related articles
All stories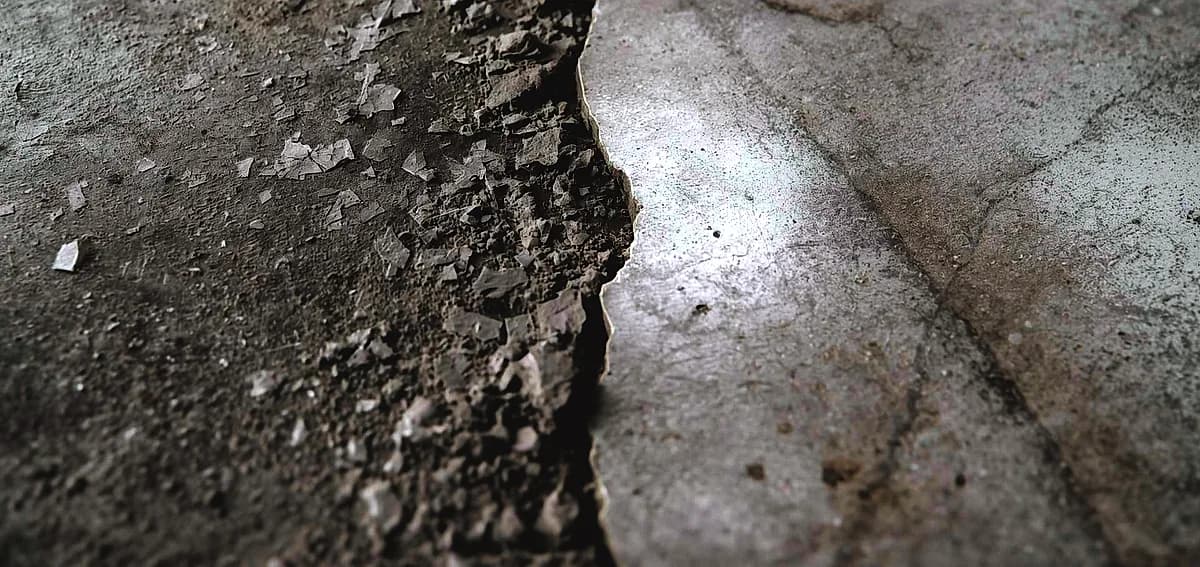
Epoxy & coatings8 min read
DIY vs Professional Epoxy Flooring in Fort Lauderdale
Hardware stores heavily market all-in-one boxes that promise a showroom finish with minimal effort.
Read it
Epoxy & coatings8 min read
Can You DIY Epoxy Flooring in Miami? Pros, Cons, and Tips
Applying a durable floor finish in a tropical or highly humid climate presents unique environmental challenges.
Read it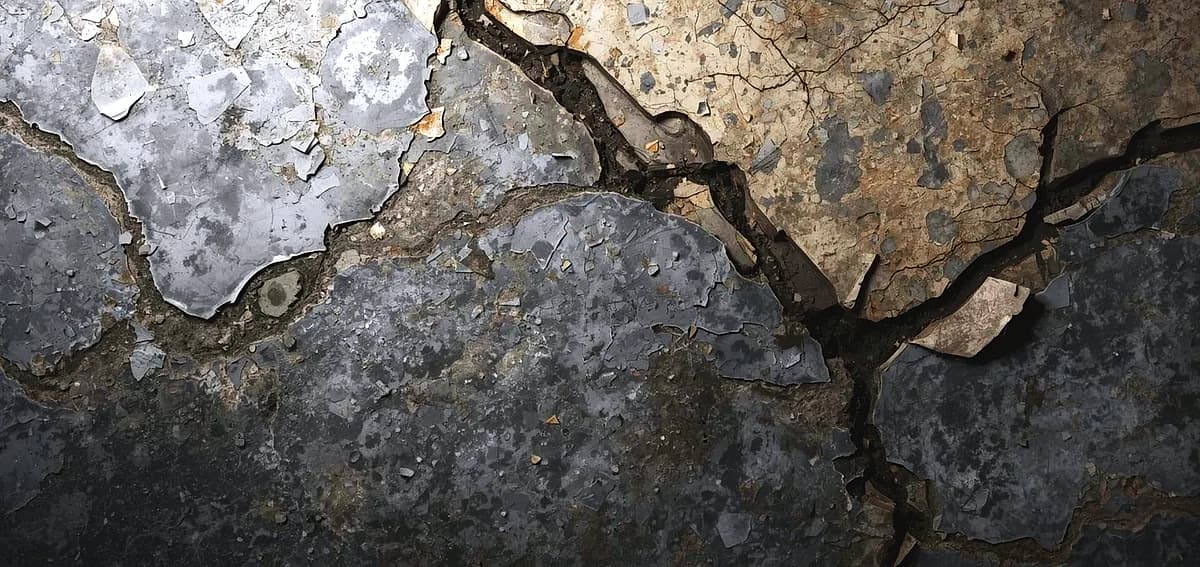
Epoxy & coatings7 min read
DIY Epoxy Flooring in South Florida: Is It Worth the Risk?
However, these products generally contain high levels of water or solvents to extend their pot life.
Read it
Tell us about the floor
Tell us the space and roughly how big it is.We come back with what it would cost and when we could start.
Prefer to talk? Call +1 844-876-5474
- Leads@
nationalconcretepolishing.net - 2200 NW 32nd St #600,
Pompano Beach, FL 33069 Mon to Fri, 9:00 to 5:30