
The NCP blog
Can You DIY Epoxy Flooring in Miami? Pros, Cons, and Tips
Epoxy & coatings8 min read
Applying a durable floor finish in a tropical or highly humid climate presents unique environmental challenges.
Data shows that nearly 65 percent of self-applied garage floor coatings experience delamination within the first two years of installation in 2026. If you are considering undertaking a concrete resurfacing project yourself, you may be wondering if the cost savings are worth the risk of failure. We have the right article for you, covering the benefits, drawbacks, and essential steps for applying resinous coatings in high-humidity environments.
Applying a floor coating independently is entirely possible for a dedicated homeowner. However, achieving a durable, commercial-grade finish requires rigorous surface preparation, professional tools, and strict environmental control. It is essential to evaluate both your skill level and the specific demands of your local climate before pouring any materials.
UNDERSTANDING RESINOUS COATINGS IN HUMID CLIMATES
Applying a durable floor finish in a tropical or highly humid climate presents unique environmental challenges. High levels of atmospheric moisture directly impact how chemical compounds cure and bond to a concrete slab. The moisture vapor transmission rate (MVTR) measures how much water vapor travels through the concrete from the ground below. When this transmission rate is too high, it creates hydrostatic pressure that forcefully pushes coatings off the surface.
As John Doe, Senior Engineer at the Portland Cement Association, explains: “Concrete acts like a hard sponge, continuously absorbing and releasing ground moisture depending on the surrounding humidity.” This constant moisture exchange can lead to efflorescence, which is a white, powdery salt deposit that disrupts chemical adhesion. It is vital to measure the slab’s internal moisture before attempting to apply any non-breathable sealer.
Furthermore, elevated temperatures significantly accelerate the curing process of two-part chemical systems. This acceleration reduces your pot life, meaning you have much less time to spread and back-roll the material before it hardens in the bucket. Professionals utilize specialized additives and climate control strategies to mitigate these rapid curing cycles. If you proceed independently, it is advisable to work during the coolest parts of the day and monitor the dew point closely.
PROS AND CONS OF HOMEOWNER KITS VERSUS PROFESSIONAL GRADE
The materials available at local home improvement stores differ fundamentally from the industrial-grade products used by established contractors. Homeowner kits are typically water-based or solvent-based systems designed for easy mixing and extended work times. In contrast, commercial contractors use 100 percent solids materials that contain no evaporating liquids, resulting in a much thicker and more robust protective layer.
Standard retail kits usually yield a dry film thickness of 3 to 4 mils, which is roughly the thickness of a few coats of standard house paint. Professional applications are typically 20 to 40 mils thick, providing vastly superior resistance to heavy impacts and chemical spills. The average cost of professional concrete resurfacing is $1,366 in 2026, which represents a higher initial investment but provides substantial long-term value.
| Feature | DIY Retail Kits | Professional Grade Systems |
|---|---|---|
| Material Composition | Water-based or solvent-based | 100% solids resin and polyaspartic |
| Dry Film Thickness | 3 to 4 mils | 20 to 40 mils |
| Durability and Lifespan | 2 to 5 years | 15 to 20+ years |
| Hot Tire Resistance | Low (prone to peeling) | Excellent |
| Initial Cost | Lower material cost | Higher investment |
FACTORS THAT AFFECT COATING ADHESION AND DURABILITY
- Concrete Porosity and Laitance: Laitance is a weak, crumbly layer of cement dust that forms on the surface of a newly poured slab. If you apply a coating directly over laitance, the resin will bond to the dust rather than the solid concrete below. Removing this weak top layer is non-negotiable for achieving a permanent bond.
- Moisture Mitigation: As previously mentioned, high moisture levels destroy chemical bonds. Concrete porosity can hold up to 15 pounds of moisture per 1,000 square feet. Implementing proper moisture mitigation systems, such as specialized vapor barrier primers, is a standard requirement in damp regions.
- Surface Contaminants: Oil, grease, transmission fluid, and old paint act as severe bond breakers. Even if a surface appears clean to the naked eye, chemical residues trapped deep within the concrete pores can cause massive adhesion failures. Intensive degreasing and profiling are required to lift these embedded contaminants.
- Temperature Fluctuations: While tropical regions do not experience severe freeze-thaw cycles, extreme heat causes concrete slabs to expand rapidly. The applied coating must possess enough elasticity to move with the slab during peak afternoon temperatures. Rigid, low-quality materials will inevitably crack under this thermal stress.
STEPS TO PREPARE AND COAT YOUR CONCRETE FLOOR
Preparation is the most critical phase of any resurfacing project. Sarah Jenkins, Lead Materials Scientist at ASTM International, notes: “Proper surface profiling accounts for eighty percent of a coating’s long-term adhesive success.” Skipping any of the following preparation steps drastically increases the likelihood of a failed installation.
- Conduct Moisture Testing: Begin by performing a calcium chloride test or using specialized internal relative humidity probes to determine the slab’s moisture content. If the results indicate high vapor transmission, you must install a dedicated moisture vapor barrier before proceeding.
- Perform Mechanical Grinding: You must physically alter the surface of the concrete to open its pores. Renting a walk-behind diamond grinder is the most effective way to achieve an adequate surface profile. It is essential to avoid acid etching, which introduces excess water into the slab and rarely provides enough texture for commercial-grade materials.
- Repair Cracks and Spalling: Inspect the entire floor for structural cracks and areas of spalling. Fill these voids using polymer-modified overlays or specialized polyurea crack fillers. Allow these repairs to cure completely, and then grind them flush with the surrounding concrete to ensure a perfectly seamless final finish.
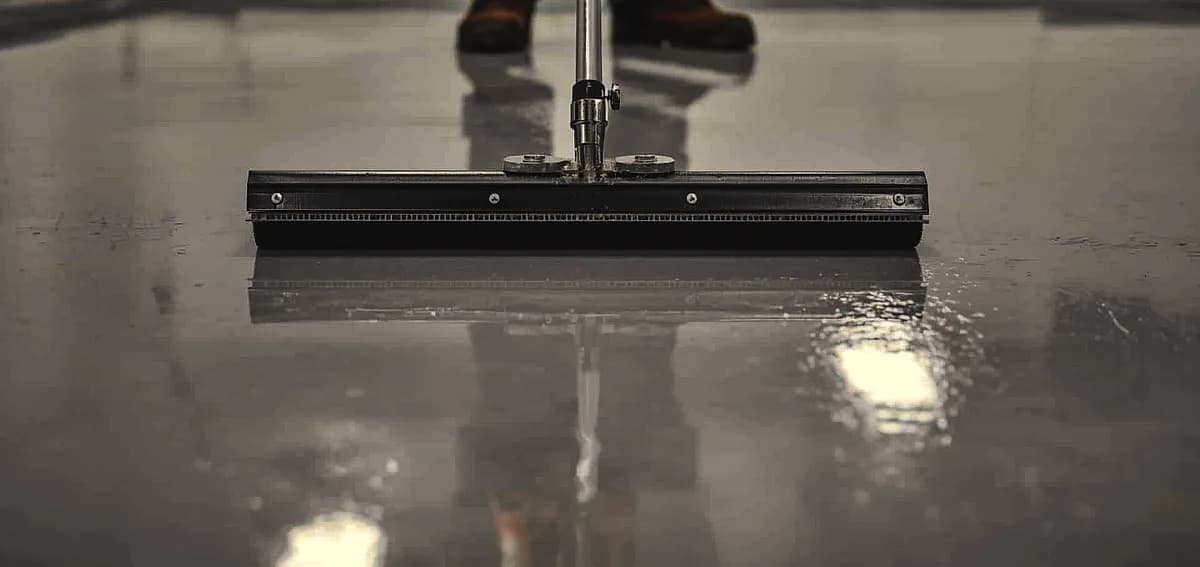
- Apply the Primer and Base Coat: Mix the two-part resin exactly according to the manufacturer’s volumetric ratios. Once mixed, immediately pour the material onto the floor in ribbons to dissipate heat and extend your working time. Use a notched squeegee to spread the material evenly, followed by a lint-free roller to smooth out any application lines.
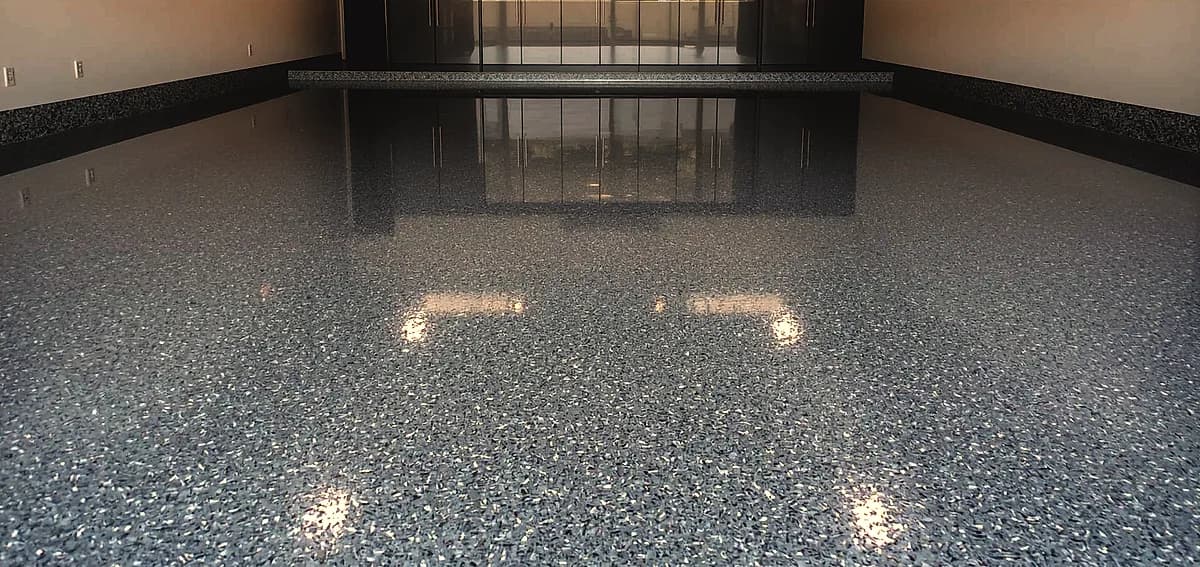
- Distribute Flakes and Topcoat: If you are using decorative vinyl flakes, broadcast them evenly into the wet base coat until the surface is completely covered. After the base coat cures, scrape off the excess flakes and vacuum the floor thoroughly. Finally, apply a UV-stable topcoat, such as a polyaspartic urethane, to seal the floor and provide long-lasting gloss and chemical resistance.
COMMON MISTAKES TO AVOID WITH RESIN APPLICATIONS
One of the most frequent errors inexperienced individuals make is relying on acid washing instead of mechanical grinding. While acid etching is commonly recommended by retail kit manufacturers, it creates a highly inconsistent surface profile and saturates the concrete with water. This trapped water will eventually try to escape, causing your new floor finish to blister and peel away in large sheets.
Another significant mistake is ignoring the specified pot life of the mixed chemicals. The chemical reaction between the resin and the hardener generates substantial heat, a process known as an exothermic reaction. If left in the mixing bucket too long, the material can flash-cure, rendering it completely useless and potentially melting the plastic container.
Finally, improper ventilation and safety protocols pose serious risks during installation. Michael Vance, Environmental Director at the Environmental Protection Agency, states: “Using high-solids materials significantly reduces volatile organic compound emissions during the curing phase.” However, adequate airflow is still mandatory to protect respiratory health and ensure a safe working environment. Always wear proper personal protective equipment, including respirators and spiked shoes, during the application process.
Frequently Asked Questions
How long does a self-applied garage coating typically last?
When applied using retail-grade water-based kits, a self-applied finish generally lasts between two to five years before showing significant wear. Factors such as hot tire pickup, heavy foot traffic, and UV exposure quickly degrade these thinner materials. Conversely, a professional installation can easily last 15 to 20 years with minimal maintenance.
Can I apply a resin coating over painted concrete?
No, you cannot apply new resinous materials over old paint or existing sealers. The new chemical layer will only be as strong as the old paint underneath it, which will eventually peel away from the slab. You must mechanically grind the floor to expose bare, porous concrete before applying any new finishing products.
What causes a newly coated floor to bubble or peel?
Bubbling and peeling are primarily caused by trapped moisture vapor pushing up from beneath the concrete slab. These failures can also occur if the surface was improperly cleaned, leaving oil and dirt to act as bond breakers. Additionally, applying the material while the concrete is actively outgassing due to rising temperatures will trap air bubbles in the curing film.
Is mechanical grinding always necessary before coating?
Yes, mechanical grinding or shot blasting is universally required for achieving a commercial-grade bond. These methods physically open the pores of the concrete, allowing the liquid primer to penetrate deeply and lock into the slab. Chemical etching simply does not provide a rough enough texture for thick, heavy-duty applications.
How do humidity levels impact the curing process?
High atmospheric moisture can settle on the wet surface of the coating, causing a cloudy, dull appearance known as amine blush. Elevated humidity also drastically shortens the working time of the mixed materials. It is essential to monitor local weather conditions and maintain a stable indoor environment during the entire curing phase.
Are commercial-grade polyaspartic topcoats better than standard resin?
Polyaspartic topcoats offer far superior UV resistance, preventing the floor from yellowing when exposed to direct sunlight. They also provide significantly higher scratch and chemical resistance compared to standard options. Furthermore, polyaspartic materials cure much faster, often allowing for a return to full service within 24 hours.
FINAL THOUGHTS
Refinishing your concrete surfaces is a major undertaking that demands precise preparation, quality materials, and a thorough understanding of environmental factors. While retail kits offer a tempting shortcut, the long-term durability and aesthetic appeal of a professionally installed system are unparalleled. According to the National Association of Home Builders, professional floor coatings yield an 85 percent return on investment, making it a financially sound decision. If you prefer guaranteed results and a hassle-free experience, contact us today to schedule a comprehensive consultation with our dedicated experts.
REFERENCES
Written by

Founder and CEO
Chris Lavin is an esteemed leader in concrete polishing and epoxy coatings with a distinguished 20-year career. As founder and CEO of National Concrete Polishing and owner of Xtreme Polishing Systems, he's renowned for polishing and epoxy coating more floors than anyone globally. Chris is recognized for his innovative approach and commitment to enhancing floor durability and aesthetics. His hands-on experience and technical proficiency make him a respected authority and a valuable resource in the field of floor polishing and coatings.
Same topic
Related articles
All stories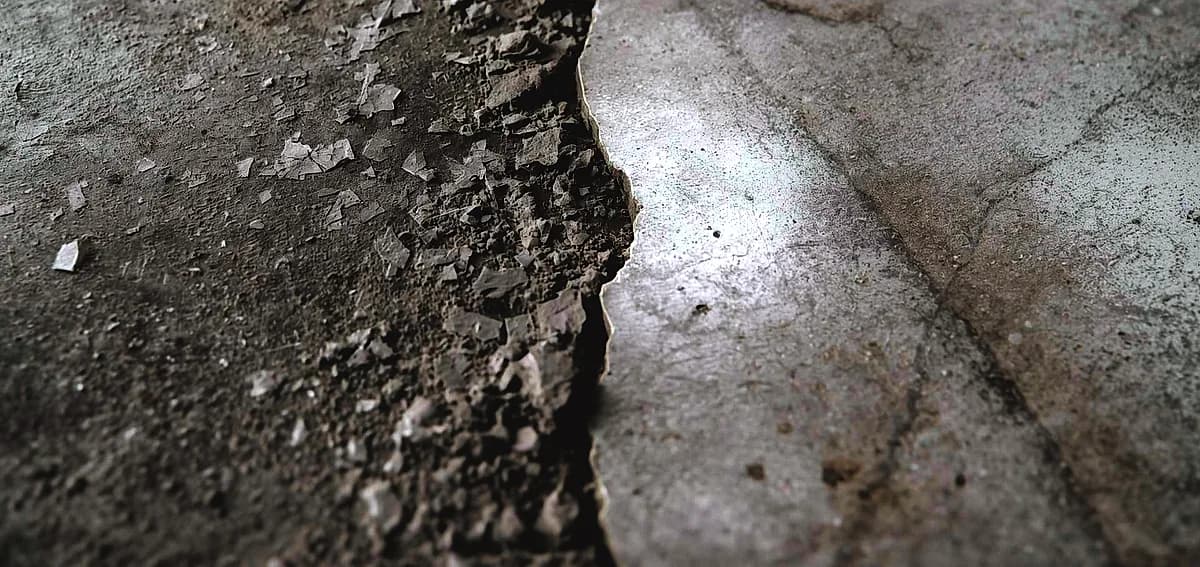
Epoxy & coatings8 min read
DIY vs Professional Epoxy Flooring in Fort Lauderdale
Hardware stores heavily market all-in-one boxes that promise a showroom finish with minimal effort.
Read it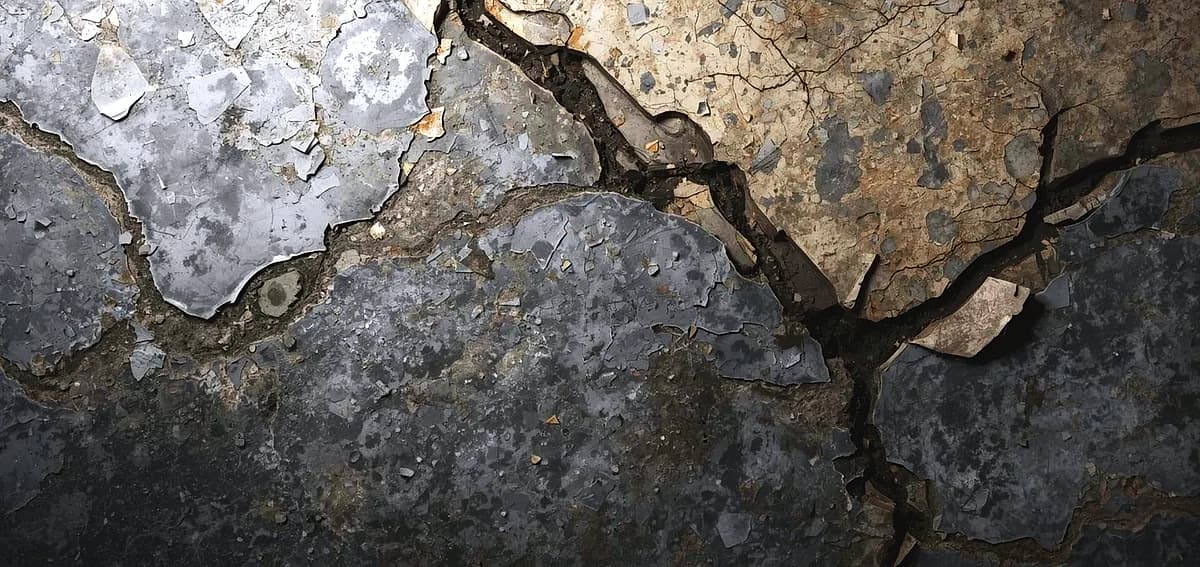
Epoxy & coatings7 min read
DIY Epoxy Flooring in South Florida: Is It Worth the Risk?
However, these products generally contain high levels of water or solvents to extend their pot life.
Read it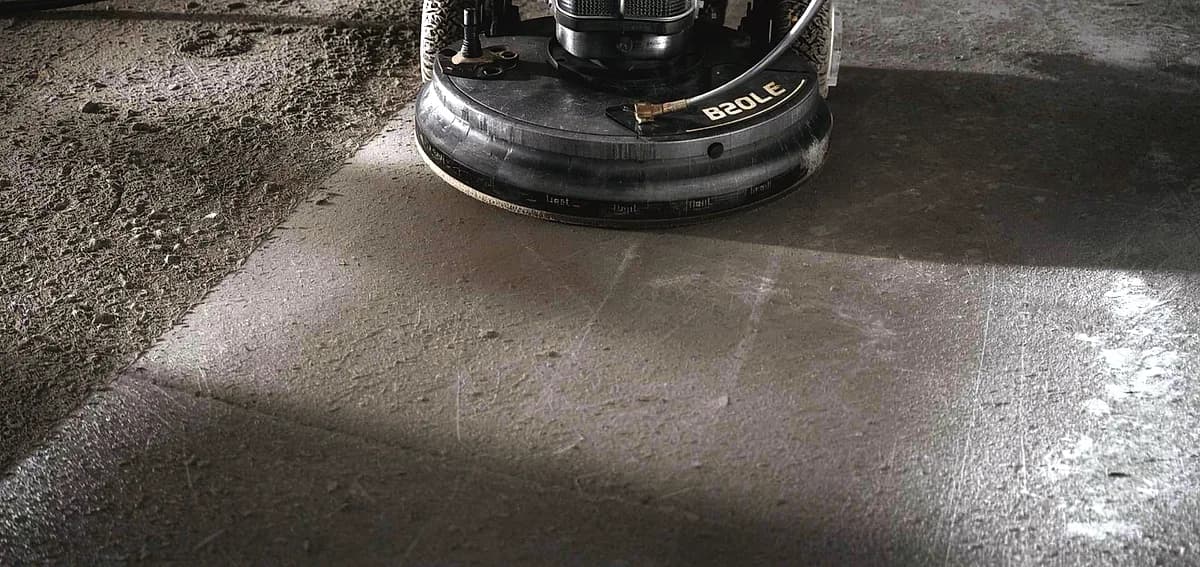
Epoxy & coatings8 min read
The Pros and Cons of Epoxy Flooring for Miami Properties
Epoxy coatings consist of a two-part chemical system containing a polymer resin and a hardening agent.
Read it
Tell us about the floor
Tell us the space and roughly how big it is.We come back with what it would cost and when we could start.
Prefer to talk? Call +1 844-876-5474
- Leads@
nationalconcretepolishing.net - 2200 NW 32nd St #600,
Pompano Beach, FL 33069 Mon to Fri, 9:00 to 5:30