
The NCP blog
The Complete Epoxy Floor Repair Process for Miami Properties
Epoxy & coatingsUpdated 9 min read
Restoring resinous flooring in South Florida presents unique engineering challenges that do not exist in temperate climates.
The epoxy floor repair process in Miami involves a systematic approach of moisture vapor testing, mechanical diamond grinding, structural crack injection, and the application of moisture-mitigating primers followed by UV-stable polyaspartic topcoats. Because coastal environments accelerate concrete degradation by up to 40% compared to inland areas, specialized restoration techniques are required to combat salt intrusion and high ambient humidity. By addressing the root causes of delamination and osmotic blistering, property owners can restore compromised surfaces to industrial-grade durability and prevent recurring failures.
Why Miami’s Climate Demands Specialized Epoxy Repair
Restoring resinous flooring in South Florida presents unique engineering challenges that do not exist in temperate climates. The combination of high saline content in the air, relentless ultraviolet (UV) radiation, and extreme moisture vapor transmission (MVT) from the high water table creates a hostile environment for standard floor coatings. According to a 2026 study by the Association for Materials Protection and Performance (AMPP), coastal concrete structures experience a 40% faster rate of chloride-induced corrosion than their inland counterparts.
When an epoxy floor fails in Miami, it is rarely due to the material itself, but rather the interaction between the substrate and the environment. Moisture vapor rising through the porous concrete slab exerts hydrostatic pressure against the impermeable epoxy layer. If this pressure exceeds the coating’s bond strength, osmotic blistering occurs. As Dr. Elena Rostova, Lead Materials Scientist at the Advanced Polymer Institute, explains: “In coastal zones like Miami, the high saline content in the air acts as a catalyst for osmotic blistering. If the repair process does not include a dedicated moisture vapor reduction system (MVRS), the new coating will inevitably suffer the same fate as the old one.”
Furthermore, the thermal shock experienced in air-conditioned commercial facilities when large bay doors open to the humid tropical air causes rapid expansion and contraction of the concrete slab. This necessitates the use of flexible, high-build repair materials that can accommodate structural movement without fracturing.
The Comprehensive Epoxy Floor Repair Process
Professional surface restoration is a highly technical procedure that prioritizes substrate integrity over aesthetic masking. The following steps outline the industry-standard methodology for repairing compromised resinous flooring in high-moisture environments.
Step 1: Diagnostic Testing and Damage Assessment
Before any physical repair begins, technicians must diagnose the exact cause of the coating failure. This involves conducting anhydrous calcium chloride testing (ASTM F1869) or in-situ relative humidity testing (ASTM F2170) to measure moisture emissions. In Miami, it is common to see moisture vapor emission rates (MVER) exceeding 8 pounds per 1,000 square feet per 24 hours, which far surpasses the 3-pound limit of standard epoxies.
For commercial facilities with complex sub-slab infrastructure, professionals often utilize advanced diagnostics to map out the damage. Understanding what’s hiding under your concrete is critical before grinding begins, as it prevents accidental damage to post-tension cables or embedded conduits.
Step 2: Mechanical Surface Profiling
The removal of the failed coating and the preparation of the underlying concrete is the most critical phase of the repair. According to the International Concrete Repair Institute (ICRI), approximately 85% of all resinous flooring failures stem from inadequate surface preparation. Chemical strippers and acid etching are entirely ineffective for professional repairs.
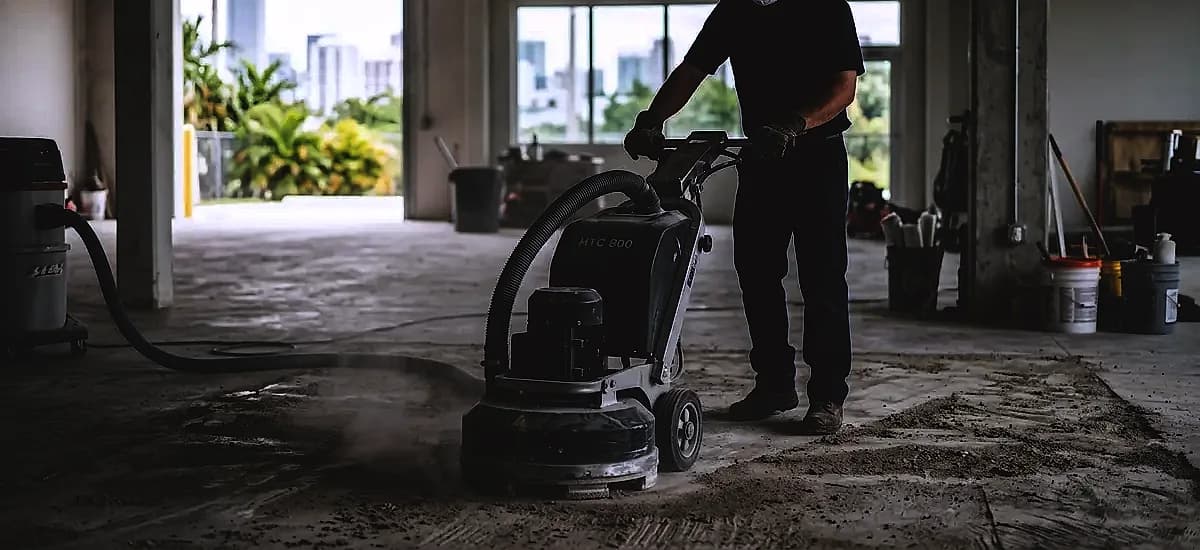
Technicians utilize heavy-duty planetary diamond grinders equipped with polycrystalline diamond (PCD) tooling to aggressively strip the compromised epoxy. Once the bare concrete is exposed, the surface is ground to achieve a CSP of 2 to 3. This creates a microscopic texture—similar to 60-grit sandpaper—that allows the new primer to mechanically lock into the concrete’s capillary pores. This meticulous profiling is the only proven method for permanently fixing peeling epoxy floors in humid climates.
Step 3: Structural Crack Injection and Spall Repair
Once the surface is profiled, all structural anomalies must be addressed. Hairline cracks, spalls, and divots are cleaned using V-blade grinders to remove loose debris. For dynamic cracks that move with temperature fluctuations, rigid epoxy pastes are unsuitable. Instead, technicians inject elastomeric polyurea or polyurethane fillers that offer up to 300% elongation.
Control joints, which are intentionally cut into the slab to direct cracking, must be honored. Filling control joints with rigid epoxy will result in the coating tearing when the slab shifts. Proper joint treatment ensures the monolithic appearance of the floor while maintaining the structural integrity of the concrete slab.
Step 4: Moisture-Mitigating Primer Application
With the substrate repaired and profiled, the first layer of the new system is applied. In Miami, this is almost always a 100% solids, moisture-mitigating epoxy primer. These specialized primers are formulated to penetrate deeply into the concrete pores and withstand up to 20 pounds of hydrostatic pressure.
The primer acts as a vapor barrier, effectively sealing off the concrete slab from the subsequent coating layers. Application requires precise timing; the material must be squeegeed and back-rolled evenly at a coverage rate of roughly 200 to 300 square feet per gallon. Installers must monitor the ambient dew point closely, ensuring the concrete surface temperature is at least 5 degrees Fahrenheit above the dew point to prevent condensation from compromising the bond.
Step 5: Base Coat and Broadcast (Optional)
For decorative systems, such as those used in residential garages or retail showrooms, a pigmented epoxy base coat is applied over the cured primer. While this layer is still wet, decorative vinyl flakes or quartz aggregates are broadcast into the resin until the floor is completely covered (known as a “full broadcast”). This not only provides a highly customizable aesthetic but also builds the thickness of the floor, adding impact resistance and hiding minor substrate imperfections.
Step 6: UV-Stable Topcoat Sealing
The final step involves encapsulating the system with a high-performance clear coat. Due to the intense sunlight in South Florida, standard bisphenol-A epoxies will rapidly amber or yellow if used as a topcoat. Therefore, professionals utilize aliphatic polyaspartic or polyurethane sealers.
These advanced topcoats offer superior abrasion resistance, chemical resistance against automotive fluids, and complete UV stability. They also cure much faster than traditional epoxies, allowing facilities to return to service quickly. Knowing exactly when your floor coating is fully cured is essential to prevent premature damage from heavy traffic.
Material Selection: Epoxy vs. Polyaspartic Coatings
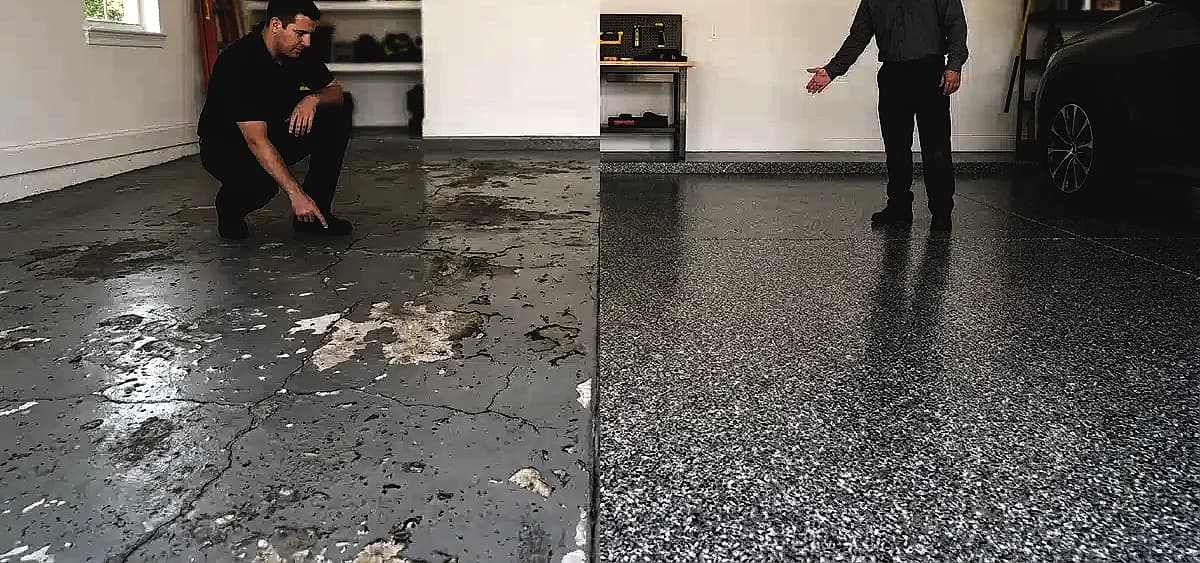
When repairing a floor, property owners must choose the right chemistry for their specific environment. While “epoxy” is often used as a catch-all term, modern restoration frequently relies on hybrid systems that leverage the strengths of multiple polymer types. Understanding the differences between polyaspartic and epoxy flooring is crucial for long-term success.
| Feature | Standard Epoxy | Polyaspartic / Polyurea |
|---|---|---|
| UV Resistance | Low (Prone to yellowing/ambering) | High (100% UV stable, no yellowing) |
| Cure Time | 24 to 72 hours | 2 to 6 hours |
| Flexibility | Rigid (Can crack under structural stress) | High (Elastomeric properties absorb impact) |
| Adhesion Strength | Excellent (Best for deep concrete penetration) | Good (Best used as a topcoat over epoxy primer) |
| Application Temperature | 50°F to 90°F | -30°F to 140°F |
For optimal results in Miami, the industry best practice in 2026 is a hybrid approach: utilizing a moisture-mitigating epoxy primer for maximum substrate adhesion, followed by a polyaspartic topcoat for rapid curing, chemical resistance, and UV protection.
Commercial vs. Residential Repair Considerations
The repair process varies significantly depending on the facility’s operational requirements. Residential garage floors primarily face threats from hot tire pickup, automotive fluids, and pedestrian traffic. Homeowners seeking durable garage floor finishes often prioritize aesthetic customization, such as metallic pigments or custom flake blends that complement their home’s exterior.
Conversely, commercial and industrial repairs are driven by regulatory compliance and operational downtime. According to the Occupational Safety and Health Administration (OSHA), slip and fall accidents account for 15% of all accidental deaths in the workplace. Therefore, commercial epoxy repairs must incorporate specific slip-resistant aggregates, such as aluminum oxide or silica sand, to meet dynamic coefficient of friction (DCOF) standards.
Furthermore, commercial facilities often cannot afford multi-day shutdowns. In these scenarios, installers utilize fast-curing polyaspartic systems that allow for return-to-service in as little as 24 hours. Interestingly, many facility managers are discovering why winter is the best time for floor coatings in South Florida, as the slightly lower humidity levels provide a wider application window for these rapid-cure materials.
How to Maintain Your Restored Concrete Floor
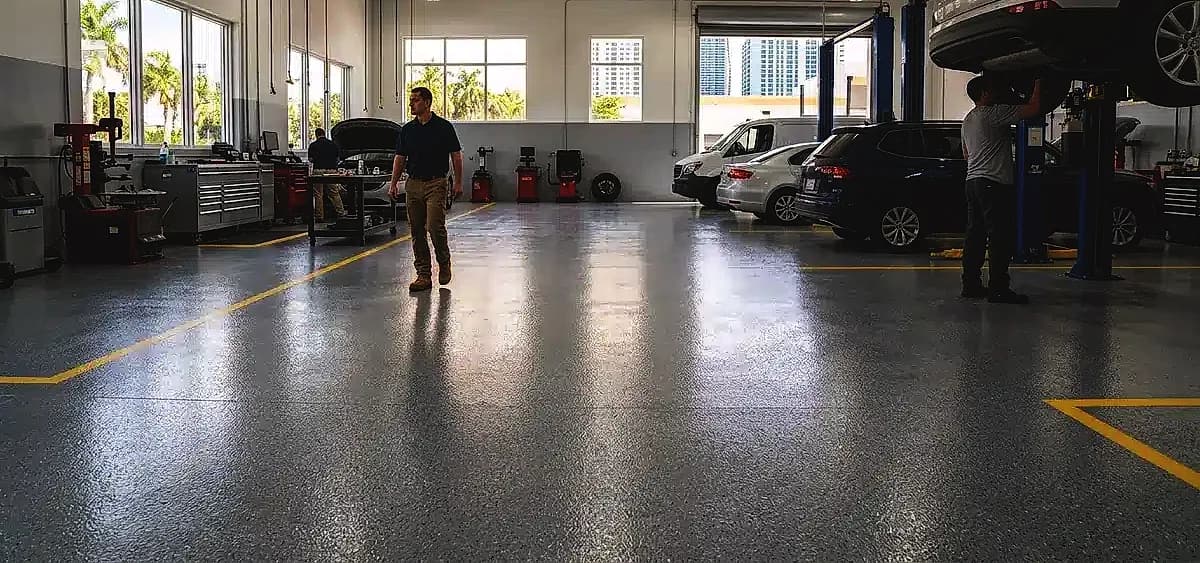
Once the epoxy floor repair process is complete, proper maintenance is essential to maximize the lifespan of the coating, which can easily exceed 15 years with basic care. The seamless, non-porous nature of resinous flooring makes it inherently easy to clean, but certain protocols must be followed to avoid dulling the finish.
Routine maintenance should consist of daily dust mopping to remove abrasive dirt and sand particles that can micro-scratch the topcoat. For wet cleaning, use a pH-neutral floor cleaner mixed with warm water. Avoid harsh degreasers, acidic cleaners (like citrus or vinegar-based products), and soap-based detergents, which leave a hazy film on the surface. In commercial settings, auto-scrubbers equipped with soft, non-abrasive pads are highly effective for maintaining large square footages without damaging the polymer surface.
Frequently Asked Questions
How long does the epoxy repair process take in Miami?
A standard residential garage repair typically takes 2 to 3 days, depending on the extent of the concrete damage and moisture mitigation required. Commercial projects may take longer, though fast-curing polyaspartic topcoats can significantly reduce facility downtime.
Can you just paint over peeling epoxy?
No. Applying new coating over failing epoxy will result in immediate delamination, as the new layer is only as strong as the compromised layer beneath it. Professional repair requires mechanically grinding the floor down to bare concrete before applying new materials.
Why did my original epoxy floor turn yellow?
Standard bisphenol-A epoxy resins are not UV stable and will undergo a chemical reaction when exposed to the intense sunlight common in South Florida. To prevent this, professional repairs utilize UV-stable aliphatic polyaspartic or polyurethane topcoats.
Does high humidity affect the epoxy curing process?
Yes, ambient humidity and dew point heavily influence polymer cross-linking. If moisture settles on the wet epoxy, it can cause “blushing” (a cloudy, greasy film) or complete adhesion failure, which is why climate monitoring is a mandatory step in the repair process.
How do professionals fix cracks in the concrete before coating?
Technicians use V-blade grinders to clean out the cracks, then inject them with elastomeric polyurea or polyurethane fillers. These flexible materials allow the concrete slab to expand and contract with temperature changes without tearing the final topcoat.
Is a moisture barrier really necessary for Miami floors?
Absolutely. Due to the high water table and frequent heavy rains, moisture vapor transmission is the leading cause of floor coating failures in South Florida. A specialized moisture-mitigating primer is essential to block hydrostatic pressure and prevent osmotic blistering.
Conclusion
The epoxy floor repair process in Miami requires far more than simply rolling a new coat of resin over a damaged surface. It demands a rigorous, science-based approach to environmental mitigation, mechanical surface profiling, and advanced polymer chemistry. By understanding the unique challenges posed by coastal humidity, salt air, and thermal shock, property owners can make informed decisions that ensure their restored floors deliver decades of reliable performance. If you are dealing with peeling, cracked, or failing resinous flooring, professional intervention is the only permanent solution. Contact us today to schedule a comprehensive site evaluation and discover the right restoration strategy for your facility.
Written by

Founder and CEO
Chris Lavin is an esteemed leader in concrete polishing and epoxy coatings with a distinguished 20-year career. As founder and CEO of National Concrete Polishing and owner of Xtreme Polishing Systems, he's renowned for polishing and epoxy coating more floors than anyone globally. Chris is recognized for his innovative approach and commitment to enhancing floor durability and aesthetics. His hands-on experience and technical proficiency make him a respected authority and a valuable resource in the field of floor polishing and coatings.
Same topic
Related articles
All stories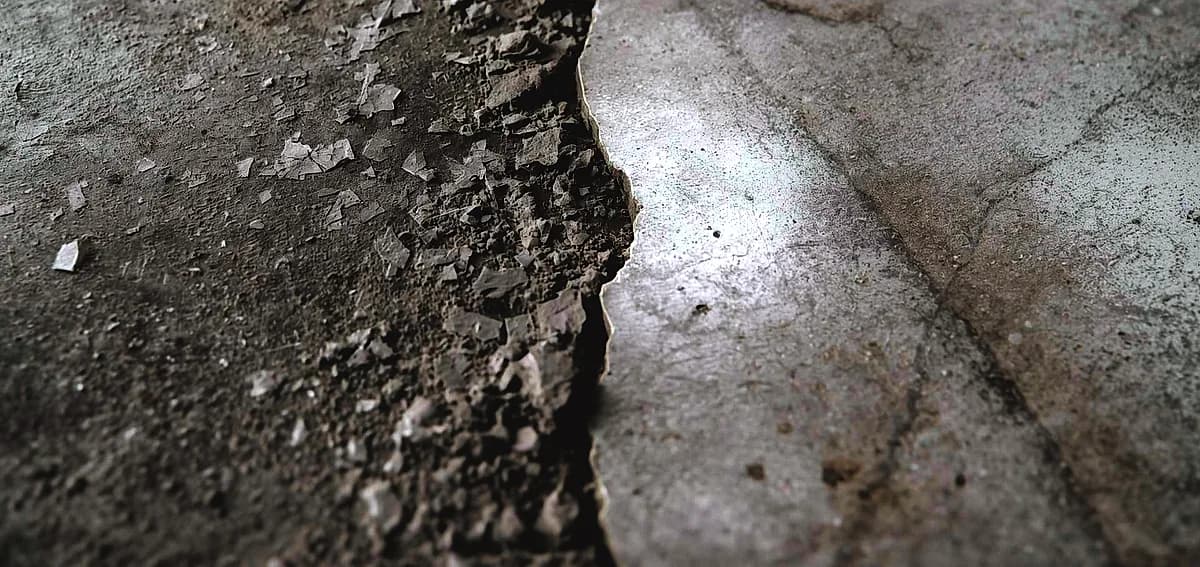
Epoxy & coatings8 min read
DIY vs Professional Epoxy Flooring in Fort Lauderdale
Hardware stores heavily market all-in-one boxes that promise a showroom finish with minimal effort.
Read it
Epoxy & coatings8 min read
Can You DIY Epoxy Flooring in Miami? Pros, Cons, and Tips
Applying a durable floor finish in a tropical or highly humid climate presents unique environmental challenges.
Read it
Epoxy & coatings7 min read
DIY Epoxy Flooring in South Florida: Is It Worth the Risk?
However, these products generally contain high levels of water or solvents to extend their pot life.
Read it
Tell us about the floor
Tell us the space and roughly how big it is.We come back with what it would cost and when we could start.
Prefer to talk? Call +1 844-876-5474
- Leads@
nationalconcretepolishing.net - 2200 NW 32nd St #600,
Pompano Beach, FL 33069 Mon to Fri, 9:00 to 5:30