
The NCP blog
Critical Tests Before Epoxy Installation: Complete Testing Guide
Epoxy & coatings9 min read
Substrate testing shows whether your concrete is ready for epoxy and prevents bubbling, delamination, and premature wear.
Epoxy floor substrate testing is the cornerstone of successful flooring installations in Pompano Beach, determining whether your concrete is ready for coating application. Proper substrate testing prevents costly failures like bubbling, delamination, and premature wear by identifying moisture issues, contamination, and improper surface profiles before epoxy application. National Concrete Polishing conducts comprehensive epoxy floor substrate testing protocols to ensure your investment delivers decades of reliable performance in South Florida’s challenging climate.
Overview
This comprehensive guide covers essential testing procedures required before epoxy installation. You’ll learn about moisture detection methods, surface profile requirements, adhesion testing, contamination assessment, and environmental evaluations. Understanding these critical tests helps property owners and contractors avoid common installation failures while ensuring optimal bonding conditions for long-lasting epoxy systems.
Moisture Testing Methods
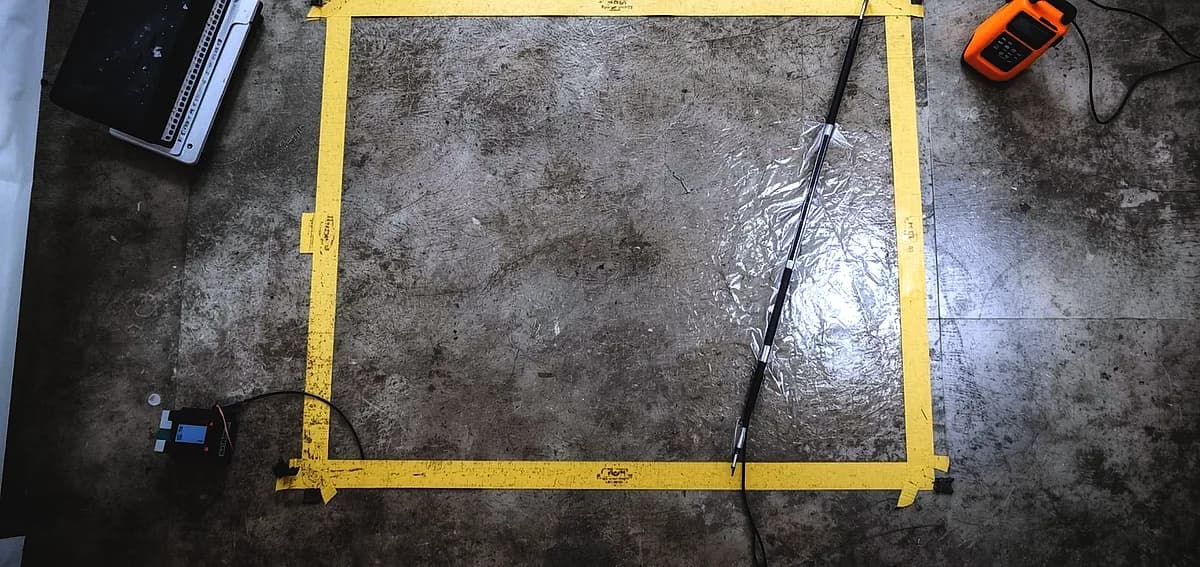
Moisture testing stands as the most critical substrate evaluation before epoxy installation, as excess moisture causes 80% of coating failures. The calcium chloride test measures moisture vapor emission rates by sealing calcium chloride crystals under a plastic dome for 60-72 hours, with acceptable readings below 3 pounds per 1,000 square feet. However, this surface-level test only measures emissions at the slab surface and may miss deeper moisture issues.
Relative humidity (RH) testing following ASTM F2170 standards provides the most accurate assessment by measuring internal moisture conditions at 40% of slab depth. This method involves drilling holes into the concrete and inserting RH probes that equilibrate for 24-72 hours before reading, with acceptable levels typically below 75% RH for most epoxy systems. Electronic moisture meters offer immediate surface readings but lack the precision of RH testing for permanent installations.
Florida’s humid climate makes moisture testing especially critical, as ground moisture continuously migrates upward through concrete slabs. Professional installers often conduct multiple test methods to verify results before proceeding with epoxy coating application.
Surface Profile Requirements
Surface profile testing determines whether concrete texture provides adequate mechanical grip for epoxy adhesion. The Concrete Surface Profile (CSP) scale ranges from CSP-1 (smooth) to CSP-9 (very rough), with most epoxy systems requiring CSP-2 to CSP-4 depending on coating thickness. Thin decorative coatings need finer profiles (CSP-1 to CSP-2), while heavy-duty industrial systems demand aggressive profiles (CSP-3 to CSP-5).
Replica tape provides the most practical field measurement method by pressing conformable tape into the surface texture and measuring the impression with a micrometer. Digital surface profilers offer more precise measurements for critical applications where exact profile depth verification is required. Visual comparison to standardized reference chips gives quick verification during preparation stages.
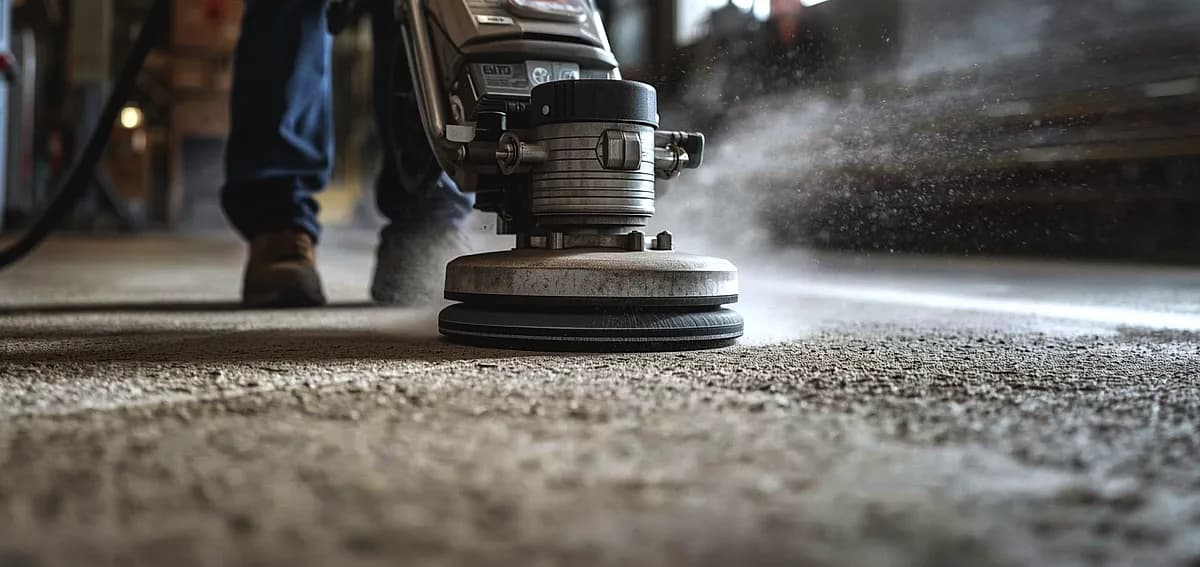
Diamond grinding produces CSP-1 to CSP-2 profiles suitable for thin epoxy systems, while shot blasting creates CSP-3 to CSP-5 profiles ideal for thick coatings. The preparation method must match the specified profile requirement to ensure proper epoxy performance and longevity.
Pull-Off Adhesion Testing
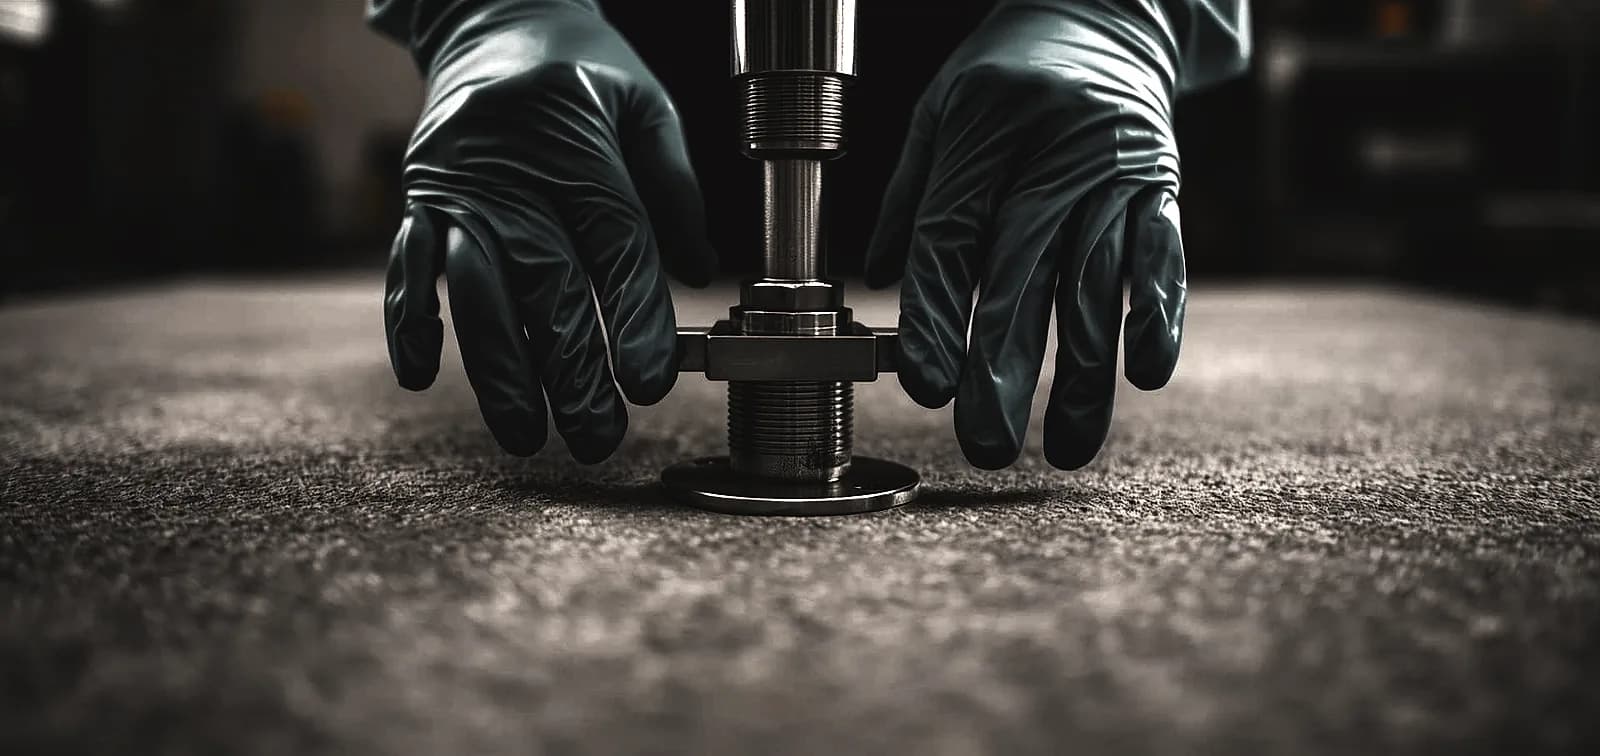
Pull-off adhesion testing provides the most reliable method for evaluating bond strength between epoxy coatings and concrete substrates. This destructive test involves gluing a metal dolly to the surface, applying controlled tensile force with a hydraulic pull-off tester, and measuring the force required to cause failure. Industry standards established by ASTM D-4541 require minimum bond strength of 200 psi for acceptable epoxy-concrete adhesion.
Test results reveal not only bond strength but also failure mode—ideal failures occur within the concrete substrate itself rather than at the epoxy-concrete interface. Interface failures indicate contamination, inadequate surface preparation, or moisture issues that must be corrected before coating application. Surface contaminants can compromise adhesion performance and produce inaccurate measurements of true bond strength.
Multiple test locations across the project area provide statistical confidence in substrate quality and preparation consistency. Professional contractors document all pull-off test results as part of quality control protocols for commercial epoxy installations.
pH and Alkalinity Testing
Concrete pH testing identifies excessive alkalinity that interferes with epoxy curing chemistry and long-term adhesion. Fresh concrete typically exhibits pH levels of 12-13, which gradually neutralize over time through carbonation. Most epoxy systems require substrate pH below 10 for proper curing, with some moisture-sensitive formulations demanding pH below 9.
Simple pH test strips provide quick field verification, while digital pH meters offer more precise measurements for critical applications. Testing should occur at multiple locations and depths, as surface pH may differ from internal conditions. Concrete age significantly affects alkalinity, with newer slabs requiring longer curing periods before epoxy application.
High alkalinity can result from recent concrete placement, certain chemical contaminants, or cleaning products that leave alkaline residues. Neutralization treatments may be necessary before proceeding with epoxy installation when pH levels exceed manufacturer specifications.
Contamination Detection
Oil, grease, and chemical contamination testing ensures the substrate is clean enough for proper epoxy adhesion. The simple cup adhesion test involves bonding a small amount of epoxy in a cup-shaped mold to the concrete surface, then attempting to remove it after curing. Easy removal indicates contamination that will prevent full-scale coating adhesion.
Water break testing applies distilled water to the surface—contaminated areas cause water to bead up rather than spread evenly. This quick visual assessment identifies localized contamination requiring additional cleaning. Solvent wipe tests using acetone or methanol on white cloths reveal surface oils and residues invisible to the naked eye.
Existing sealers, curing compounds, and old coatings must be completely removed before epoxy application, often requiring mechanical preparation methods for thorough elimination. Even trace contamination can cause localized adhesion failures that spread over time.
Temperature Monitoring
Substrate temperature testing verifies that concrete falls within the acceptable range for epoxy application and curing. Most epoxy systems require substrate temperatures between 50-90°F, with optimal bonding occurring at 60-85°F. Infrared thermometers provide quick surface temperature readings, while contact thermometers offer more accurate measurements.
Concrete temperature must remain at least 5°F above the dew point throughout application and initial curing to prevent moisture condensation on the surface. This consideration becomes particularly critical in South Florida’s climate, where air conditioning can cool slabs below dew point temperatures during humid conditions. Temperature monitoring should continue for 24-48 hours after application to ensure proper curing conditions.
Seasonal temperature variations affect installation scheduling, with winter installations requiring supplemental heating in some regions and summer projects needing cooling considerations. Professional installers maintain detailed temperature logs as part of installation documentation.
Ambient Humidity Testing
Humidity testing of the surrounding environment ensures atmospheric conditions support proper epoxy curing. Most epoxy systems require ambient relative humidity below 85% during application and initial cure. High humidity slows solvent evaporation, extends cure times, and can cause surface defects like blushing or clouding.
Digital hygrometers provide accurate ambient humidity readings at various locations within the work area. Testing should occur at floor level where the coating is applied, not just at standing height where conditions may differ. Miami’s humidity frequently exceeds optimal ranges, requiring dehumidification equipment for successful installations.
The combination of substrate moisture, ambient humidity, and temperature creates the overall environmental profile that determines installation feasibility. Professional contractors won’t proceed when conditions fall outside acceptable parameters, regardless of project pressure.
Visual Inspection Protocols
Systematic visual inspection identifies surface defects, damage, and irregularities requiring attention before coating application. Inspectors look for cracks requiring repair, spalling or delamination, surface dusting, and areas of previous coating failure. Proper lighting, including low-angle illumination, reveals subtle defects invisible under normal conditions.
Documentation through photographs and detailed notes creates a permanent record of pre-installation conditions. This baseline documentation protects both contractor and property owner by establishing the starting condition before work begins. Areas requiring special preparation or repair are marked and photographed for reference during the installation process.
Floor flatness assessment identifies areas requiring leveling compounds or additional preparation to achieve specified tolerances. Low spots that pond water will cause coating thickness variations and potential curing issues.
Core Sample Analysis
Core sample testing provides the most comprehensive substrate evaluation by allowing direct examination of concrete composition, density, and internal condition. Technicians extract cylindrical specimens 4-6 inches in diameter from the slab using specialized core drilling equipment. These samples reveal subsurface defects, delamination between concrete layers, and actual in-situ moisture conditions.
Laboratory analysis of core samples measures compressive strength, density, and internal moisture content at various depths. This destructive testing method is typically reserved for large commercial projects or when non-destructive tests indicate potential problems. Core holes must be properly repaired with compatible materials before epoxy installation proceeds.
Multiple core samples from different locations provide statistical confidence in overall slab quality. Professional testing labs provide detailed reports documenting all findings and recommendations for substrate remediation when necessary.
Documentation Requirements
Comprehensive documentation of all substrate testing creates a permanent quality control record for the installation. Test reports should include date, time, location, environmental conditions, testing methods used, and actual results compared to specification requirements. Photographic documentation supplements written reports by providing visual evidence of conditions and testing procedures.
Chain of custody for test samples, calibration certificates for testing equipment, and technician qualifications form part of complete project documentation. This thorough record-keeping protects all parties and provides troubleshooting information if issues arise later. Many commercial projects require third-party verification of test results for quality assurance purposes.
Documentation becomes particularly valuable for warranty claims, demonstrating that proper procedures were followed during installation. Professional contractors maintain these records for years after project completion.
When to Retest Substrates
Retesting becomes necessary whenever site conditions change or time elapses between initial testing and coating application. Concrete moisture content can fluctuate with seasonal changes, plumbing leaks, or weather events requiring new baseline measurements. Surface contamination from construction activities demands retesting even if earlier results were acceptable.
Any substrate repair work requires localized retesting to verify the patched areas meet specifications before proceeding. Temperature and humidity conditions must be reverified on the actual day of coating application regardless of earlier testing. Professional installers build retesting protocols into project schedules to avoid delays from unexpected condition changes.
When initial test results fall near specification limits, conservative contractors conduct follow-up testing to ensure conditions haven’t deteriorated before committing to coating application.
Frequently Asked Questions
What is epoxy floor substrate testing?
Epoxy floor substrate testing includes moisture content measurement, surface profile verification, contamination detection, and adhesion testing to ensure concrete is properly prepared for coating application.
Why is moisture testing critical before epoxy installation?
Excess moisture causes bubbling, delamination, and coating failure by creating vapor pressure beneath the epoxy that overcomes adhesive bonds.
What is acceptable concrete moisture content for epoxy?
Most epoxy systems require concrete moisture below 4% by weight or 75% relative humidity measured at 40% of slab depth following ASTM F2170 standards.
How is surface profile measured?
Surface profile is measured using replica tape pressed into the texture and read with a micrometer, digital profilers, or visual comparison to CSP reference standards.
What surface profile do epoxy floors need?
Most epoxy systems require CSP-2 to CSP-4 profiles, with thin decorative coatings needing finer textures and heavy-duty systems demanding more aggressive preparation.
What is pull-off adhesion testing?
Pull-off testing measures bond strength by applying controlled tensile force to a dolly glued to the surface, with minimum acceptable results of 200 psi.
How long before epoxy installation should testing occur?
Testing should occur as close to coating application as practical, with moisture and environmental testing repeated on installation day to verify conditions remain acceptable.
Can I skip substrate testing for small projects?
No—substrate testing is essential regardless of project size, as small residential garage floor failures are just as costly relative to investment as commercial failures.
What causes substrate testing to fail?
Common causes include excessive moisture, contamination from oils or sealers, improper surface profile, high alkalinity, and unfavorable temperature or humidity conditions.
How much does substrate testing cost?
Professional substrate testing typically costs $500-2,000 depending on project size and testing methods required, representing a small fraction of total installation cost and preventing expensive failures.
Conclusion
Critical Tests Before Epoxy Installation: Complete Testing GuideComprehensive epoxy floor substrate testing transforms uncertain installations into predictable, long-lasting successes by eliminating guesswork from the preparation process. Moisture testing, surface profile verification, contamination detection, and environmental monitoring create a complete picture of substrate readiness for coating application. While testing adds upfront cost and time to projects, it prevents exponentially more expensive failures from improper adhesion, delamination, and premature coating breakdown. National Concrete Polishing conducts rigorous substrate testing protocols on every Pompano Beach project, ensuring your epoxy flooring system bonds properly and performs reliably for decades in South Florida’s challenging climate. Contact us today for professional substrate evaluation and discover how proper testing creates the foundation for epoxy installations that exceed expectations.
Written by

Founder and CEO
Chris Lavin is an esteemed leader in concrete polishing and epoxy coatings with a distinguished 20-year career. As founder and CEO of National Concrete Polishing and owner of Xtreme Polishing Systems, he's renowned for polishing and epoxy coating more floors than anyone globally. Chris is recognized for his innovative approach and commitment to enhancing floor durability and aesthetics. His hands-on experience and technical proficiency make him a respected authority and a valuable resource in the field of floor polishing and coatings.
Same topic
Related articles
All stories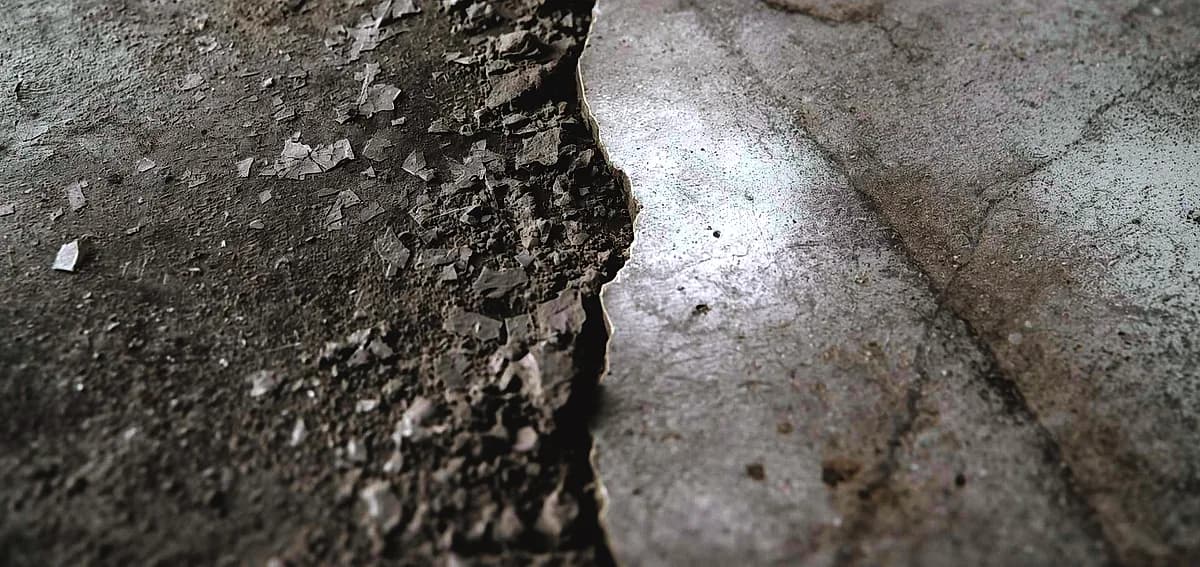
Epoxy & coatings8 min read
DIY vs Professional Epoxy Flooring in Fort Lauderdale
Hardware stores heavily market all-in-one boxes that promise a showroom finish with minimal effort.
Read it
Epoxy & coatings8 min read
Can You DIY Epoxy Flooring in Miami? Pros, Cons, and Tips
Applying a durable floor finish in a tropical or highly humid climate presents unique environmental challenges.
Read it
Epoxy & coatings7 min read
DIY Epoxy Flooring in South Florida: Is It Worth the Risk?
However, these products generally contain high levels of water or solvents to extend their pot life.
Read it
Tell us about the floor
Tell us the space and roughly how big it is.We come back with what it would cost and when we could start.
Prefer to talk? Call +1 844-876-5474
- Leads@
nationalconcretepolishing.net - 2200 NW 32nd St #600,
Pompano Beach, FL 33069 Mon to Fri, 9:00 to 5:30