
The NCP blog
Self-Leveling Epoxy Flooring Solutions for South Florida Properties
Epoxy & coatings13 min read
The chemistry involves a two-component, 100% solids epoxy resin that cross-links into a dense, thermoset plastic.
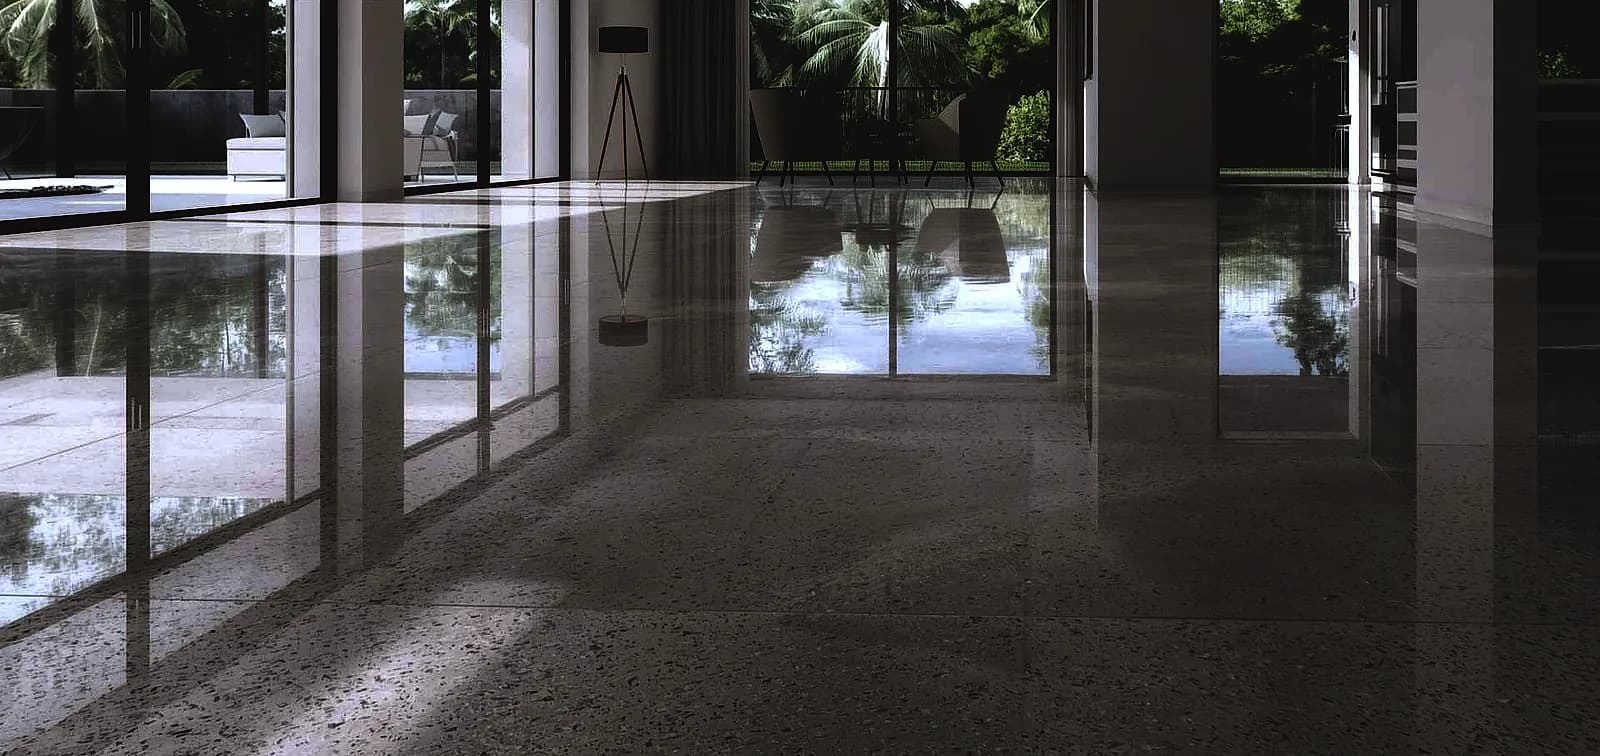
Self-leveling epoxy flooring delivers a seamless, high-gloss surface that transforms uneven concrete slabs into flawless, durable foundations. In South Florida, where humidity and moisture intrusion constantly threaten subfloors, this system provides both aesthetic appeal and structural resilience. The material flows into low spots, cures to a mirror-like finish, and withstands heavy foot traffic, chemical spills, and the relentless coastal climate. For property owners seeking a low-maintenance, visually striking floor that resists mold, mildew, and cracking, self-leveling epoxy remains the definitive solution.
What Makes Self-Leveling Epoxy Different from Standard Epoxy Coatings
Standard epoxy floor coatings are typically applied in thin layers—often 10 to 15 mils thick—and rely on the underlying concrete for flatness. Self-leveling epoxy, by contrast, is formulated with a lower viscosity that allows it to flow and seek its own level before curing. According to the American Concrete Institute, these systems are engineered to fill depressions, smooth out minor undulations, and create a monolithic surface without trowel marks or ridges. The chemistry involves a two-component, 100% solids epoxy resin that cross-links into a dense, thermoset plastic. This molecular structure yields compressive strengths exceeding 10,000 psi, far surpassing standard concrete.
In South Florida, the distinction matters because concrete slabs often settle due to sandy soils and fluctuating water tables. A thin coating merely follows the contours of a wavy floor, while a self-leveling compound corrects those imperfections. The result is a floor that not only looks premium but also eliminates trip hazards and simplifies cleaning. For commercial spaces like retail showrooms or medical facilities, this flatness is critical for rolling equipment and ADA compliance.
Why South Florida’s Climate Demands Specialized Flooring Systems
South Florida’s subtropical environment presents unique challenges that generic flooring systems cannot address. Average relative humidity hovers around 75% year-round, and groundwater sits just feet below the surface in many coastal areas. This creates a constant upward drive of moisture vapor through concrete slabs, a phenomenon known as moisture vapor transmission (MVT). Research from the Portland Cement Association indicates that MVT rates exceeding 3 pounds per 1,000 square feet per 24 hours can delaminate standard epoxy coatings. Self-leveling epoxy systems, when paired with a moisture-mitigating primer, form an impermeable barrier that blocks this transmission.
Temperature fluctuations also play a role. While South Florida doesn’t experience freeze-thaw cycles, daily thermal expansion and contraction stress rigid floor coatings. Self-leveling epoxy’s flexibility and bond strength accommodate these micro-movements without cracking. Additionally, the material’s non-porous nature prevents mold spores from colonizing the surface—a significant advantage in a region where mold remediation costs average $2,200 per incident, according to data from the Environmental Protection Agency.
Critical Substrate Preparation: The Foundation of a Lasting Floor
No flooring system outperforms the preparation beneath it. For self-leveling epoxy, substrate preparation follows a rigorous protocol that begins with moisture testing. Professionals use ASTM F2170 in-situ probes to measure internal relative humidity within the concrete slab. Readings above 75% require a vapor barrier primer before any epoxy application. Skipping this step accounts for the majority of coating failures observed in South Florida, as noted by the International Concrete Repair Institute.
Next, mechanical profiling opens the concrete’s pore structure. Shot blasting or diamond grinding removes laitance, old adhesives, and surface contaminants while creating a CSP 3-4 profile as defined by the International Concrete Repair Institute. This anchor pattern gives the primer a mechanical grip. Cracks wider than 1/8 inch must be routed and filled with a semi-rigid epoxy crack filler. Joints require treatment with a flexible sealant to prevent reflective cracking. Only after these steps can the self-leveling compound be mixed and poured.
Moisture Mitigation: The Non-Negotiable First Step
As Dr. Elena Marquez, Senior Materials Engineer at the Florida Concrete & Products Association, explains: “In South Florida, we treat every slab as a potential moisture problem until proven otherwise. A calcium chloride test alone is insufficient; we require RH probes at 40% slab depth. The self-leveling epoxy’s success depends entirely on the integrity of the moisture barrier beneath it.” This approach aligns with ASTM F3010, which governs moisture mitigation practices. A two-coat epoxy moisture barrier, applied at 15-20 mils per coat, reduces MVT to acceptable levels before the leveling compound is poured.
Installation Process: Step-by-Step from Pour to Cure
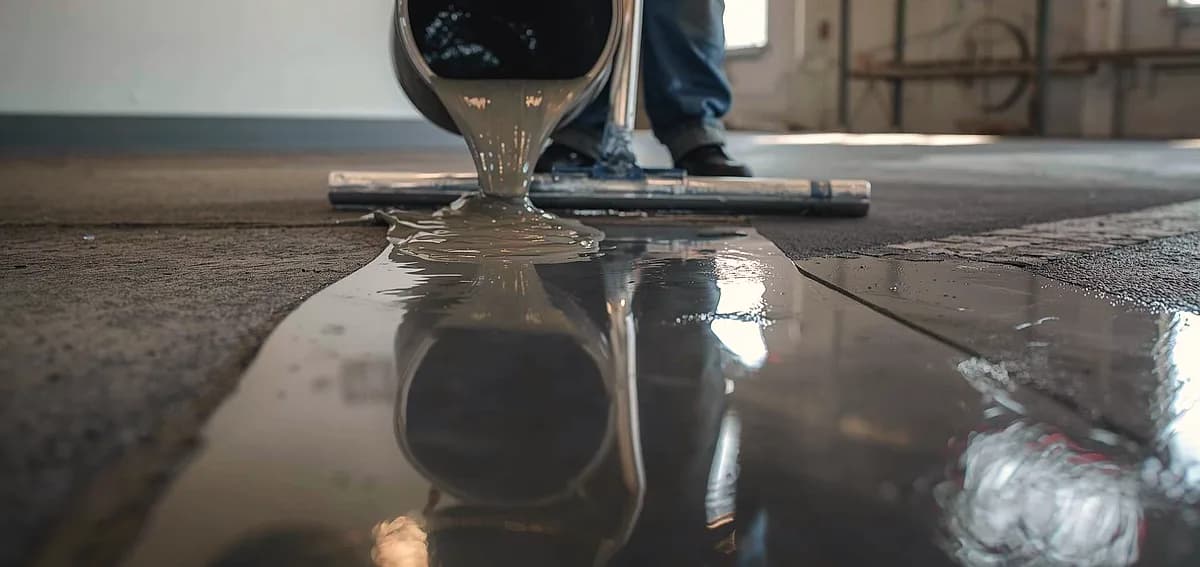
The installation of self-leveling epoxy follows a precise sequence that demands both speed and accuracy. Once the primer has tacked up, the mixed epoxy resin and hardener are poured onto the floor in ribbons. Workers use gauge rakes to spread the material to a uniform thickness, typically 1/8 to 1/4 inch. Immediately after spreading, a spiked roller releases entrapped air bubbles and helps the material flow into a continuous film. The pot life of the mixed product ranges from 20 to 40 minutes, depending on ambient temperature, so crews must work efficiently.
- Environmental Conditioning: Maintain slab temperature between 65°F and 85°F. In South Florida, this often means scheduling pours during early morning hours to avoid excessive heat that accelerates curing.
- Primer Application: Roll or squeegee a penetrating epoxy primer at 200-300 square feet per gallon. Allow to cure until tack-free but still slightly soft—typically 4-6 hours.
- Mixing: Combine Part A (resin) and Part B (hardener) using a low-speed drill mixer (300-400 RPM) for a full 3 minutes. Scrape sides and bottom to ensure complete homogenization.
- Pouring and Spreading: Pour the mixed material in parallel ribbons. Use a notched squeegee or gauge rake to distribute evenly. Target a wet film thickness of 100-125 mils.
- De-gassing: Roll the entire surface with a spiked roller in two perpendicular directions. This eliminates bubbles and promotes leveling.
- Curing: Allow 18-24 hours for initial cure. Full chemical resistance develops over 7 days. Protect from dust and foot traffic during this window.
- Topcoat Application: Apply a UV-stable aliphatic urethane or polyaspartic topcoat to protect the epoxy from yellowing and add abrasion resistance.
For property owners considering a garage epoxy flooring upgrade, this same process applies, though thickness may be reduced for residential applications. The key variable is always the concrete’s condition and moisture profile.
Cost Analysis and Return on Investment
Self-leveling epoxy flooring represents a mid-to-premium investment in the flooring market. In South Florida, installed costs typically range from $6 to $12 per square foot for a complete system including primer, leveling coat, broadcast decorative flakes (optional), and UV-stable topcoat. This compares favorably to polished concrete, which averages $4 to $8 per square foot, and significantly undercuts natural stone or tile, which can exceed $15 per square foot. However, the lifecycle cost tells a more compelling story.
A study by the National Association of Home Builders found that epoxy flooring systems last 15-20 years with proper maintenance, compared to 8-12 years for vinyl composition tile and 5-10 years for carpet in commercial settings. When factoring in reduced cleaning costs—self-leveling epoxy floors require no waxing or stripping—the 10-year total cost of ownership is 30-40% lower than VCT. For South Florida businesses, this translates to significant operational savings. A 2,000-square-foot retail space, for example, can save approximately $3,500 annually in janitorial expenses alone.
| Flooring Type | Installed Cost/sq ft | Lifespan (years) | Annual Maintenance Cost/sq ft | 10-Year Total Cost (2,000 sq ft) |
|---|---|---|---|---|
| Self-Leveling Epoxy | $8 – $12 | 15 – 20 | $0.50 | $26,000 – $34,000 |
| Polished Concrete | $4 – $8 | 20+ | $0.30 | $14,000 – $22,000 |
| Vinyl Composition Tile | $3 – $5 | 8 – 12 | $1.50 | $36,000 – $40,000 |
| Porcelain Tile | $10 – $18 | 20+ | $0.75 | $35,000 – $51,000 |
When comparing options, many property owners also evaluate epoxy flooring versus vinyl for their specific needs. The decision often hinges on the desired aesthetic and the subfloor’s condition.
Design Versatility: Beyond the Clear Coat
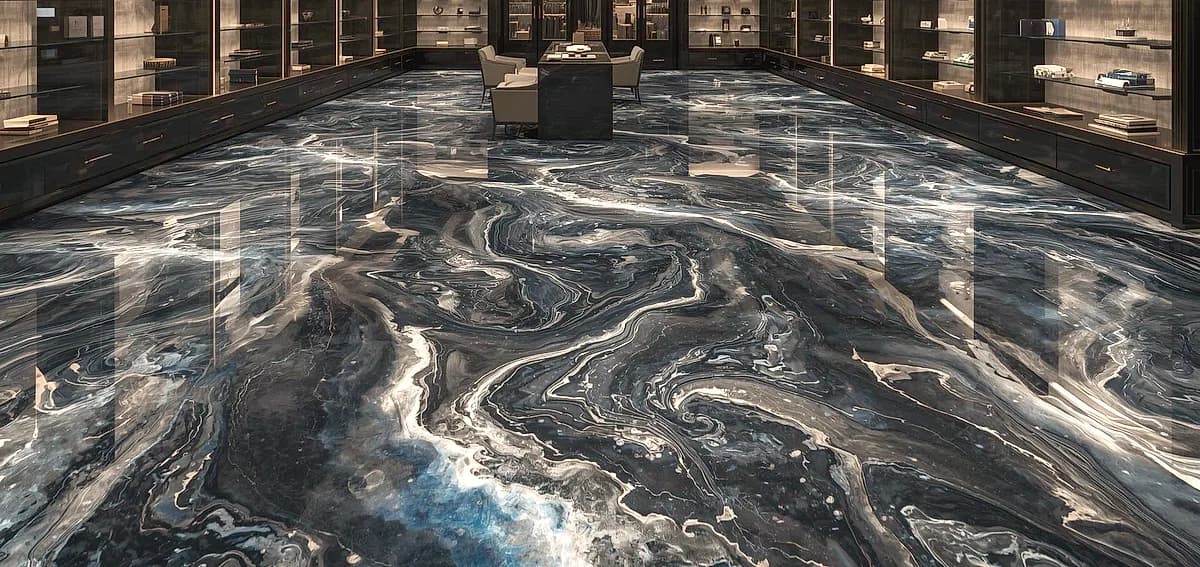
While the classic self-leveling epoxy look is a crystal-clear, high-gloss finish that showcases decorative quartz or metallic pigments, the design possibilities extend far further. Installers can incorporate vinyl color chips in dozens of blends, from subtle granite patterns to bold terrazzo effects. Metallic epoxy systems use pigments that create swirling, three-dimensional patterns resembling marble or flowing water. These effects are particularly popular in South Florida’s luxury residential market, where polished concrete for luxury homes often serves as a design statement.
For commercial applications, solid-color systems with a matte or satin topcoat reduce glare while maintaining cleanability. The material can also be coved up the wall to create a seamless, watertight base—a feature required by health codes in commercial kitchen environments. This integral cove eliminates the crevice where bacteria and moisture typically accumulate, making it the gold standard for restaurants and food processing facilities.
UV Stability and Outdoor Considerations
Standard epoxy resins contain aromatic compounds that oxidize and yellow when exposed to ultraviolet light. For South Florida properties with large windows, skylights, or outdoor covered areas, this is a critical consideration. The solution is an aliphatic urethane or polyaspartic topcoat, which contains UV-stable chemistry that does not amber over time. As Mark Chen, Technical Director at a leading coatings manufacturer, notes: “We specify polyaspartic topcoats for any floor receiving more than 2 hours of direct sunlight daily. The cost premium is about $1.50 per square foot, but it prevents the floor from looking like aged varnish within 18 months.”
Common Mistakes That Compromise Self-Leveling Epoxy Performance
Despite the material’s robust chemistry, installation errors can lead to premature failure. The most frequent mistake is inadequate moisture testing. A builder who relies solely on a surface-level calcium chloride test may miss deep-slab moisture that will eventually push the coating off the concrete. Another common error is pouring the leveling compound too thin—below 1/8 inch—which prevents it from properly self-leveling and leaves roller marks or orange-peel texture.
Temperature mismanagement also causes problems. If the mixed epoxy is too cold, its viscosity increases and it won’t flow properly. If the slab is too hot, the material cures before it has time to level, resulting in a wavy surface. In South Florida, installers must also contend with afternoon thunderstorms that can spike humidity and cause amine blush—a waxy surface film that interferes with intercoat adhesion. Professional crews monitor dew point and slab temperature continuously throughout the pour.
Maintenance Protocols for Long-Term Performance
Self-leveling epoxy floors are among the easiest surfaces to maintain, but they are not maintenance-free. Daily dust mopping with a microfiber pad removes abrasive grit that can dull the finish over time. Weekly damp mopping with a pH-neutral cleaner (pH 7-9) removes residues without attacking the polymer matrix. Avoid acidic cleaners, vinegar-based solutions, and abrasive scrubbing pads, which can etch or scratch the surface.
For high-traffic commercial environments, a quarterly deep clean using an auto-scrubber with a soft brush restores gloss without chemicals. If the floor eventually shows wear after a decade or more, a maintenance coat of clear topcoat can be applied directly over the existing floor after a light screening—no need for a full replacement. This renewability is a key advantage over tile or carpet, which require complete removal and disposal. For facilities managers, understanding commercial epoxy floor cleaning best practices ensures the floor reaches its full lifespan.
Health, Safety, and Indoor Air Quality
Modern self-leveling epoxy formulations are low-VOC and comply with stringent indoor air quality standards such as California’s CDPH Standard Method v1.2 and LEED v4.1 EQ credits. During installation, the primary emissions occur during the curing phase, and proper ventilation clears these within 24-48 hours. Once fully cured, the floor emits zero VOCs and contributes to healthier indoor environments. The seamless surface harbors no dust mites, mold, or bacteria, making it ideal for allergy sufferers and healthcare settings.
Slip resistance is another critical safety factor. In its natural high-gloss state, self-leveling epoxy can be slippery when wet. To address this, installers incorporate aluminum oxide grit into the final topcoat or apply a broadcast aggregate before the clear seal coat. This creates a texture that meets OSHA’s coefficient of friction standard of 0.5 or higher for walking surfaces. For South Florida pool decks and entryways, this slip-resistant additive is essential.
Comparing Self-Leveling Epoxy to Alternative Flooring Systems
When evaluating flooring options, property owners often weigh self-leveling epoxy against polished concrete, luxury vinyl plank, and porcelain tile. Each system has its strengths, but self-leveling epoxy uniquely combines leveling capability with a seamless, impermeable finish. Polished concrete, while durable and cost-effective, cannot correct significant slab unevenness—it merely refines the existing surface. For a detailed comparison, see polished concrete versus tiles.
Luxury vinyl plank offers warmth and comfort underfoot but cannot match epoxy’s chemical resistance or moisture-proof properties. In flood-prone South Florida zones, a single water intrusion event can delaminate vinyl flooring, while epoxy remains unaffected. Tile provides excellent durability but introduces grout lines that trap dirt and require regular sealing. Self-leveling epoxy eliminates these joints entirely, creating a continuous surface that simplifies sanitation. For garages specifically, the epoxy garage floor versus interlocking tiles debate often resolves in epoxy’s favor due to its resistance to oil, gasoline, and hot tire pickup.
Frequently Asked Questions
How long does self-leveling epoxy flooring take to install?
A typical residential or commercial installation requires 3 to 5 days from start to finish. Day one involves surface preparation and moisture testing. Day two covers primer application and curing. Day three is the self-leveling pour. Days four and five allow for topcoat application and final cure. Larger projects or those requiring extensive crack repair may extend the timeline. The floor can accept light foot traffic after 24 hours and full loading after 7 days.
Can self-leveling epoxy be applied over existing tile?
Yes, self-leveling epoxy can be installed over properly prepared ceramic or porcelain tile. The tile must be mechanically abraded to create a profile, and any loose or hollow-sounding tiles must be removed and patched. A primer designed for non-porous surfaces ensures adhesion. However, the added thickness of the tile substrate may affect door clearances and transitions. For more on this application, explore epoxy over tile techniques.
What is the difference between self-leveling epoxy and self-leveling concrete?
Self-leveling concrete is a cement-based underlayment used to flatten and level subfloors before finished flooring installation. It is not a wear surface and requires a protective coating. Self-leveling epoxy is a resin-based finish floor that serves as both the leveling compound and the decorative, durable wear surface. Epoxy offers superior chemical resistance, gloss, and seamless appearance compared to cementitious levelers.
Does self-leveling epoxy work in basements or below-grade spaces?
Self-leveling epoxy performs well in below-grade applications when proper moisture mitigation is in place. In South Florida, true basements are rare due to the high water table, but ground-floor slabs on grade face similar hydrostatic pressure challenges. A moisture vapor barrier primer is mandatory. For spaces with active water intrusion, drainage issues must be resolved before any epoxy system is installed.
How do I repair a damaged self-leveling epoxy floor?
Minor scratches can be buffed out with a fine abrasive pad and recoated with clear topcoat. Deeper gouges or chips require routing out the damaged area, filling with a color-matched epoxy patching compound, and applying a fresh topcoat over the repair. For extensive damage, a full recoat may be necessary. Understanding the epoxy floor repair process helps property owners address issues promptly.
Is self-leveling epoxy environmentally friendly?
Modern epoxy formulations have significantly reduced environmental impact. Low-VOC and zero-VOC options are widely available. The material’s longevity means fewer replacements and less construction waste over the building’s lifecycle. Additionally, the seamless surface reduces the need for harsh chemical cleaners. For a deeper analysis, review the epoxy flooring environmental impact considerations.
What warranty can I expect on a self-leveling epoxy floor?
Professional installations typically carry a manufacturer’s material warranty of 5 to 15 years and a contractor’s workmanship warranty of 1 to 5 years. Warranties cover delamination, excessive wear, and yellowing (when UV-stable topcoats are specified). Exclusions usually include damage from improper cleaning, impact, or substrate movement. Always review epoxy flooring warranty terms carefully before signing a contract.
Conclusion
Self-leveling epoxy flooring stands as the premier solution for South Florida properties demanding flatness, durability, and moisture resistance in a single system. Its ability to correct slab imperfections while creating a seamless, hygienic surface makes it invaluable for both residential and commercial applications. The key to success lies in meticulous preparation, professional installation, and selecting the appropriate topcoat for the environment. When these conditions are met, the floor delivers decades of low-maintenance performance that outlasts and outperforms conventional flooring alternatives. For property owners ready to transform their concrete slabs into flawless, high-performance floors, expert guidance ensures the investment pays dividends for years to come. Contact our team today to schedule a consultation and discover how self-leveling epoxy can elevate your space.
References
- American Concrete Institute. “Guide for Concrete Floor and Slab Construction.” www.concrete.org
- Portland Cement Association. “Moisture in Concrete.” www.cement.org
- International Concrete Repair Institute. “Surface Preparation Guidelines.” www.icri.org
- Environmental Protection Agency. “Mold Remediation in Schools and Commercial Buildings.” www.epa.gov
- ASTM International. “ASTM F2170: Standard Test Method for Determining Relative Humidity in Concrete Floor Slabs.” www.astm.org
- National Association of Home Builders. “Life Cycle Assessment of Flooring Materials.” www.nahb.org
- Occupational Safety and Health Administration. “Walking-Working Surfaces Standard.” www.osha.gov
- Florida Concrete & Products Association. “Concrete Moisture Testing Best Practices.” www.fcpa.org
Written by

Founder and CEO
Chris Lavin is an esteemed leader in concrete polishing and epoxy coatings with a distinguished 20-year career. As founder and CEO of National Concrete Polishing and owner of Xtreme Polishing Systems, he's renowned for polishing and epoxy coating more floors than anyone globally. Chris is recognized for his innovative approach and commitment to enhancing floor durability and aesthetics. His hands-on experience and technical proficiency make him a respected authority and a valuable resource in the field of floor polishing and coatings.
Same topic
Related articles
All stories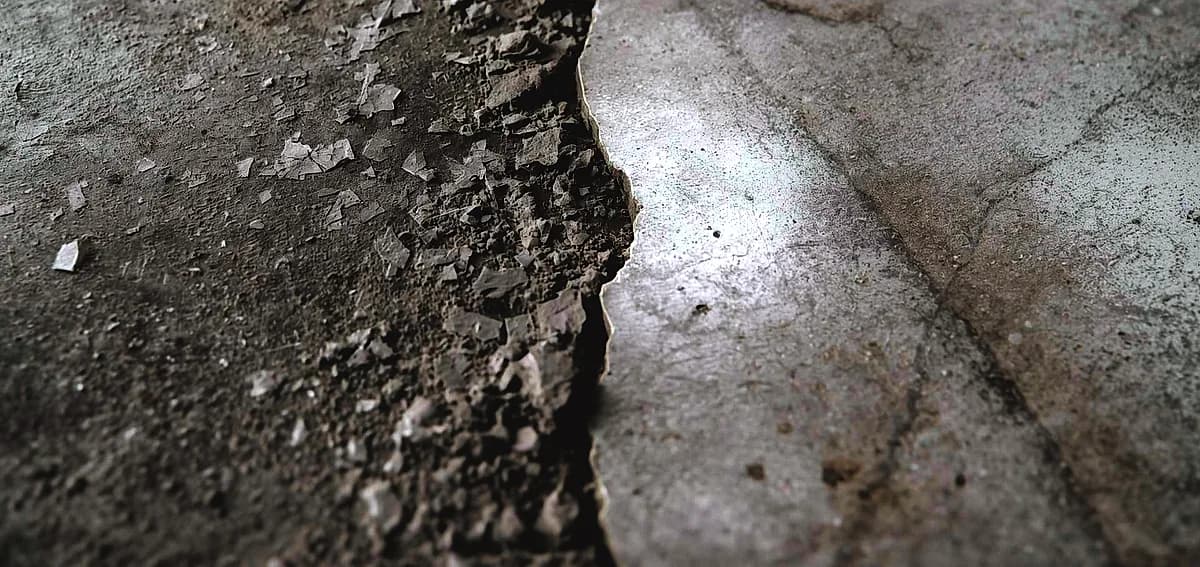
Epoxy & coatings8 min read
DIY vs Professional Epoxy Flooring in Fort Lauderdale
Hardware stores heavily market all-in-one boxes that promise a showroom finish with minimal effort.
Read it
Epoxy & coatings8 min read
Can You DIY Epoxy Flooring in Miami? Pros, Cons, and Tips
Applying a durable floor finish in a tropical or highly humid climate presents unique environmental challenges.
Read it
Epoxy & coatings7 min read
DIY Epoxy Flooring in South Florida: Is It Worth the Risk?
However, these products generally contain high levels of water or solvents to extend their pot life.
Read it
Tell us about the floor
Tell us the space and roughly how big it is.We come back with what it would cost and when we could start.
Prefer to talk? Call +1 844-876-5474
- Leads@
nationalconcretepolishing.net - 2200 NW 32nd St #600,
Pompano Beach, FL 33069 Mon to Fri, 9:00 to 5:30