
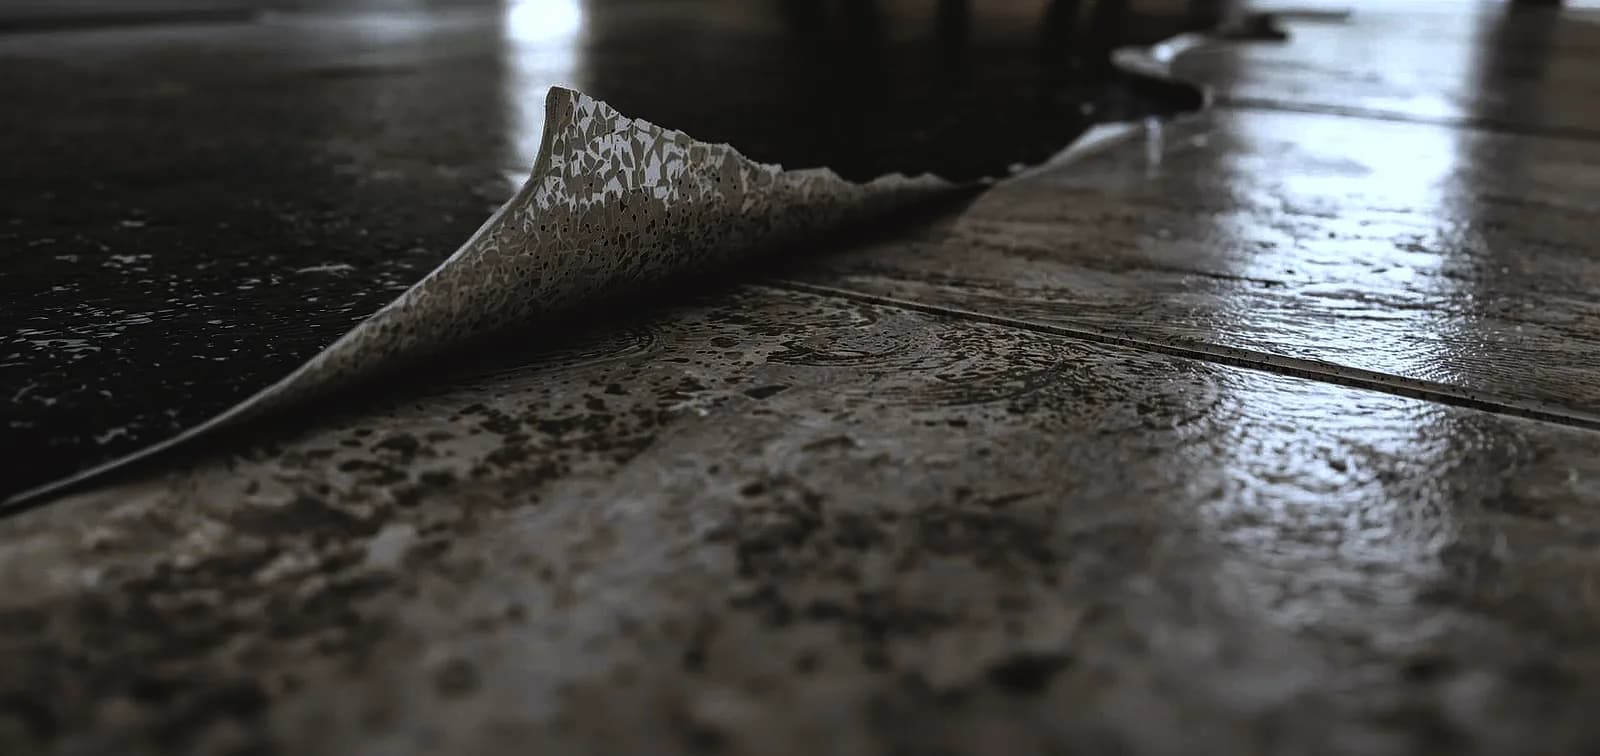
The NCP blog
Can You Apply Epoxy Flooring Over Existing Tile in South Florida?
Epoxy & coatings10 min read
Yes, epoxy can be applied over tile in South Florida with proper preparation, but it takes more effort than bare concrete.
Yes, epoxy can be applied over tile in South Florida when proper preparation protocols are followed, but the process requires significantly more effort than applying epoxy directly to concrete. According to the Tile Council of North America (TCNA), epoxy-over-tile installations in high-humidity environments like South Florida have a 40% higher failure rate than concrete applications when preparation is inadequate. Success depends on tile condition, grout integrity, moisture levels, and thorough surface preparation that creates mechanical and chemical bonding opportunities.
This guide explains when epoxy over tile works, when tile removal makes more sense, and the specific preparation requirements for South Florida’s demanding climate conditions.
Quick Answer: When Epoxy Over Tile Works
Epoxy application over existing tile succeeds when all of the following conditions are met:
Tile is firmly bonded to the substrate with no hollow spots, loose tiles, or cracked pieces.
Grout lines are intact without crumbling, missing sections, or significant depth variations.
Moisture levels are acceptable with vapor transmission below 3 lbs per 1,000 sq ft over 24 hours.
Surface is properly abraded to remove glaze and create mechanical bonding profile.
Grout lines are filled with appropriate leveling compound to create flat surface.
When these conditions cannot be met, tile removal followed by direct concrete application produces superior results.
Why Tile Creates Challenges for Epoxy Application
Ceramic and porcelain tiles present unique obstacles that don’t exist with bare concrete substrates. Understanding these challenges explains why preparation requirements are more demanding.
Glazed Surfaces Resist Bonding
Most ceramic and porcelain tiles feature glazed surfaces designed specifically to resist penetration and staining. This same property that makes tiles easy to clean also prevents epoxy from creating chemical bonds. The glaze must be completely removed through mechanical abrasion before epoxy can adhere.
The International Concrete Repair Institute (ICRI) specifies that glazed tiles require surface profiling equivalent to CSP 2-3 for successful coating adhesion. This typically requires diamond grinding with 30-50 grit metal-bond diamonds, significantly more aggressive than the preparation needed for concrete.
Grout Line Complications
Grout lines create recessed areas that standard epoxy application cannot fill uniformly. A typical 1/8-inch grout joint sits 1/16 to 1/8 inch below the tile surface. Applying epoxy directly over this topography results in visible grout line telegraphing, where the pattern shows through the finished coating.
Self-leveling epoxy compounds can fill shallow grout lines, but deeper joints require pre-filling with compatible patching materials. The fill material must cure completely and bond to both tile edges and grout before topcoat application.
Moisture Pathways Through Grout
Unlike glazed tile surfaces, grout is porous and allows moisture vapor transmission. In South Florida’s high-humidity environment, moisture migrating through grout lines can cause epoxy delamination even when the tile surfaces are properly prepared. This explains why moisture testing remains essential for tile-over applications.
Research from the Portland Cement Association indicates that moisture vapor transmission through grout joints can exceed 8 lbs per 1,000 sq ft over 24 hours in coastal Florida environments, nearly three times the acceptable threshold for most epoxy systems.
South Florida Climate Factors
South Florida’s subtropical climate creates additional challenges for epoxy-over-tile installations that don’t affect projects in more temperate regions.
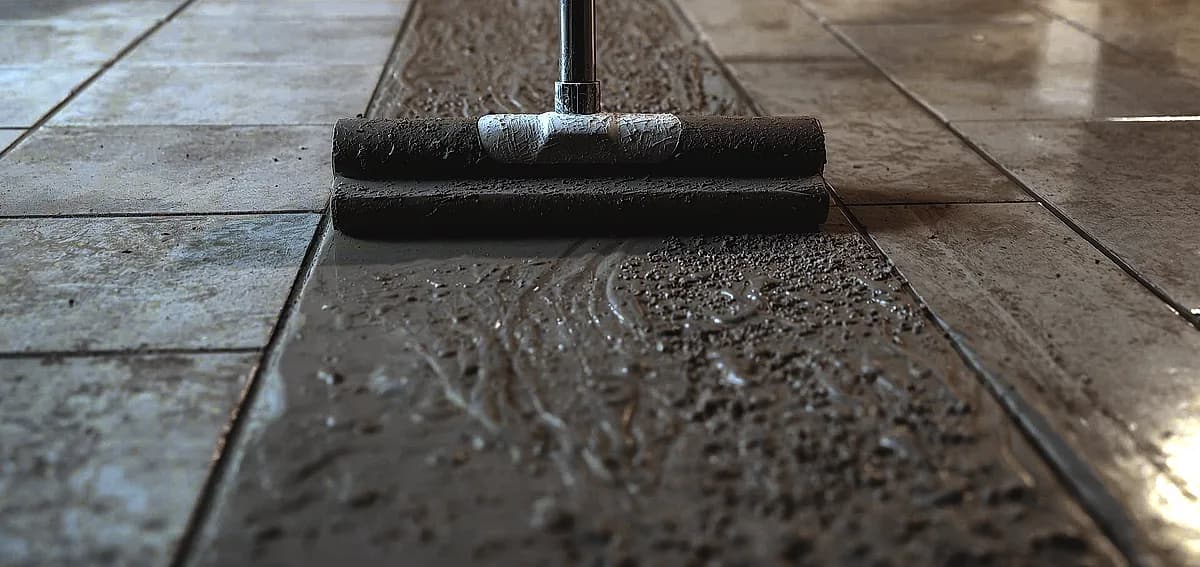
Humidity Effects on Adhesion
South Florida maintains average relative humidity of 74-78% year-round. This constant moisture affects epoxy-over-tile applications in several ways. High humidity slows epoxy cure times by 30-50%, extending the vulnerable period when the coating can be damaged. It also increases the risk of amine blush, a waxy surface film that compromises intercoat adhesion.
Understanding how humidity affects epoxy floors helps contractors time applications appropriately. Most professionals schedule tile-over work during South Florida’s dry season (November through April) when humidity drops to 60-70%.
Temperature Cycling and Expansion
South Florida experiences significant daily temperature swings, particularly in garages and outdoor-adjacent spaces. Tile and epoxy expand and contract at different rates. Ceramic tile has a coefficient of thermal expansion of approximately 4-8 x 10⁻⁶ per °F, while cured epoxy ranges from 30-60 x 10⁻⁶ per °F.
This mismatch creates stress at the bond line during temperature cycling. Over time, repeated expansion and contraction can cause adhesion failure, particularly at tile edges where stress concentrates. Flexible epoxy formulations designed for tile applications help accommodate differential movement.
Salt Air and Chloride Contamination
Properties within 5 miles of South Florida’s coastline experience salt air exposure that deposits chlorides on surfaces. These salt deposits can accumulate in grout lines over years, creating contamination that interferes with epoxy bonding. Thorough cleaning with appropriate solutions must remove all salt accumulation before epoxy application.
Step-by-Step Process for Epoxy Over Tile
Professional contractors follow a systematic approach that addresses each challenge unique to tile substrates:
Step 1: Tile Condition Assessment
Tap every tile with a hammer or similar tool, listening for hollow sounds that indicate debonding from the substrate. The TCNA considers more than 5% hollow tiles a failed installation requiring removal rather than coating. Mark all loose, cracked, or hollow tiles for replacement or removal.
Inspect grout lines for crumbling, missing sections, or efflorescence (white salt deposits). Document grout line depth variations that will affect leveling compound requirements.
Step 2: Moisture Testing
Perform substrate testing using ASTM F2170 relative humidity probes or ASTM F1869 calcium chloride tests. For tile installations, test at grout line intersections where moisture transmission is highest. Acceptable readings must show less than 75% relative humidity (F2170) or less than 3 lbs moisture vapor emission rate (F1869).
Elevated moisture readings require moisture mitigation before proceeding. In severe cases, tile removal provides the only path to addressing underlying moisture problems.
Step 3: Surface Preparation
Diamond grind the entire tile surface using 30-50 grit metal-bond diamonds to remove glaze and create mechanical bonding profile. The surface should feel rough like medium sandpaper when properly prepared. Glossy spots indicate incomplete glaze removal requiring additional passes.
Proper surface profiling is critical for adhesion. Unlike concrete, tile cannot absorb primer, so all bonding occurs mechanically at the surface. Inadequate preparation is the leading cause of epoxy-over-tile failures.
Step 4: Cleaning and Decontamination
Vacuum all grinding dust thoroughly. Clean with degreasing solution to remove any oils, waxes, or sealers that may have been applied to the tile over its lifetime. For coastal properties, use phosphoric acid solution to remove salt deposits from grout lines, then neutralize with clean water.
Allow complete drying before proceeding. In South Florida humidity, this typically requires 24-48 hours with air conditioning running to control moisture levels.
Step 5: Grout Line Treatment
Fill grout lines with epoxy-compatible patching compound or use self-leveling epoxy underlayment to create a smooth, uniform surface. The fill material must be level with or slightly above adjacent tile surfaces to prevent telegraphing.
Allow complete cure of fill materials before topcoat application. Premature coating over uncured fill causes adhesion failures and surface defects.
Step 6: Primer Application
Apply bonding primer specifically formulated for non-porous surfaces. Standard concrete primers do not provide adequate adhesion to tile. Tile-specific primers contain specialized resins that create chemical bonds with both the abraded tile surface and the subsequent epoxy layers.
Apply primer at manufacturer-specified coverage rates. Over-application creates thick films that can delaminate; under-application leaves insufficient material for proper bonding.
Step 7: Epoxy System Application
Apply epoxy basecoat and topcoat systems following standard protocols. Epoxy thickness requirements for tile applications typically exceed those for concrete to accommodate minor surface irregularities. Most specifications call for 15-25 mils total system thickness for tile-over installations.
Allow appropriate cure time between coats and before returning to service. South Florida’s humidity extends cure times by 30-50% compared to manufacturer specifications developed in controlled environments.
When Tile Removal Makes More Sense
Despite the possibility of coating over tile, removal often produces better results. Consider professional tile removal when:
| Consider Epoxy Over Tile When: | Remove Tile First When: |
|---|---|
| Less than 5% of tiles are loose or hollow | More than 5% of tiles are loose or hollow |
| Grout is intact with minimal depth | Grout is crumbling or missing in large areas |
| Moisture testing shows acceptable levels | High moisture requiring mitigation below tile |
| Budget constraints require lowest cost option | Maximum durability is the priority |
| Tile is well-bonded ceramic or porcelain | Tile is natural stone, textured, or uneven |
| Downtime must be minimized | Floor height change is acceptable |
Cost Comparison: Coating vs. Removal
Understanding total project costs helps determine the most cost-effective approach for your situation:
| Cost Factor | Epoxy Over Tile | Tile Removal + Epoxy |
|---|---|---|
| Surface Preparation | $2-$4/sq ft | $1-$2/sq ft |
| Tile Removal | $0 | $3-$6/sq ft |
| Grout Filling/Leveling | $1-$3/sq ft | $0-$1/sq ft |
| Specialized Primer | $1.50-$2.50/sq ft | $0.75-$1.50/sq ft |
| Epoxy System | $4-$8/sq ft | $4-$8/sq ft |
| Total Installed Cost | $8.50-$17.50/sq ft | $8.75-$18.50/sq ft |
| Expected Lifespan | 10-15 years | 15-25 years |
For detailed pricing, see our comprehensive cost to epoxy a floor guide.
Common Problems with Epoxy Over Tile
Understanding potential failure modes helps prevent problems and set realistic expectations:
Delamination at Tile Edges
The most common failure occurs at tile edges where grout meets glazed surfaces. Differential movement, moisture infiltration, and stress concentration all contribute to edge lifting. Once started, delamination spreads across entire tiles. Prevention requires thorough grout filling and flexible primer systems that accommodate movement.
Grout Line Telegraphing
Even when properly filled, grout lines can telegraph through thin epoxy applications. The filled material may shrink during cure or compress under traffic differently than surrounding tile. Specifying minimum 15-mil system thickness and using quality self-leveling compounds minimizes telegraphing.
Moisture-Related Failures
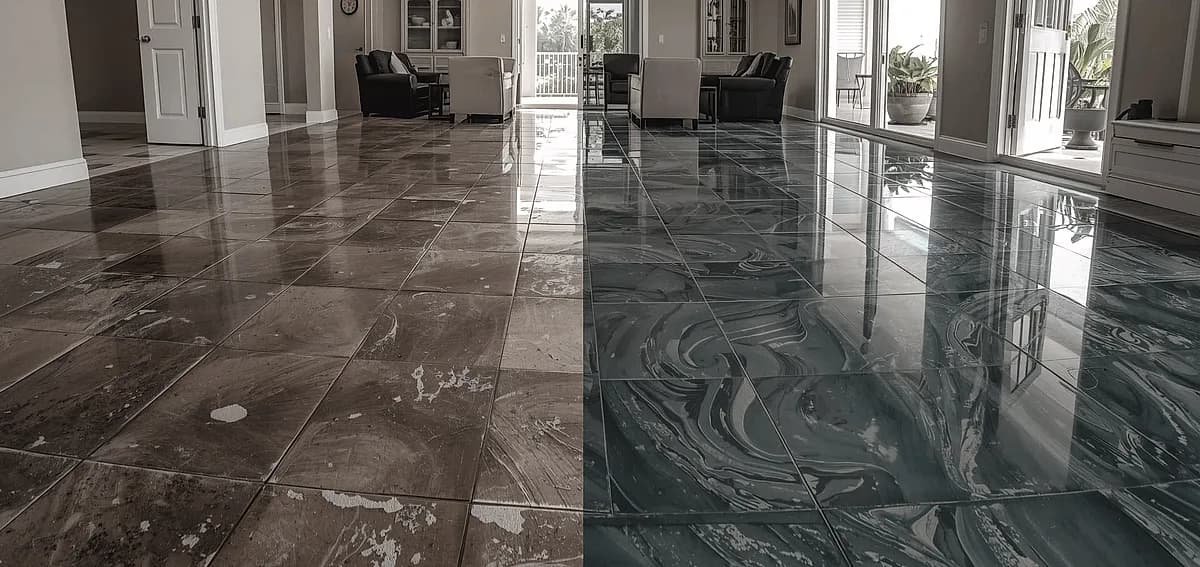
South Florida’s humidity creates ongoing moisture challenges that can cause epoxy floor peeling months or years after installation. Moisture migrating through grout lines creates osmotic blistering where water vapor pressure lifts the coating from below. Proper moisture testing and mitigation prevent these delayed failures.
Alternatives to Epoxy Over Tile
When epoxy over tile isn’t ideal, consider these alternatives:
Tile removal with concrete polishing: If the underlying concrete is in good condition, polished concrete provides a durable, low-maintenance finish without ongoing coating concerns.
Tile removal with decorative epoxy: Removing tile first allows application of metallic epoxy or other decorative systems directly to concrete for maximum durability and design options.
Concrete resurfacing: For severely damaged tile installations, complete concrete resurfacing creates an entirely new surface that eliminates underlying problems.
Polyaspartic coatings: For faster cure times and better flexibility, polyaspartic systems accommodate tile expansion/contraction better than rigid epoxies.
Frequently Asked Questions
Can epoxy be applied over ceramic tile?
Yes, epoxy can be applied over ceramic tile when the tile is firmly bonded, grout is intact, and proper preparation is performed. The glazed surface must be mechanically abraded using diamond grinding to create bonding profile. Grout lines require filling with compatible leveling compounds. Success rates in South Florida are highest when all preparation steps are followed meticulously.
Will the grout lines show through epoxy?
Grout lines can telegraph through thin epoxy applications. Prevent this by filling grout lines with self-leveling compound before coating and specifying minimum 15-mil total system thickness. Deeper grout lines require multiple fill coats. Even with proper preparation, some faint telegraphing may occur under certain lighting conditions.
How long does epoxy over tile last in South Florida?
Properly installed epoxy over tile lasts 10-15 years in South Florida, compared to 15-25 years for epoxy over concrete. The reduced lifespan results from the additional stress at tile/grout interfaces and the inability to fully mitigate moisture transmission through grout lines. High-traffic areas may require recoating sooner.
Is it cheaper to epoxy over tile or remove tile first?
Initial costs are similar: $8.50-$17.50/sq ft for coating over tile versus $8.75-$18.50/sq ft for removal plus coating. However, removal produces longer-lasting results (15-25 years vs 10-15 years), making it more cost-effective over time. Additionally, removal allows addressing any underlying moisture issues that tile covers.
Can I epoxy over cracked or loose tiles?
No. Cracked or loose tiles must be removed and replaced or the entire tile floor removed before epoxy application. Coating over unstable tiles results in rapid failure as the movement transfers through to the epoxy layer. The TCNA specifies that installations with more than 5% loose tiles require complete removal rather than coating.
What type of epoxy works best over tile?
Flexible epoxy formulations designed for non-porous substrates perform best over tile. These products accommodate differential thermal expansion between tile and coating. Systems with specialized tile primers show the best adhesion. Standard rigid epoxies designed for concrete often fail on tile due to thermal stress and bonding limitations.
Get Professional Assessment for Your Tile Floor
National Concrete Polishing provides expert evaluation of tile floors throughout South Florida to determine whether coating or removal makes sense for your specific situation. Our assessment includes tile adhesion testing, moisture measurement, and detailed cost comparisons for both approaches.
With 13+ years of experience in South Florida flooring installations, we understand the unique challenges that humidity, temperature, and salt air create for tile-over applications. Our team recommends the approach that delivers the best long-term value for your property.
Contact our Miami team for a free on-site consultation. We also serve Fort Lauderdale, Pompano Beach, and all of South Florida.
Written by

Founder and CEO
Chris Lavin is an esteemed leader in concrete polishing and epoxy coatings with a distinguished 20-year career. As founder and CEO of National Concrete Polishing and owner of Xtreme Polishing Systems, he's renowned for polishing and epoxy coating more floors than anyone globally. Chris is recognized for his innovative approach and commitment to enhancing floor durability and aesthetics. His hands-on experience and technical proficiency make him a respected authority and a valuable resource in the field of floor polishing and coatings.
Same topic
Related articles
All stories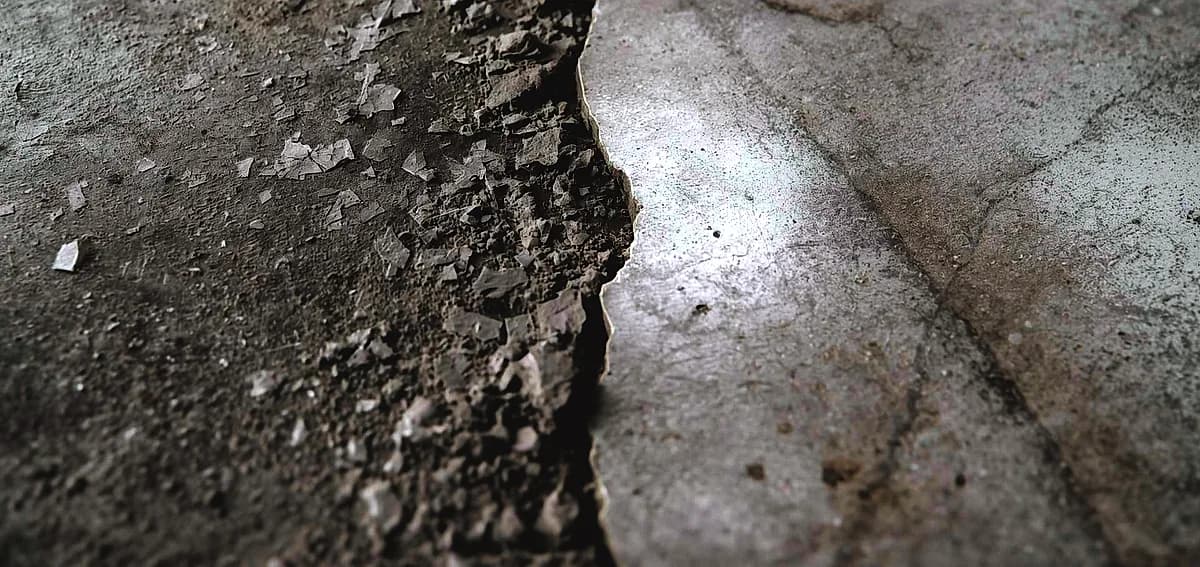
Epoxy & coatings8 min read
DIY vs Professional Epoxy Flooring in Fort Lauderdale
Hardware stores heavily market all-in-one boxes that promise a showroom finish with minimal effort.
Read it
Epoxy & coatings8 min read
Can You DIY Epoxy Flooring in Miami? Pros, Cons, and Tips
Applying a durable floor finish in a tropical or highly humid climate presents unique environmental challenges.
Read it
Epoxy & coatings7 min read
DIY Epoxy Flooring in South Florida: Is It Worth the Risk?
However, these products generally contain high levels of water or solvents to extend their pot life.
Read it
Tell us about the floor
Tell us the space and roughly how big it is.We come back with what it would cost and when we could start.
Prefer to talk? Call +1 844-876-5474
- Leads@
nationalconcretepolishing.net - 2200 NW 32nd St #600,
Pompano Beach, FL 33069 Mon to Fri, 9:00 to 5:30