
The NCP blog
What is Self-Leveling Epoxy Underlayment for Flooring
Epoxy & coatingsUpdated 9 min read
Self-leveling epoxy underlayment is a resin and hardener mix that flows into a flat base. How it works and how to pour it.
Most floor coating problems start at the slab. KTA-Tator, a coatings consultancy, writes that on existing concrete floors the most common reason for coating failure is excessive moisture content, which is why a self-leveling layer is only as good as the preparation underneath it. Enter a seamless, durable option that simplifies installation while delivering industrial-grade performance.
This material combines two liquid components, resin and hardener, that react to form a smooth, glass-like finish. When mixed correctly, it flows out across the floor and levels minor irregularities before the final floor covering goes on. ICRI places self-leveling toppings at 50 mils to 1/8 inch, so it corrects minor imperfections, not major slab defects.
Restaurants, warehouses, and busy homes benefit from its scratch-resistant surface that withstands heavy foot traffic. It resists spills, but it is not a moisture barrier unless it is specified as one, so moisture testing still comes first. On our epoxy floors, foot traffic is typically possible in 10 to 24 hours, per the data sheet for the system.
Introduction to Self-Leveling Epoxy Underlayment for Flooring
Facilities today demand surfaces that combine resilience with visual appeal. Advanced floor coating systems now support demanding environments while enhancing design flexibility. This innovation bridges the gap between industrial durability and sleek modern aesthetics.
Modern Solutions for Demanding Spaces
High-traffic zones require materials that outperform traditional options. Athletic centers use these coatings to handle dropped weights and constant movement. Commercial kitchens leverage spill-resistant surfaces that simplify sanitation. The table below shows how different environments benefit:
| Facility Type | Key Benefit | Performance Feature |
|---|---|---|
| Fitness Centers | Impact Resistance | Withstands heavy equipment |
| Hospital Floors | Easy Cleaning | Seamless, non-porous finish |
| Aircraft Hangars | Chemical Protection | Chemical resistance, checked against the data sheet |
Why Flooring Upgrades Matter for Your Space
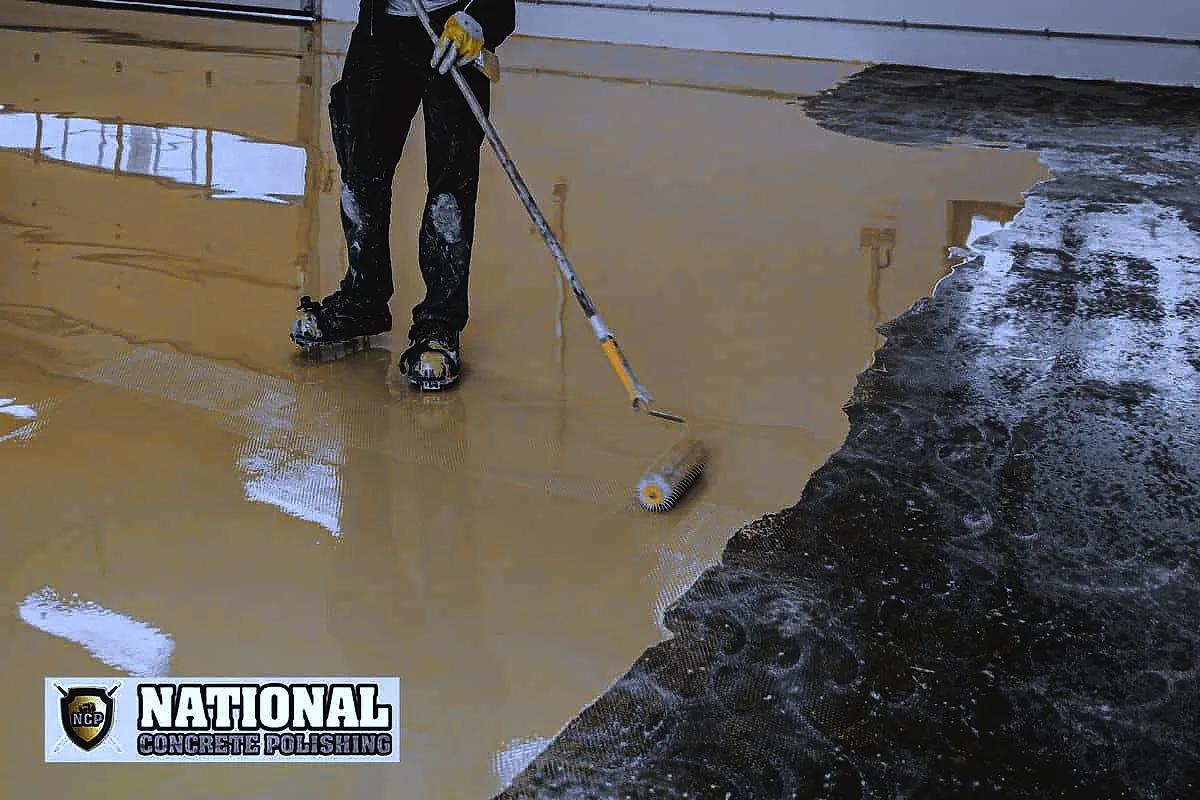
Outdated concrete flooring can compromise safety and increase maintenance costs. A smooth coating can be slippery when wet, so wet areas like pool decks or food processing plants need a slip-resistant finish. In warehouses, a smoother, flatter floor is easier on machinery.
Retail showrooms gain two advantages: scratch-resistant surfaces protect displays, and glossy finishes amplify lighting. These improvements directly impact operational efficiency and customer perceptions in commercial settings.
How Self-Leveling Epoxy Underlayment Works
Have you ever wondered how two liquids transform into a rock-solid surface? The magic happens when specialized components undergo precise chemical bonding. This reaction forms the backbone of high-performance floor coatings used in commercial and residential settings.
The Science Behind Resin and Hardener Mixing
Combining resin and hardener triggers an exothermic reaction that permanently alters their molecular structure. Mix for the time and in the ratio on the product's data sheet, because a shortcut can leave weak spots. Once blended, the clock starts ticking: the data sheet gives the working time before the mixture stiffens.
Heat builds rapidly during curing, speeding up the hardening process. This thermal acceleration means smaller batches work better for large areas. Ambient and slab temperatures inside the data sheet's range help achieve the right viscosity and flow; the data sheet cited below, for example, allows 50 to 85°F for both ambient and substrate.
Measurement accuracy proves critical. Measure the ratio exactly as the data sheet states. The ratio is fixed per product, and a wrong one can leave sticky patches or incomplete curing. Graduated containers and a timer help keep batches consistent.
Timing your pours becomes an art form. Apply too slowly, and sections cure unevenly. Work too fast, and air bubbles compromise the finish. Mastering this balance ensures seamless transitions between application zones.
Essential Materials and Surface Preparation
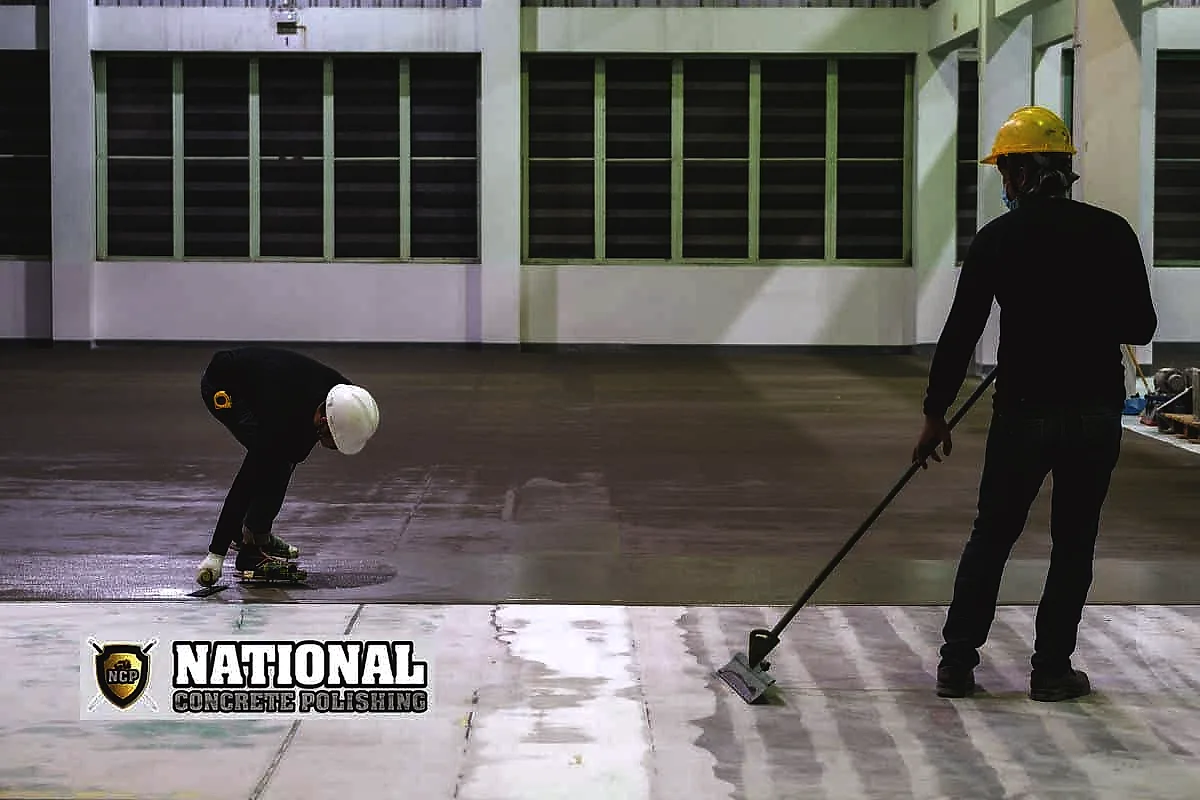
Proper surface prep separates DIY disasters from professional results. Hidden moisture is one of the main risks: ASTM F2170 notes that excessive moisture in a slab can cause debonding and deterioration of coatings, and manufacturers generally require moisture testing before installation. Your project’s success hinges on these foundational actions.
Cleaning and Repair: Setting Up for Success
Begin by removing all loose particles. Industrial vacuums outperform brooms for fine dust removal. Grease spots need special attention: apply a degreaser and scrub vigorously, then rinse and let the slab dry.
Repair cracks and damaged areas with a patching or crack-repair material the system's manufacturer approves, and let repairs cure completely before proceeding. If a crack is still moving, a rigid epoxy repair may not be applicable.
Test moisture levels before coating. A plastic sheet taped to the slab only indicates the presence of capillary moisture, and a negative indication is not an assurance that the slab is acceptably dry, so use a quantitative test such as in-situ relative humidity probes under ASTM F2170. The limit comes from the coating manufacturer.
Existing coatings are removed or mechanically abraded so the new layer can bond, and the system's data sheet sets the profile. In ICRI's guidance for coating applications, surface preparation is intended to maximize adhesion.
Check ambient and substrate temperatures against the product's data sheet. As a rule of thumb, the curing reaction roughly halves for every 10 °C drop in temperature, so cold concrete slows curing and hot surfaces shorten the working time. The surface should also be at least 3 °C (about 5 °F) above the dew point.
Step-by-Step Application Process and Techniques
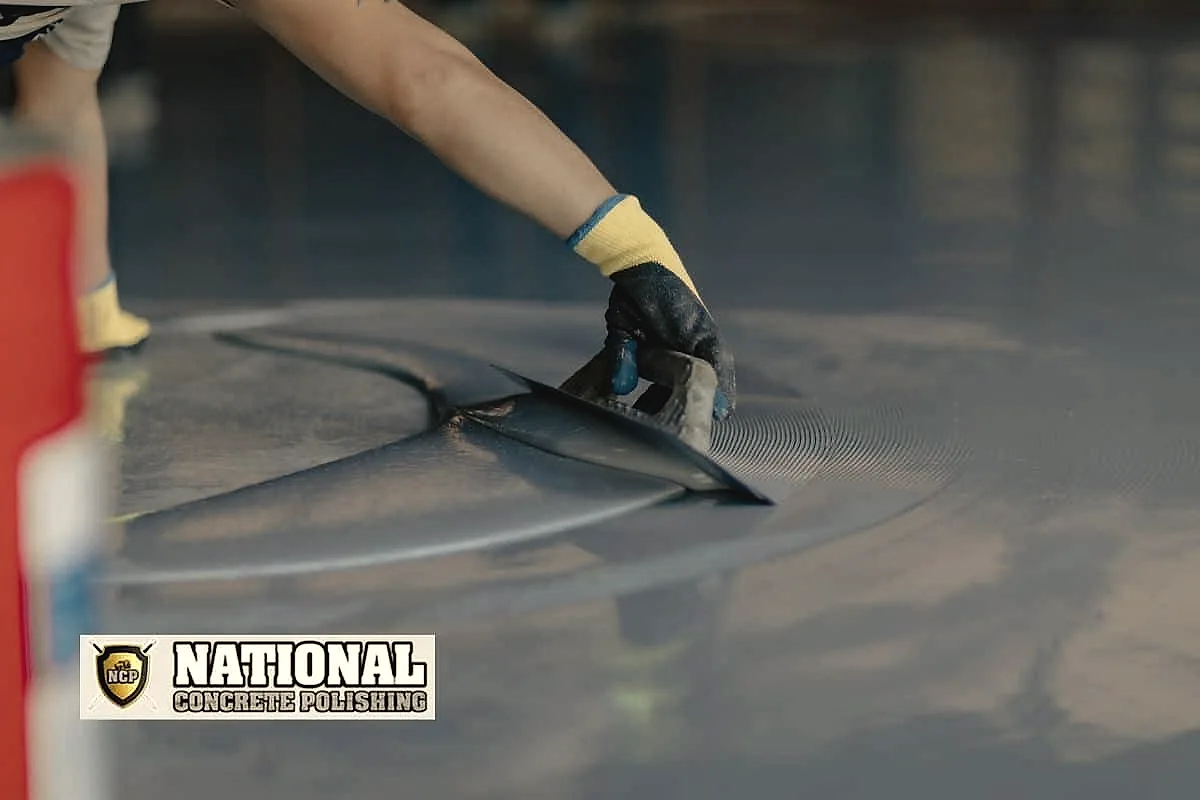
Professional-grade results demand methodical execution. Timing and tool selection make the difference between amateur attempts and showroom-quality finishes. Follow these critical steps to transform prepared surfaces into flawless foundations.
Mixing, Pouring, and Spreading the Coating
Combine the components for the mixing time on the data sheet until fully integrated. Pour ribbons across the workspace, then drag a notched squeegee perpendicular to your pour lines, set to the thickness the data sheet calls for.
Switch to a spiked roller within the window on the data sheet. Overlap each pass by half the roller’s width to erase application marks. Work from walls toward exits to avoid trapping yourself.
Techniques for Smoothing and Removing Air Bubbles
Scan for air bubbles immediately after spreading. Release trapped air with the spiked roller, and use a heat gun only if the data sheet allows it. Small craters from escaping air usually flow back together if you catch them early.
Recheck the surface during the working time on the data sheet, since new bubbles often form as the material settles. Working time shortens as the material warms: the data sheet cited below, for example, lists a pot life of about 25 minutes at 68°F and about 15 minutes at 86°F. If you use heat, keep it moving to avoid scorching the surface.
Avoiding Common Mistakes and Don’ts When Using Epoxy
Even experienced installers face challenges when working with time-sensitive coatings. Knowing how to handle material reactions separates successful projects from costly do-overs.
Smart Batch Management
Mixing more than you can spread in the working time is a classic error. Chemical reactions generate heat, speeding up hardening. Size each batch to the product's pot life: one manufacturer's data sheet, for example, says not to mix more material than can be applied within the working time limits at the actual field temperature.
Room temperature directly affects performance. Keep your workspace within the temperature range on the data sheet. Colder conditions slow curing, while heat shortens the working time. Use an infrared thermometer to monitor floor and air temperatures.
Plan batch sequences before pouring. Overlap edges within the working time to prevent visible seams. Professionals keep backup materials ready for sudden weather changes or equipment issues.
Make sure to track elapsed time during application. Set timers for each batch and communicate with your team. Proper coordination prevents half-cured sections from ruining your smooth finish.
Post-Application Care, Maintenance, and Safety Tips
Protecting your newly upgraded space requires smart strategies during and after installation. Follow these methods to maintain pristine conditions while keeping everyone safe.
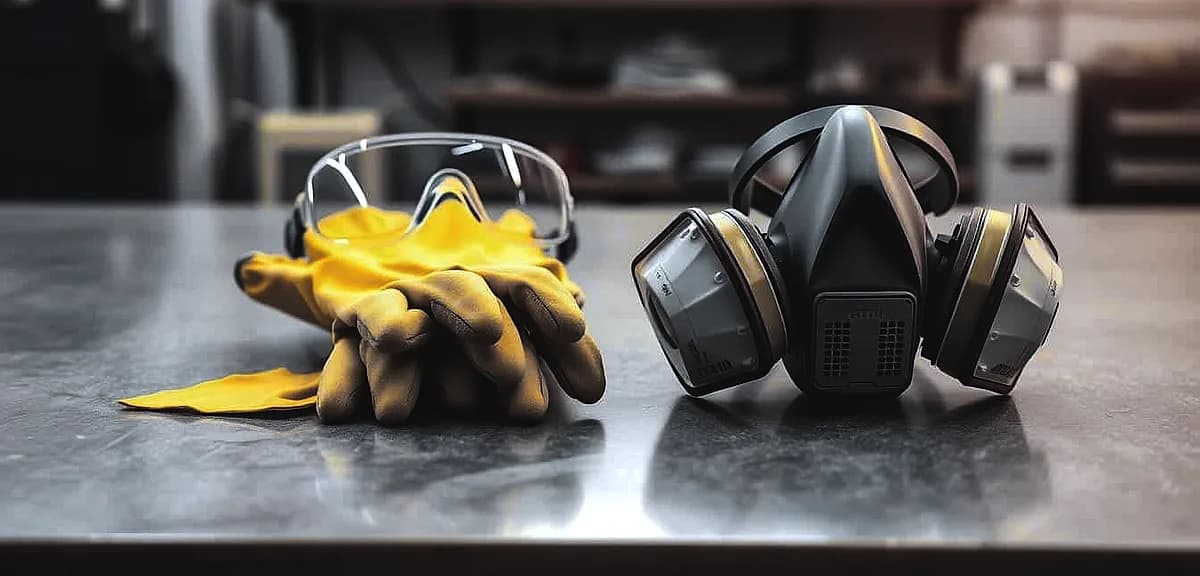
Essential Safety Gear and Precautionary Measures
Always work in areas with open windows or industrial fans. Chemical vapors become dangerous in enclosed spaces. Use this gear checklist:
| Protective Item | Purpose | Duration Needed |
|---|---|---|
| Respirator rated for the product's vapors (see its safety data sheet) | Protects against vapors; an N95 does not | During mixing and application, and as the safety data sheet directs |
| Nitrile Gloves | Prevents skin contact | Until surfaces fully cure |
| Plastic Barriers | Contains overspray | Installation phase only |
Cover nearby furniture with plastic sheeting. Tape edges securely to prevent shifting. Change gloves immediately if they develop tears.
Long-Term Maintenance for a Durable Finish
Clean treated areas regularly with pH-neutral cleaners. Avoid abrasive pads that create micro-scratches. High-gloss surfaces show dust faster, so use microfiber mops for streak-free results.
Address spills promptly to prevent staining, and follow the coating manufacturer's maintenance guidance for cleaning products and frequency. For periodic deep cleaning, use rotary machines with soft brushes.
Monitor temperature fluctuations near entryways. Extreme heat or cold can affect expansion rates. Place walk-off mats at exterior doors to reduce debris tracking.
Expert Insights from National Concrete Polishing
Transform ordinary surfaces into artistic statements with a decorative coating system. Specialists combine technical precision with creative vision to deliver surfaces that perform as brilliantly as they look.
Climate-Smart Installation Strategies
South Florida’s tropical climate demands specific application approaches. High humidity levels and slab moisture make testing part of any coating job here. Talk to the National Concrete Polishing team (+1 844-876-5474) about the conditions on your slab.
Color integration techniques open new design possibilities. Layering translucent tints creates depth and movement underfoot. Metallic additives produce shimmering effects for upscale retail environments or luxury homes.
Tailored Solutions for Lasting Results
Consultation services help property owners navigate material options and color schemes. Key benefits of professional installation include:
- Precision moisture testing for coastal properties
- Custom texture adjustments for slip resistance
- A one-year limited workmanship warranty on eligible installations
National Concrete Polishing’s crews are based in South Florida and work in its heat and humidity. For project-specific guidance on commercial or residential upgrades, call +1 844-876-5474.
Conclusion
Achieving flawless results with modern floor coatings requires both knowledge and precision. You’ve learned how proper surface preparation and strategic application techniques create durable, high-performance bases. From mixing ratios to bubble removal, each step impacts your project’s longevity.
South Florida’s unique climate demands specialized expertise for optimal outcomes. National Concrete Polishing (+1 844-876-5474) is based in South Florida and can talk through the humidity and moisture conditions on your job.
Take action by consulting professionals who assess your space’s specific needs. Whether upgrading commercial concrete surfaces or residential floors, prioritize materials that balance aesthetics with industrial strength. Properly executed coatings make high-traffic areas easier to maintain.
Your next move? Connect with experienced contractors to discuss color options, texture preferences, and maintenance plans. This partnership helps you land on a flooring solution that fits your operational demands and design vision.
Frequently Asked Questions
How does self-leveling epoxy differ from traditional floor coatings?
Unlike thicker coatings, this solution spreads thinly and evenly across surfaces. Its low viscosity lets it level out minor imperfections and create a smooth finish without manual troweling. Cracks still need to be repaired first.
Can you apply this product over existing tile or wood?
Yes, but surfaces must be clean, dry, and free of wax or grease. Use a diamond grinder to roughen glossy tiles, and repair loose areas first. For wood, ensure no moisture issues exist. A primer may be necessary for optimal adhesion.
What safety gear is essential during application?
Wear nitrile gloves, goggles, and a respirator with organic vapor filters. Epoxy fumes can irritate skin and lungs. Work in well-ventilated spaces, and keep a spill kit nearby for accidental drips.
How do you eliminate air bubbles after pouring?
Use a spiked roller or heat gun immediately after spreading the resin-hardener mix. Move tools slowly to let trapped air escape. Avoid overworking the material, as this can introduce new bubbles.
How long should you wait before walking on the surface?
Cure times vary by product, temperature and humidity, so check the data sheet. On our epoxy floors, foot traffic is typically possible in 10 to 24 hours and wheeled traffic in 24 to 72 hours, with full cure in about 7 days.
Can you customize colors or add decorative elements?
Yes. Mix color pigments into the resin before pouring, or sprinkle metallic flakes while wet. Check the data sheet for UV stability, since some epoxies yellow in sunlight. For intricate designs, consult professionals like National Concrete Polishing in South Florida.
What maintenance ensures long-term durability?
Sweep regularly and mop with pH-neutral cleaners. Avoid abrasive pads or acidic solutions. Reapply a topcoat when the existing one wears, as the manufacturer advises. Inspect for chips regularly and patch promptly.
Why does batch size matter during mixing?
Epoxy hardens quickly once combined. Small batches prevent premature curing. Use a drill mixer for thorough blending, and work in sections for large areas. Do not use material that has passed its pot life.
Written by

Founder and CEO
Chris Lavin is an esteemed leader in concrete polishing and epoxy coatings with a distinguished 20-year career. As founder and CEO of National Concrete Polishing and owner of Xtreme Polishing Systems, he's renowned for polishing and epoxy coating more floors than anyone globally. Chris is recognized for his innovative approach and commitment to enhancing floor durability and aesthetics. His hands-on experience and technical proficiency make him a respected authority and a valuable resource in the field of floor polishing and coatings.
Same topic
Related articles
All stories
Residential7 min read
Epoxy Garage Floor DIY vs Professional Installation: What You Need to Know
DIY epoxy flooring involves homeowners applying the coating using pre-packaged kits that include resin, hardener, and tools.
Read it
Epoxy & coatings6 min read
What Happens When Concrete Prep Is Skipped
What happens when concrete prep is skipped? Good contractors will tell you it's a disaster, so don't let your contractor skip the work!
Read it
Epoxy & coatings11 min read
Why Proper Joint Treatment is Critical for Epoxy Floors in Florida
Concrete floors contain three main joint types that serve distinct purposes and require specialized treatment approaches.
Read it
Tell us about the floor
Tell us the space and roughly how big it is.We come back with what it would cost and when we could start.
Prefer to talk? Call +1 844-876-5474
- Leads@
nationalconcretepolishing.net - 2200 NW 32nd St #600,
Pompano Beach, FL 33069 Mon to Fri, 9:00 to 5:30