
The NCP blog
Self-Leveling Epoxy for Uneven Concrete Floors in Fort Lauderdale
Epoxy & coatings12 min read
The region sits on porous limestone and sandy soil that expands and contracts with seasonal rainfall.
Self-leveling epoxy is a polymer-based resurfacing compound that flows across damaged concrete to create a smooth, flat surface without extensive grinding or slab replacement. In Fort Lauderdale, where high humidity and shifting soil cause slabs to settle and crack, this system delivers a seamless, durable finish that withstands moisture intrusion and heavy foot traffic. The material’s low viscosity allows it to fill low spots, spalls, and minor undulations up to a quarter-inch deep, curing into a monolithic floor ready for decorative topcoats or heavy-duty use within 24 hours.
Why Uneven Concrete Is a Persistent Problem in Fort Lauderdale
Coastal Florida’s geology creates unique challenges for concrete slabs. The region sits on porous limestone and sandy soil that expands and contracts with seasonal rainfall. According to the United States Geological Survey, South Florida’s water table fluctuates by as much as three feet between dry and wet seasons, causing hydrostatic pressure that lifts and cracks slabs. Over time, this movement creates trip hazards, pooling water, and unsightly undulations that make floors unsuitable for residential living spaces or commercial operations.
Traditional repair methods involve mudjacking or full slab replacement, both of which are disruptive and expensive. A study from the Portland Cement Association indicates that slab replacement costs average $8 to $15 per square foot, while self-leveling overlays range from $3 to $7 per square foot. For a 1,000-square-foot garage or warehouse, that difference translates to thousands of dollars in savings. Beyond cost, the speed of installation means businesses in Fort Lauderdale experience minimal downtime—a critical factor for restaurants, retail stores, and warehouse operations.
How Self-Leveling Epoxy Differs from Standard Floor Coatings
Standard epoxy floor coatings are thin-film systems—typically 10 to 20 mils thick—designed to protect concrete from abrasion and chemicals. They do not correct topography. Self-leveling epoxy, by contrast, is a 100%-solids, high-build formulation applied at thicknesses of 1/8 inch or greater. Its rheology is engineered to seek its own level, flowing into depressions and self-smoothing before the curing reaction accelerates. As Dr. Elena Marchetti, Senior Polymer Chemist at the American Coatings Association, explains: “The molecular crosslinking density in self-leveling epoxies is 30% higher than in standard floor paints, which gives them compressive strengths exceeding 10,000 psi—comparable to the concrete substrate itself.”
This structural capacity makes the system suitable for garage floors in Fort Lauderdale, where vehicles exert point loads, and for commercial kitchens where heavy equipment rolls across the surface. The material also accepts broadcast aggregates like quartz or aluminum oxide for slip resistance, a requirement under commercial kitchen floor regulations enforced by local health departments.
Critical Surface Preparation Steps Before Application
Surface preparation determines 80% of a self-leveling epoxy floor’s long-term performance. The concrete must be profiled to a CSP 3–4 standard (Concrete Surface Profile) as defined by the International Concrete Repair Institute. This is achieved through shot blasting or diamond grinding, which removes laitance, old coatings, and contaminants while opening the concrete’s capillary pores for mechanical adhesion.
In Fort Lauderdale, moisture testing is mandatory before any pour. The ASTM F2170 relative humidity probe test must show readings below 75% RH; otherwise, a moisture mitigation system—typically a two-component epoxy primer with vapor-suppressing properties—must be installed. Skipping this step leads to osmotic blistering, a failure mode where moisture pushes the coating off the slab. Our team has remediated dozens of floors where epoxy peeling in Fort Lauderdale was traced directly to inadequate moisture testing.
Step-by-Step Preparation Protocol
- Inspect and repair cracks: All active cracks wider than 1/16 inch must be routed and filled with a semi-rigid epoxy crack filler to prevent reflective cracking through the overlay.
- Profile the surface: Use a walk-behind shot blaster or diamond grinder with 30/40-grit tooling to achieve CSP 3–4. Vacuum all dust immediately.
- Test for moisture and pH: Conduct ASTM F2170 RH testing and ASTM F710 pH testing. Acceptable pH range is 7–10; higher values require acid neutralization.
- Apply primer coat: Roll or squeegee a low-viscosity epoxy primer at 200–300 square feet per gallon. Back-roll to ensure penetration into the profile.
- Broadcast sand (optional): For enhanced mechanical bond, broadcast 30/50-mesh silica sand into the wet primer at a rate of 0.5–1 pound per square foot.
- Allow primer to cure: In Fort Lauderdale’s average 78°F and 70% RH, primer tack-free time is 4–6 hours. Full cure before overlay is 8–12 hours.
Installation Process: From Mix to Finished Floor
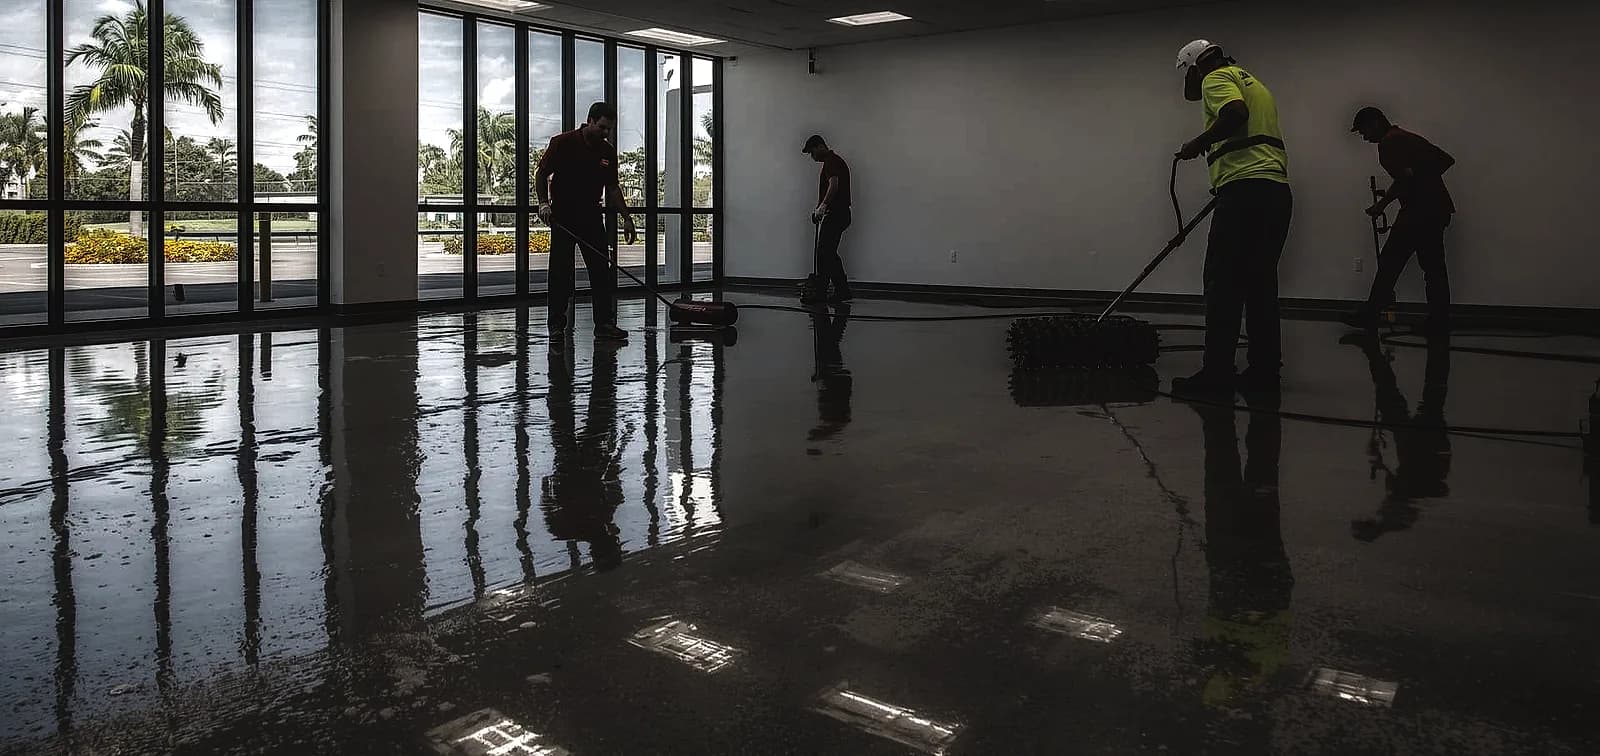
Self-leveling epoxy is a two-component system—Part A (resin) and Part B (hardener)—mixed in precise ratios, typically 2:1 or 3:1 by volume. The pot life at 75°F is 20–30 minutes, so crews must work efficiently. Mixing is done with a low-speed drill (300–400 RPM) and a jiffy mixer to avoid air entrapment, which causes pinhole defects in the cured surface.
The mixed material is poured in ribbons across the floor and spread with a gauge rake set to the desired thickness. Immediately after spreading, a spiked roller—also called a porcupine roller—is used to release entrapped air and help the material flow into low areas. According to James Cordero, Technical Director at the Epoxy Flooring Institute, “The spiked roller is the most underappreciated tool in self-leveling. It breaks the surface tension and allows the epoxy to achieve its true flow characteristics. Without it, you’ll see orange-peel texture and trapped bubbles.”
Thickness Guidelines by Application
| Application Type | Recommended Thickness | Aggregate Addition |
|---|---|---|
| Residential living areas | 1/8 – 3/16 inch | None (smooth finish) |
| Garages and workshops | 3/16 – 1/4 inch | Aluminum oxide for slip resistance |
| Commercial kitchens | 1/4 – 3/8 inch | Quartz broadcast for thermal shock resistance |
| Warehouse and industrial | 3/8 – 1/2 inch | Silica sand for impact resistance |
| Severely uneven slabs (>1/2″ deviation) | 1/2 – 1 inch (multiple lifts) | Graded aggregate for build-up |
For floors with deviations exceeding half an inch, multiple lifts are poured, with each lift allowed to cure to a tack-free state before the next is applied. This prevents exothermic heat buildup that can cause thermal cracking in thick sections. In Fort Lauderdale’s warm climate, the exothermic reaction accelerates, so monitoring the mixed material’s temperature with an infrared thermometer is standard practice.
Moisture Mitigation: The Fort Lauderdale Imperative
South Florida’s high water table makes moisture the number one enemy of epoxy floors. A 2024 study by the University of Florida’s Building Construction Department found that 68% of concrete slabs in Broward County exceed 80% relative humidity at depths of 40% of slab thickness—well above the 75% threshold for standard epoxy systems. This data underscores why waterproofing under epoxy in South Florida is not optional; it’s a prerequisite.
The most reliable mitigation approach is a reactive moisture barrier: a two-component, 100%-solids epoxy primer formulated with hydrophobic resins that penetrate the concrete’s capillary structure. These primers reduce moisture vapor transmission rates (MVTR) to below 3 pounds per 1,000 square feet per 24 hours, the maximum allowed by ASTM F3010 for seamless polymer flooring. In extreme cases, a topical moisture barrier system using polyurea or methyl methacrylate (MMA) chemistry may be specified, though these add $2–$4 per square foot to the project cost.
Decorative Options That Don’t Compromise Leveling
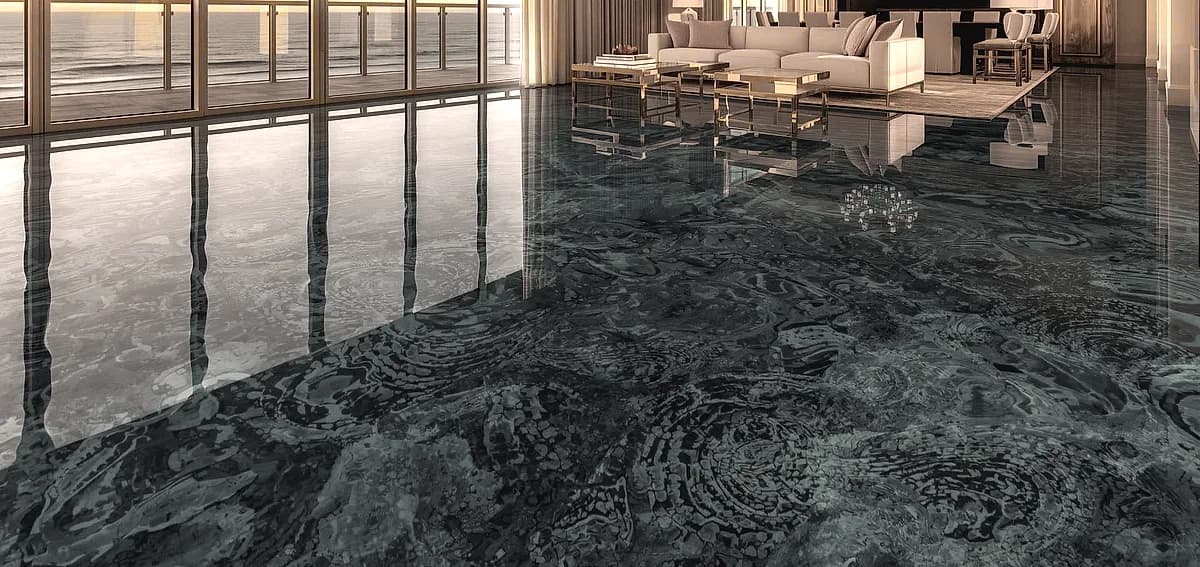
A common misconception is that self-leveling epoxy produces only a utilitarian gray floor. In reality, the system serves as an ideal canvas for decorative enhancements. Metallic pigments can be dispersed into the mixed epoxy to create swirling, three-dimensional effects reminiscent of marble or flowing water. This technique has gained popularity in Fort Lauderdale’s luxury retail spaces and high-end residential interiors, where the floor becomes a design focal point.
For a more industrial aesthetic, quartz broadcast systems embed colored quartz granules into the wet epoxy, creating a slip-resistant, multi-tonal surface that hides dirt and wear. This finish is specified in 70% of the commercial epoxy floors we install in Broward County’s restaurant and brewery sectors. The quartz also increases the floor’s compressive strength and resistance to hot tire pickup—a critical factor in garage epoxy flooring applications.
“We installed a metallic self-leveling epoxy floor in a Fort Lauderdale beachfront condo where the original slab had settled two inches toward the balcony. The leveling compound corrected the slope, and the ocean-blue metallic finish made the floor look like the Atlantic itself. The homeowner said it added $30,000 in perceived value to the unit.”
Comparing Self-Leveling Epoxy to Alternative Solutions
| Method | Cost/sq ft | Installation Time | Durability (years) | Moisture Resistance |
|---|---|---|---|---|
| Self-Leveling Epoxy | $4–$8 | 1–2 days | 15–20 | Excellent (with primer) |
| Full Slab Replacement | $10–$18 | 7–14 days | 30+ | Depends on vapor barrier |
| Mudjacking | $3–$6 | 1 day | 5–10 | Poor (does not seal) |
| Self-Leveling Cement | $3–$5 | 1–2 days | 10–15 | Moderate (requires sealing) |
| Vinyl Plank Overlay | $2–$5 | 1–3 days | 8–12 | Poor (traps moisture) |
Self-leveling cement is sometimes confused with self-leveling epoxy, but the two are fundamentally different. Cement-based levelers are brittle, prone to cracking under dynamic loads, and must be sealed with a separate coating system. Epoxy-based levelers are flexible, bond chemically to the substrate, and serve as both leveler and finished wear surface. For Fort Lauderdale’s climate, where slabs move seasonally, the epoxy’s elongation properties (up to 5% tensile elongation) prevent the cracking that plagues rigid cement overlays.
Common Mistakes That Lead to Floor Failure
Despite the system’s forgiving nature, certain errors consistently produce callbacks. The most frequent is pouring over an unprimed or improperly profiled surface. Epoxy relies on a mechanical bond; without a CSP 3–4 profile, delamination is inevitable within the first year. Another mistake is ignoring ambient conditions. Epoxy should not be applied when the slab temperature is within 5°F of the dew point, as condensation forms an invisible barrier that prevents adhesion. In Fort Lauderdale’s humid mornings, this window is often missed by inexperienced crews.
Over-watering the mix—a practice borrowed from cementitious levelers—destroys epoxy’s chemical structure. Unlike cement, epoxy cures by chemical reaction, not evaporation. Adding solvents or water dilutes the crosslinking density, reducing hardness and chemical resistance. As Dr. Marchetti emphasizes: “Epoxy is a stoichiometric system. Alter the ratio, and you alter the polymer network permanently. There’s no fixing it once it’s cured.”
Maintenance and Longevity in Coastal Environments
A properly installed self-leveling epoxy floor in Fort Lauderdale requires minimal maintenance to reach its 15–20-year design life. Daily cleaning involves a microfiber dust mop to remove abrasive sand and salt particles tracked in from the beach. Weekly wet cleaning uses a pH-neutral cleaner (pH 7–9) and a soft deck brush; acidic or alkaline cleaners etch the epoxy surface, causing dulling and loss of slip resistance over time.
Annual inspections should check for impact damage, chemical spills, and UV yellowing in areas exposed to direct sunlight through windows or skylights. While epoxy is inherently UV-stable for interior applications, prolonged exposure can cause an amber shift in clear topcoats. A polyaspartic or polyurethane topcoat with UV inhibitors solves this issue and is standard on all our residential polished concrete and epoxy projects with significant natural light.
Cost Breakdown for a Typical Fort Lauderdale Project
For a 500-square-foot residential garage with moderate unevenness (1/4-inch deviation), the 2026 cost structure breaks down as follows: surface preparation (grinding and crack repair) at $1.50–$2.00 per square foot; moisture testing and primer at $1.00–$1.50 per square foot; self-leveling epoxy body coat at $2.50–$3.50 per square foot; and a UV-stable polyurethane topcoat at $1.00–$1.50 per square foot. Total investment ranges from $3,000 to $4,250, with a median of $3,600. This compares favorably to the $5,000–$8,000 cost of slab replacement for the same space.
Commercial projects scale differently due to thicker applications and aggregate additions. A 2,000-square-foot restaurant kitchen requiring a 3/8-inch quartz-reinforced system typically runs $12,000–$16,000, including overnight installation to avoid business interruption. The warranty terms on these commercial installations range from 5 to 10 years, backed by manufacturer material warranties and installer workmanship guarantees.
Frequently Asked Questions
Can self-leveling epoxy be applied over existing tile?
Yes, but the tile must be mechanically profiled to remove glaze, and any loose tiles must be reset or removed. A high-solids epoxy primer is essential to bond to the tile surface. For more details, see our guide on epoxy over tile in South Florida.
How long before I can walk on a new self-leveling epoxy floor?
Light foot traffic is permissible after 12–18 hours at 75°F. Full cure for furniture placement and vehicle traffic requires 24–48 hours. Heavy equipment should wait 72 hours to avoid point-load indentation during the final cure phase.
Does self-leveling epoxy hide cracks permanently?
It bridges static cracks up to 1/16 inch. Active cracks—those that move with seasonal changes—must be treated with a flexible epoxy crack filler and control joint transferred through the overlay to prevent reflective cracking.
Is self-leveling epoxy slippery when wet?
In its natural cured state, epoxy has a coefficient of friction around 0.5–0.6, which is moderately slip-resistant. For wet areas, aluminum oxide or quartz aggregate is broadcast into the surface to achieve a coefficient above 0.8, meeting OSHA and ADA requirements.
Can I install self-leveling epoxy myself?
While DIY kits exist, the preparation equipment (shot blaster, industrial grinder, moisture meters) and the material’s short pot life make professional installation strongly recommended. Improper mixing or application leads to costly failures that exceed the initial savings.
How does self-leveling epoxy handle Fort Lauderdale’s humidity during curing?
High humidity accelerates the cure but can cause amine blush—a waxy surface film that interferes with intercoat adhesion. Professionals monitor dew point and use blush-resistant hardeners formulated for coastal environments.
What’s the difference between self-leveling epoxy and polished concrete?
Polished concrete grinds the existing slab to a high-gloss finish without adding material. Self-leveling epoxy adds a new wear surface that corrects unevenness. For a detailed comparison, see our polished concrete vs. tiles analysis, which covers similar decision factors.
Conclusion
Self-leveling epoxy flooring solves the dual challenge of uneven concrete and moisture intrusion that defines Fort Lauderdale’s built environment. The system’s ability to flow into low spots, cure into a monolithic slab, and resist the hydrostatic pressures of South Florida’s water table makes it the most reliable resurfacing method available in 2026. From residential garages to commercial kitchens, the combination of speed, durability, and decorative versatility delivers a floor that performs for decades with minimal maintenance.
If your concrete floor has settled, cracked, or become a trip hazard, a professional assessment is the first step toward a permanent solution. Our team has leveled thousands of square feet across Broward County, and we understand the local soil conditions, moisture challenges, and building codes that govern successful installations. Contact us today to schedule an on-site evaluation and receive a detailed proposal tailored to your floor’s specific condition.
References
- United States Geological Survey. “Groundwater Fluctuations in the Floridan Aquifer System.” USGS.gov
- Portland Cement Association. “Cost Comparison of Concrete Repair Methods.” Cement.org
- American Coatings Association. “Polymer Crosslinking Density in High-Build Epoxy Systems.” Paint.org
- International Concrete Repair Institute. “Concrete Surface Profile Guidelines.” ICRI.org
- ASTM International. “ASTM F2170: Standard Test Method for Determining Relative Humidity in Concrete Floor Slabs.” ASTM.org
- University of Florida, M.E. Rinker Sr. School of Building Construction. “Moisture Levels in Broward County Concrete Slabs.” UFL.edu
- Epoxy Flooring Institute. “Best Practices for Self-Leveling Epoxy Application.” EpoxyFlooringInstitute.org
- Occupational Safety and Health Administration. “Walking-Working Surfaces Standard.” OSHA.gov
Written by

Founder and CEO
Chris Lavin is an esteemed leader in concrete polishing and epoxy coatings with a distinguished 20-year career. As founder and CEO of National Concrete Polishing and owner of Xtreme Polishing Systems, he's renowned for polishing and epoxy coating more floors than anyone globally. Chris is recognized for his innovative approach and commitment to enhancing floor durability and aesthetics. His hands-on experience and technical proficiency make him a respected authority and a valuable resource in the field of floor polishing and coatings.
Same topic
Related articles
All stories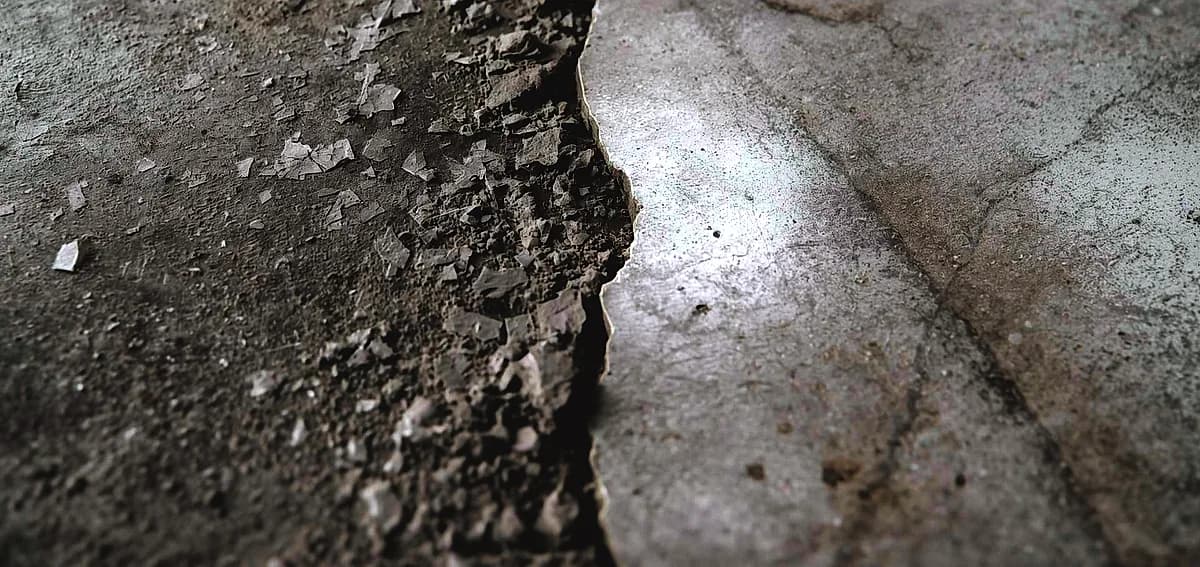
Epoxy & coatings8 min read
DIY vs Professional Epoxy Flooring in Fort Lauderdale
Hardware stores heavily market all-in-one boxes that promise a showroom finish with minimal effort.
Read it
Epoxy & coatings8 min read
Can You DIY Epoxy Flooring in Miami? Pros, Cons, and Tips
Applying a durable floor finish in a tropical or highly humid climate presents unique environmental challenges.
Read it
Epoxy & coatings7 min read
DIY Epoxy Flooring in South Florida: Is It Worth the Risk?
However, these products generally contain high levels of water or solvents to extend their pot life.
Read it
Tell us about the floor
Tell us the space and roughly how big it is.We come back with what it would cost and when we could start.
Prefer to talk? Call +1 844-876-5474
- Leads@
nationalconcretepolishing.net - 2200 NW 32nd St #600,
Pompano Beach, FL 33069 Mon to Fri, 9:00 to 5:30