The NCP blog
The Ultimate Epoxy Floor Preparation Checklist for Contractors
Epoxy & coatings10 min read
An epoxy floor preparation checklist for contractors, covering the clean, dry, sound and profiled concrete that coatings need to bond.
Professional contractors know that epoxy floor prep checklist execution determines the difference between installations that last and those that fail early. KTA-Tator, a coatings consultancy, writes that on existing concrete floors the most common reason for coating failure is excessive moisture content, and ICRI lists bond failure, delamination and cracking as the results of improper surface preparation. This epoxy floor preparation checklist covers the steps from initial substrate evaluation through final moisture testing, for contractors working in South Florida’s humid climate.
Overview
This professional-grade checklist walks contractors through the complete epoxy floor preparation process, covering substrate assessment, cleaning protocols, repair procedures, surface profiling techniques, moisture testing, and pre-application verification. You’ll learn industry-standard preparation methods, required tools and equipment, quality control checkpoints, and troubleshooting strategies for common preparation challenges. Whether you’re installing residential garage systems or commercial industrial floors, this systematic approach ensures consistent results across all project types.
Initial Substrate Assessment
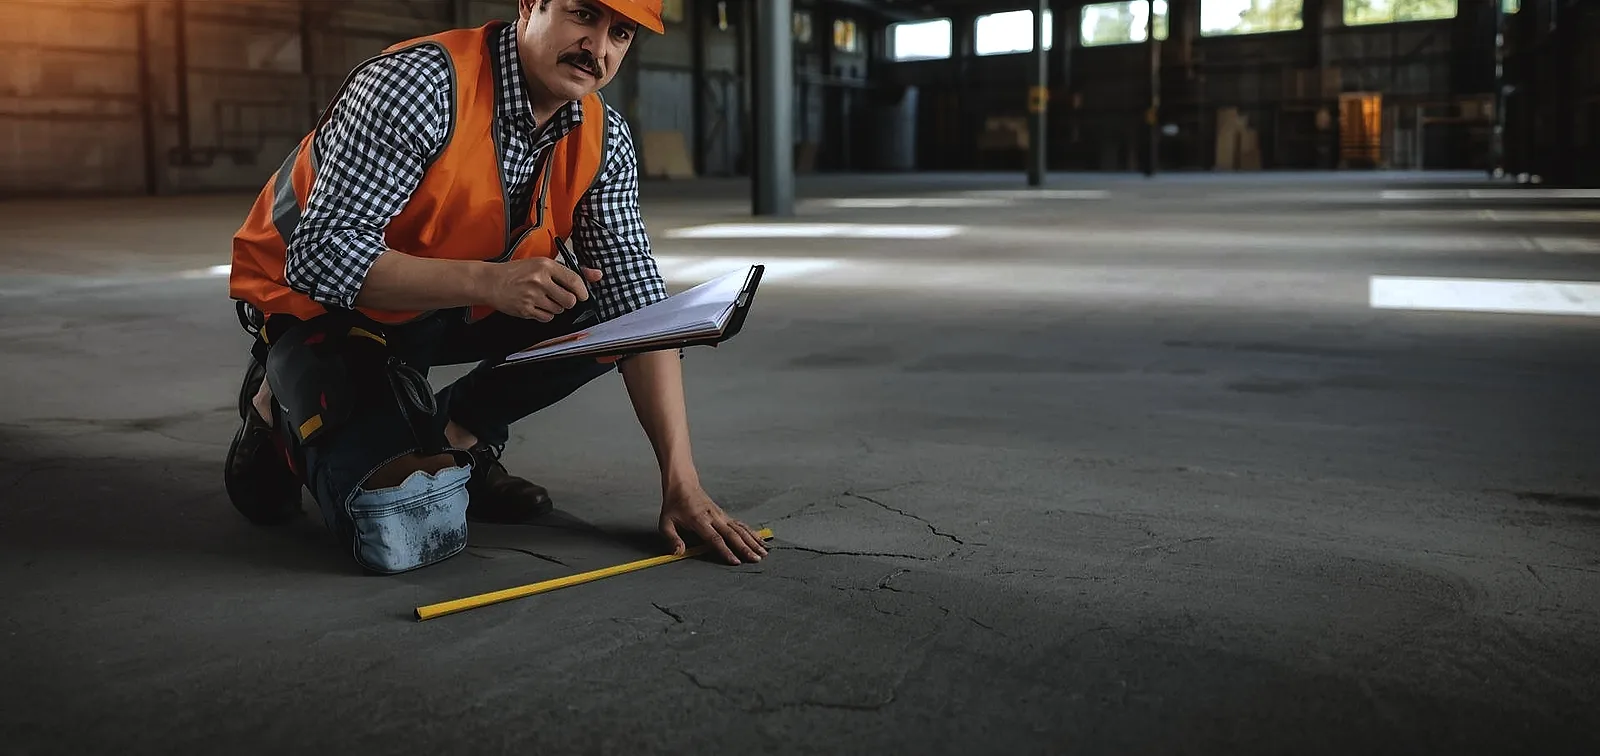
Begin every project with comprehensive substrate evaluation before making equipment or material commitments. Document the concrete age, mix design, and finishing method. Newer concrete under 28 days may require extended curing time before epoxy application. Identify existing coatings, sealers, or contaminants through visual inspection and tape tests that reveal previous treatments affecting adhesion.
Check for structural issues including cracks, spalling, delamination, or surface dusting that indicates weak concrete. Assess floor flatness using straightedges or laser levels, noting low spots where pooling could occur or high spots requiring additional grinding. Test concrete hardness using scratch tests or rebound hammers to verify the substrate can withstand preparation equipment without excessive degradation.
Mandatory Moisture Testing
Moisture testing is a critical preparation step, because excess moisture in a slab can cause debonding and deterioration of coatings. Perform calcium chloride tests following ASTM F1869 standards, placing test kits in multiple locations across the slab to identify problem areas. Record moisture vapor emission rates. NRMCA notes that maximum limits generally specified are 3 to 5 pounds of moisture per 1000 square feet per 24 hours, but the limit that applies is the one on the coating manufacturer's data sheet.
Use relative humidity probes inserted into drilled holes following ASTM F2170 for more accurate internal moisture readings in South Florida’s humid climate. Test concrete pH using pH strips or meters, and compare the reading with the coating manufacturer's limit. Limits differ by product and flooring type: a Concrete International article notes that many flooring manufacturers won't issue a warranty unless the pH has been verified to be within acceptable ranges. Document all test results with photos and written reports that become part of your quality assurance file and protect against future warranty disputes.
Surface Cleaning Protocol
Thorough cleaning removes contaminants that prevent chemical bonding between concrete and epoxy. Begin by sweeping and vacuuming to eliminate loose dirt, dust, and debris that grinding equipment could spread across the surface. Apply industrial degreasers to oil-stained areas, allowing proper dwell time before scrubbing with stiff brushes or mechanical scrubbers.
Remove existing coatings, paints, sealers, and curing compounds using shot blasting, grinding, or chemical strippers depending on coating type and thickness. Pressure wash the entire surface to flush contaminants from concrete pores, ensuring complete drainage before proceeding. A presentation of ICRI Guideline 310.2R describes low-pressure water cleaning at 1000 to 5000 psi, which removes dust, debris and water-soluble contaminants. Allow the slab to dry completely, which takes longer in humid weather, and test moisture again before coating.
Crack & Damage Repair
Crack repair must be completed before surface profiling to prevent epoxy from bridging over weak joints. Route cracks using diamond blades or grinders to create clean, uniform channels, sized as the repair material's data sheet specifies. Clean routed cracks with compressed air and vacuum to remove all dust and debris before filling.
Select appropriate repair materials based on crack width and anticipated movement. A rigid epoxy repair may not be applicable if the crack is still moving, so moving cracks and joints get a flexible material. Fill and level repairs flush with surrounding concrete, avoiding high spots that interfere with coating thickness. Address spalled areas by removing loose material back to sound concrete, applying bonding agents, and patching with epoxy mortars or polymer-modified concrete.
Surface Profile Creation
Creating proper concrete surface profile (CSP) ensures mechanical bonding between substrate and epoxy coating. ICRI's guideline defines the CSP scale, and the coating manufacturer sets the profile each system needs. The data sheet for one Sika epoxy floor coating, for example, asks for a profile equivalent to ICRI CSP 3-4. Diamond grinding produces consistent profiles and removes surface laitance that prevents adhesion.
Shot blasting offers faster coverage on large commercial projects while creating uniform texture and revealing aggregate. Acid etching provides adequate profile for thin-film coatings but lacks consistency and creates disposal challenges with spent chemicals. Verify achieved profile using CSP chips or replica tape, adjusting equipment settings until specifications are met across the entire floor.
Why We Diamond Grind Before Coating
Diamond grinding was part of the prep on jobs such as a technical school’s automotive bays in Miami, an aircraft hangar in Naples and a residential garage in Fort Lauderdale. It does what ASTM D4259 describes for abrasion prep: it creates a surface profile and removes foreign material and weak surface laitance. Acid etching leaves a residue to deal with, and ICRI's guideline notes that neutralizing the surface may be necessary.
Dust & Residue Removal
Post-grinding cleanup removes dust and residue that contaminate epoxy and prevent proper cure. Use industrial HEPA vacuums designed for concrete dust, making multiple passes to capture fine particles that standard vacuums miss. Blow compressed air across the surface to dislodge dust from cracks, joints, and textured areas, then vacuum again to capture loosened material.
Damp mop or lightly mist the floor to capture remaining dust without saturating the concrete. Allow the surface to dry completely before proceeding, since moisture introduced during cleaning must evaporate before epoxy application. Perform the “tape test” by pressing clear tape firmly onto prepared concrete, then checking for dust transfer that indicates inadequate cleaning.
Joint & Control Cut Treatment
Proper joint treatment prevents coating failure at stress concentrations where concrete movement occurs. Rout control joints to remove deteriorated edges and create clean profiles for flexible filler installation. Clean routed joints thoroughly using brushes, air, and vacuum to ensure proper filler adhesion.
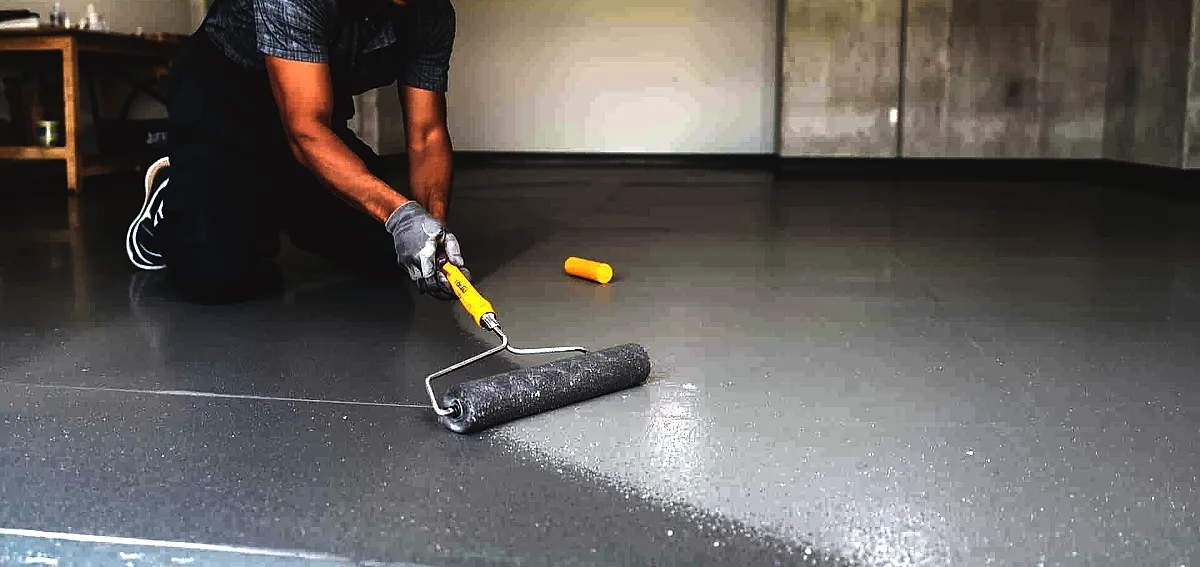
Fill expansion joints with semi-rigid polyurea or flexible epoxy systems rated for anticipated movement. Tool fillers flush with surrounding concrete to prevent ridges that create uneven coating thickness. For floors with extensive joint networks, consider joint-filling techniques that accommodate movement while maintaining seamless appearance.
Temperature & Humidity Verification
Document ambient and substrate temperatures before material mixing begins. Concrete surface temperature must fall within the range on the coating's data sheet, measured using infrared thermometers at multiple locations. It is generally accepted in the coatings industry that the surface should be at least 3 °C (about 5 °F) above the dew point to prevent moisture condensation during application and cure.
Measure relative humidity using calibrated hygrometers and compare the reading with the data sheet's limit for the formulation. High humidity and low temperature raise the risk of surface defects such as amine blush, as PCI Magazine explains. Install dehumidification equipment and climate control before application to stabilize conditions, and maintain them throughout installation and initial cure.
Floor Drain Preparation
Floor drains require special attention to ensure seamless integration with epoxy coating. Drains should sit flush with the slab: grind down protruding drains or build up surrounding areas to bring the drain to the right height. Create voids around drain perimeters using grinders or routers, sized as the system specification requires.
Fill voids with epoxy filler, leaving space below the drain rim so the coating transitions cleanly. Verify positive drainage slopes toward drains using water tests, and address inadequate slopes before coating application. Mask drain openings during coating to prevent material intrusion while ensuring proper perimeter sealing.
Primer Selection & Application
Choose primers based on substrate moisture levels, porosity, and coating system requirements. Standard epoxy primers suit dry, moderately porous concrete with moisture readings inside the primer's data sheet limit, commonly 3 to 5 pounds per 1,000 square feet per 24 hours on the calcium chloride test. Moisture-mitigating primers are formulated for higher readings, up to the limit in their own data sheet.
Apply primers at manufacturer-specified coverage rates using rollers or squeegees. Back-roll all primer applications to work material into concrete pores and eliminate air bubbles. Allow the primer's cure time before applying base coats, as the data sheet gives it for the temperature and humidity on the job. Verify primer coverage by checking for uniform color and ensuring no concrete shows through cured primer.
Equipment & Tool Checklist
Essential preparation equipment includes planetary grinders or shot blasters for surface profiling, industrial HEPA vacuums for dust collection, and moisture meters for testing. Stock diamond grinding tools in progressive grits, coarse for aggressive removal and finer for final profiling. Maintain crack routing equipment, pressure washers in the 1000 to 5000 psi range, and dehumidifiers for climate control.
Required hand tools include concrete crack chasers, margin trowels for repair work, mixing paddles for material preparation, and calibrated measuring containers. Keep safety equipment including respirators, eye protection, hearing protection, and knee pads accessible. Maintain backup equipment for critical items to prevent project delays when primary tools malfunction.
Pre-Application Final Inspection
Conduct systematic final inspection 24 hours before scheduled epoxy application. Walk the entire floor checking for missed repairs, inadequate surface profile, or contamination from ongoing construction activities. Re-vacuum and clean any areas showing dust accumulation or debris since initial preparation.
Verify all moisture test results remain within acceptable limits, and retest if conditions have changed since initial testing, because moisture content can vary through the year. Confirm temperature and humidity fall within specification windows and will remain stable throughout application. Document final inspection with photos showing prepared surface conditions, protecting against disputes about pre-application substrate quality.
Documentation & Quality Assurance
Comprehensive documentation protects contractors against warranty claims while demonstrating professional standards. Photograph substrate conditions before preparation, during each prep phase, and after completion showing achieved surface profile. Record all moisture test results with dates, locations, and equipment calibration information.
Maintain material data sheets, mix ratios, batch numbers, and application rates for all products used during preparation and coating. Create written reports documenting any substrate issues discovered, repairs performed, and deviations from standard procedures. This quality assurance file becomes invaluable when troubleshooting problems or defending against claims that surface preparation was inadequate.
Common Preparation Mistakes
Inadequate surface profile is a common mistake leading to delamination and coating failure. Contractors rushing through grinding create inconsistent texture or fail to remove all contaminants. Skipping moisture testing to save time can result in coating failures that are costly to remove and reinstall.
Applying epoxy over damp concrete because “it looks dry” traps moisture causing bubbling and loss of adhesion. Inadequate crack repair allows movement that telegraphs through coatings creating unsightly patterns. Failing to control temperature and humidity during preparation and application produces surface defects that cannot be corrected without complete removal.
Troubleshooting Preparation Issues
When moisture tests reveal elevated readings, install moisture barriers or switch to moisture-mitigating primer systems rated for higher levels. For extremely porous concrete that consumes excessive primer, apply densifiers that harden the surface and reduce material consumption. Address substrate pH issues with the decontamination method the primer's data sheet gives before primer application.
When concrete is too weak or dusty, apply consolidating hardeners that penetrate and strengthen the surface matrix. For heavily contaminated concrete where standard cleaning fails, use aggressive mechanical preparation combined with chemical strippers. Consult epoxy manufacturers’ technical support when encountering unusual substrate conditions that standard preparation methods cannot resolve.
Frequently Asked Questions
What is the most important step in epoxy floor preparation?
Moisture testing is among the most critical steps: applying epoxy over concrete with excessive moisture can cause delamination and bubbling.
How long does proper floor preparation take?
It depends on floor size, substrate condition and the repairs needed. As a planning range for open, accessible floors, a standard crew grinds about 3,000 to 7,500 square feet per day.
Can you skip surface profiling for epoxy floors?
No. A coating needs a surface profile to bond mechanically, and smooth concrete without texture may not hold epoxy regardless of cleaning.
What concrete surface profile do epoxy floors need?
ICRI's CSP scale runs from CSP 1 to CSP 10, and the coating manufacturer specifies the profile each system needs.
How do you test if concrete is ready for epoxy?
Perform calcium chloride moisture tests, verify surface profile using CSP chips, conduct tape tests for dust, and confirm temperature/humidity specifications are met.
What tools are essential for epoxy floor prep?
Essential equipment includes planetary grinders or shot blasters, HEPA vacuums, moisture meters, pressure washers, and crack routing tools.
Can you apply epoxy over old coatings?
Existing coatings must be completely removed through grinding, shot blasting, or chemical stripping to ensure proper adhesion.
How dry does concrete need to be for epoxy?
The limit comes from the coating manufacturer's data sheet. NRMCA notes that maximum limits generally specified are 3 to 5 pounds per 1000 square feet per 24 hours on the calcium chloride test.
What temperature is best for floor preparation?
Stay within the data sheet's temperature range, and keep the surface at least 3 °C (about 5 °F) above the dew point during preparation and application.
Why do contractors skip proper preparation steps?
Time pressure and cost cutting lead contractors to skip critical steps, but preparation shortcuts can cause failures that cost far more than proper initial prep.
Conclusion
Mastering this epoxy floor prep checklist separates professional contractors who deliver lasting installations from those dealing with costly callbacks and warranty claims. Every step, from initial substrate assessment through final pre-application inspection, plays a crucial role in chemical and mechanical bonding. While thorough surface preparation requires additional time and resources upfront, it helps avoid the failures that damage contractor reputations and profitability.
National Concrete Polishing has worked in South Florida since 2013. We deliver epoxy flooring installations. Contact us today to talk through the preparation your next commercial or residential epoxy flooring project needs.
Written by

Founder and CEO
Chris Lavin is an esteemed leader in concrete polishing and epoxy coatings with a distinguished 20-year career. As founder and CEO of National Concrete Polishing and owner of Xtreme Polishing Systems, he's renowned for polishing and epoxy coating more floors than anyone globally. Chris is recognized for his innovative approach and commitment to enhancing floor durability and aesthetics. His hands-on experience and technical proficiency make him a respected authority and a valuable resource in the field of floor polishing and coatings.
Same topic
Related articles
All stories
Residential7 min read
Epoxy Garage Floor DIY vs Professional Installation: What You Need to Know
DIY epoxy flooring involves homeowners applying the coating using pre-packaged kits that include resin, hardener, and tools.
Read it
Epoxy & coatings6 min read
What Happens When Concrete Prep Is Skipped
What happens when concrete prep is skipped? Good contractors will tell you it's a disaster, so don't let your contractor skip the work!
Read it
Epoxy & coatings11 min read
Why Proper Joint Treatment is Critical for Epoxy Floors in Florida
Concrete floors contain three main joint types that serve distinct purposes and require specialized treatment approaches.
Read it
Tell us about the floor
Tell us the space and roughly how big it is.We come back with what it would cost and when we could start.
Prefer to talk? Call +1 844-876-5474
- Leads@
nationalconcretepolishing.net - 2200 NW 32nd St #600,
Pompano Beach, FL 33069 Mon to Fri, 9:00 to 5:30