
The NCP blog
How to Achieve a Shiny Concrete Floor That Lasts
Polished concrete7 min read
Did you know surfaces treated with advanced polishing methods can withstand 10x more wear than traditional flooring?
Did you know surfaces treated with advanced polishing methods can withstand 10x more wear than traditional flooring? This resilience makes polished concrete a top choice for busy homes and commercial spaces. Unlike materials that chip or fade, properly maintained surfaces retain their sleek appearance for decades.
Modern techniques transform ordinary slabs into durable, eye-catching foundations. These surfaces resist scratches from pets, dents from heavy furniture, and stains from spills. Their nonporous nature prevents allergens like dust mites from settling, creating healthier indoor environments.
Success starts with understanding the process. Proper grinding removes imperfections, while diamond-coated tools create smooth textures. Strategic sealing locks in protection without compromising visual appeal. The result? A luminous finish that elevates any room’s aesthetic while standing up to daily life.
Preparing Your Concrete Surface
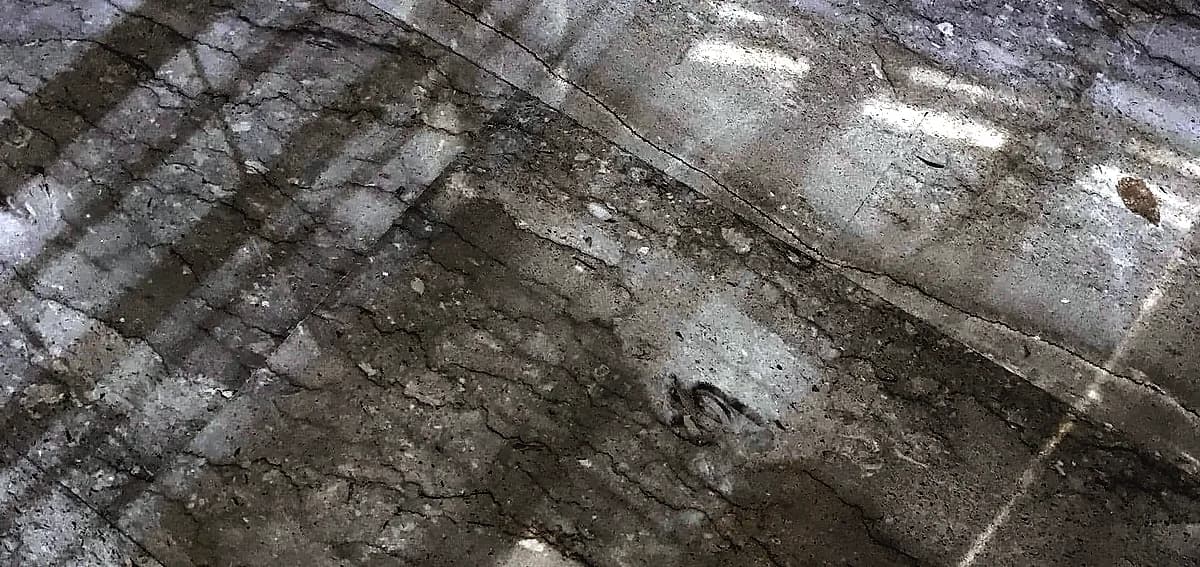
Proper surface prep separates amateur results from professional finishes. Start by clearing all existing materials like tile, carpet, or vinyl. Residual adhesives or uneven patches will affect polishing quality. Use a floor scraper for stubborn glue and vacuum debris thoroughly.
Removing Existing Flooring
Tile requires a chisel and hammer for removal. For glued-down materials, apply heat to soften adhesives. Always wear protective gloves and goggles during demolition. Check for hidden screws or nails that could damage grinding tools later.
Repairing Cracks and Leveling
Inspect the entire area with a bright light to spot hairline fractures. Use epoxy injections for structural cracks wider than 1/8 inch. Fill minor imperfections with polymer-modified patching compounds. Self-leveling underlayment works best for dips deeper than 1/4 inch.
| Surface Issue | Solution | Dry Time |
|---|---|---|
| Deep cracks | Epoxy resin | 24-48 hours |
| Shallow gaps | Acrylic filler | 4-6 hours |
| Uneven areas | Leveling compound | 12-24 hours |
Test surface flatness with a 6-foot straightedge. Grind high spots before applying levelers. Moisture meters help identify areas needing extra drying time. These steps ensure your base withstands diamond grinding without chipping.
Grinding Techniques for Polished Concrete
The grinding stage transforms raw slabs into refined surfaces through calculated abrasion. This phase determines how well your final finish will hold up to foot traffic and cleaning. Proper execution requires understanding tool capabilities and material responses.
Selecting the Right Diamond Grits
Begin with 30/40 grit metal-bonded diamonds to strip coatings and level uneven areas. These coarse tools expose aggregate while removing stubborn imperfections. Check your equipment’s compatibility with different grit sizes before starting.
| Grit Level | Purpose | Best For |
|---|---|---|
| 30/40 | Remove coatings, leveling | Initial grinding phase |
| 80/100 | Smoothing surface | Intermediate refinement |
| 150/200 | Preparing for polish | Final smoothing steps |
Transitioning from Coarse to Fine
Move to 100-grit tools after eliminating major flaws. Overlap each pass by 50% to prevent swirl marks. Clean debris thoroughly between grit changes using industrial vacuums.
Switch to higher-numbered diamonds only when previous scratches become uniform. Rushing this step creates visible inconsistencies in the finished product.
Edge Grinding Considerations
Use angle grinders with planetary attachments near walls and corners. Maintain consistent pressure to match the main floor’s texture. Wet methods reduce dust but require immediate water extraction.
Protect yourself with N95 masks and sealed goggles during dry operations. Inspect edges under angled lighting to spot missed areas before advancing to polishing stages.
Densifiers and Sealers: Chemical Treatments
Chemical treatments form the backbone of durable, low-maintenance surfaces. These solutions enhance structural integrity while creating defenses against daily wear. Proper application locks in your polished results for years.
Applying the Chemical Hardener
Lithium silicate densifiers penetrate deep into pores through spray application. Work in 3-foot sections using overlapping passes for even coverage. The formula reacts with calcium hydroxide to form a hardened layer.
Timing matters most. Apply after initial grinding when the surface absorbs liquids evenly. Let it cure for 45 minutes before removing residue. This step reduces dust and prepares for final polishing.
Sealant Application Methods
Choose sealers based on traffic levels and desired sheen. Penetrating options offer invisible protection, while topical versions enhance gloss. Use microfiber mops for solvent-based products and sprayers for water-based formulas.
Apply two thin coats instead of one thick layer. Wait 2-4 hours between applications in well-ventilated areas. Proper sealing makes cleaning spills effortless and prevents oil stains from setting.
| Product Type | Dry Time | Best For |
|---|---|---|
| Acrylic Sealer | 3-4 hours | Moderate traffic areas |
| Epoxy Sealer | 12-24 hours | Industrial spaces |
| Polyurethane | 6-8 hours | High-gloss finishes |
Advanced Techniques: Using Resin Bond Diamond Tools
Resin bond diamond tools unlock professional-grade results in surface refinement. These specialized instruments differ from standard metal-bond options through their flexible design. The matrix holds diamond particles at angles that maximize cutting efficiency while minimizing scratches.
Optimizing Resin Bond Diamond Use
Transition from metal to resin tools when you need finer finishes. Softer resin bonds expose fresh diamond edges as the matrix wears, maintaining consistent performance. This flexibility allows smoother transitions between grit levels compared to rigid metal bonds.
Adjust machine speed to 300-400 RPM for best results with resin tools. Higher speeds generate excess heat, while slower rotations reduce polishing effectiveness. Keep steady pressure to avoid uneven wear patterns on the tool surface.
| Factor | Resin Bond | Metal Bond |
|---|---|---|
| Flexibility | High | Low |
| Grit Transition | Smoother | Aggressive |
| Best For | Gloss Development | Material Removal |
Inspect surfaces under LED lighting after each grit stage. Look for uniform scratch patterns before advancing. Skipping this check risks embedding microscopic flaws that dull the final appearance.
Match tool hardness to your desired gloss level. Soft bonds (15-30 rating) create mirror-like finishes but wear faster. Harder bonds (40+) extend tool life for large projects while maintaining adequate sheen.
How to Achieve a Shiny Concrete Floor
Ready to transform your surface into a gleaming masterpiece? The journey from matte to mirror-like requires strategic grit progression and specialized techniques. Follow this professional approach to create durable, light-reflecting surfaces that maintain their brilliance.
Step-by-Step Polishing Process
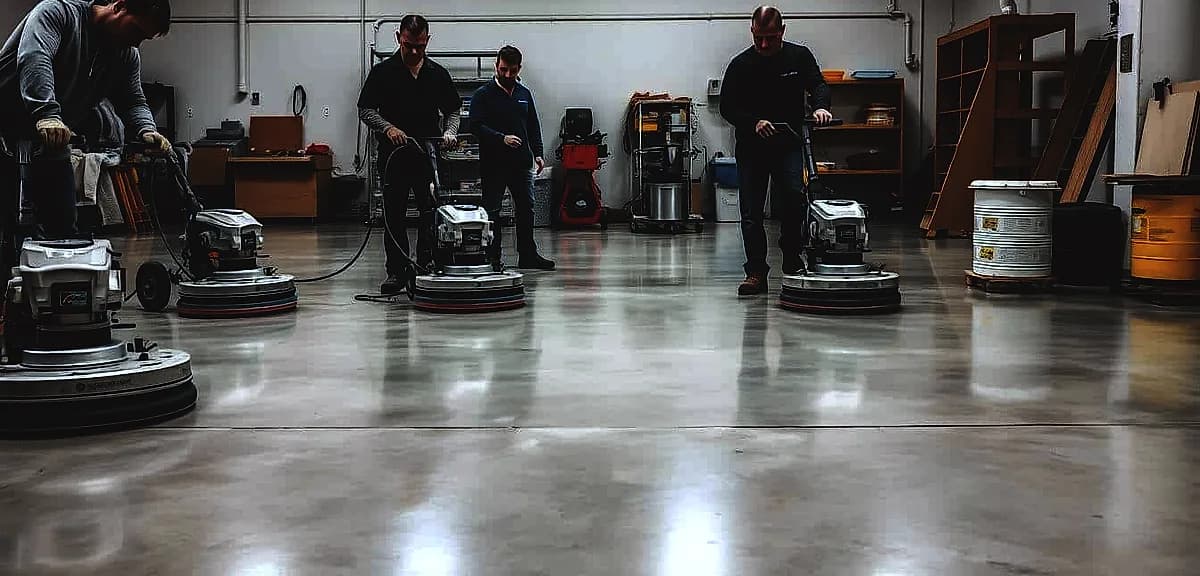
Begin with 100-grit diamonds to establish uniform scratch patterns. Move systematically through these stages:
- 150-grit tools for initial smoothing
- 200-grit resins for texture refinement
- 400-grit hybrid pads for pre-gloss preparation
Clean thoroughly between each phase using industrial vacuums. Remove all dust particles before advancing to finer abrasives.
Achieving a High-Gloss Finish
Switch to oxide-impregnated pads after reaching 800-grit refinement. These specialized tools:
- Fill microscopic pores
- Enhance light reflection
- Create thermal resistance
Maintain machine speeds below 1,500 RPM during final stages. Overlap passes by 30% to prevent swirl marks. Test gloss levels using a 60-degree light reflectometer – aim for 70+ GU for commercial-grade results.
| Abrasive Type | Grit Range | Surface Outcome |
|---|---|---|
| Metal Bond | 100-400 | Matte to Satin |
| Resin Bond | 800-1,500 | Semi-Gloss |
| Oxide Pads | 3,000+ | Mirror Finish |
Apply crystallizing compounds during the final burnishing stage. These formulations chemically bond with the surface to lock in reflectivity. Allow 24-hour curing before subjecting the area to foot traffic.
Connect with National Concrete Polishing
Expert craftsmanship meets personalized service in South Florida’s premier surface enhancement team. Since 2013, our specialists have revitalized residential interiors, commercial complexes, and industrial facilities with precision techniques.
Reach Us at +1 844-876-5474
Discuss your project requirements directly with our technical team through a simple phone consultation. We analyze substrate conditions, traffic patterns, and design goals to create tailored solutions. This customized approach ensures optimal results for kitchens, retail environments, and warehouse spaces alike.
Serving South Florida
Local climate conditions demand specific expertise – our technicians understand regional humidity challenges and coastal construction nuances. From Miami high-rises to Palm Beach estates, we’ve perfected methods that withstand Florida’s unique environmental stresses.
Common project types we expertly handle:
- Showroom surfaces requiring stain resistance
- Historic property restorations
- Large-scale commercial installations
Proper technique selection prevents costly rework down the line. Our process addresses moisture barriers and aggregate exposure during initial assessments. This attention to detail separates temporary fixes from lasting transformations.
Conclusion
Maintaining your polished surface’s brilliance requires simple yet consistent care. Regular dusting prevents abrasive particles from dulling the finish. For spills or stains, a soft cloth and pH-neutral cleaner keep surfaces pristine without damaging protective sealants.
Tough messes respond well to non-abrasive pads and gentle scrubbing. Monitor high-traffic zones for uneven sheen – this signals when to reapply sealant. Most residential areas need resealing annually, while commercial spaces may require touch-ups every 3-4 months.
Proper maintenance preserves color depth and prevents oil absorption. Quality cleaning products designed for treated surfaces make upkeep easier over time. Addressing minor issues promptly extends your foundation’s lifespan and maintains its sophisticated appearance.
The right care routine transforms these surfaces into practical, long-lasting solutions for modern spaces. With minimal effort, you’ll protect your investment while enjoying durable performance that outlasts traditional flooring options like tile or wood.
Frequently Asked Questions
What’s the first step to prepare a surface for polishing?
Start by removing existing materials like tiles or coatings. Clean the area thoroughly to eliminate debris, adhesives, or oils. Proper prep ensures smooth grinding and prevents uneven results.
How do diamond grits affect the final finish?
Coarse grits (50–200) remove imperfections, while finer ones (400–3000) refine the surface. Transitioning gradually between grits creates a uniform texture and enhances the reflective quality for a glossy look.
Why use a densifier during polishing?
Densifiers penetrate pores to strengthen the material, reducing dust and improving durability. They’re essential before applying sealers, as they create a stable base for long-lasting protection against stains and wear.
Can resin bond tools improve efficiency?
Yes. Resin bond diamond pads excel at smoothing surfaces without over-polishing. They’re ideal for intricate edges or detailed work, offering better control and reducing the risk of uneven spots.
How do you maintain a high-gloss finish over time?
Use pH-neutral cleaners to avoid damaging the sealer. Reapply protective coatings every 2–3 years, depending on foot traffic. Avoid harsh chemicals or abrasive pads, which can dull the surface.
What areas does National Concrete Polishing serve?
They specialize in South Florida, including Miami, Fort Lauderdale, and West Palm Beach. Call +1 844-876-5474 for consultations or project estimates in residential and commercial spaces.
Written by

Founder and CEO
Chris Lavin is an esteemed leader in concrete polishing and epoxy coatings with a distinguished 20-year career. As founder and CEO of National Concrete Polishing and owner of Xtreme Polishing Systems, he's renowned for polishing and epoxy coating more floors than anyone globally. Chris is recognized for his innovative approach and commitment to enhancing floor durability and aesthetics. His hands-on experience and technical proficiency make him a respected authority and a valuable resource in the field of floor polishing and coatings.
Same topic
Related articles
All stories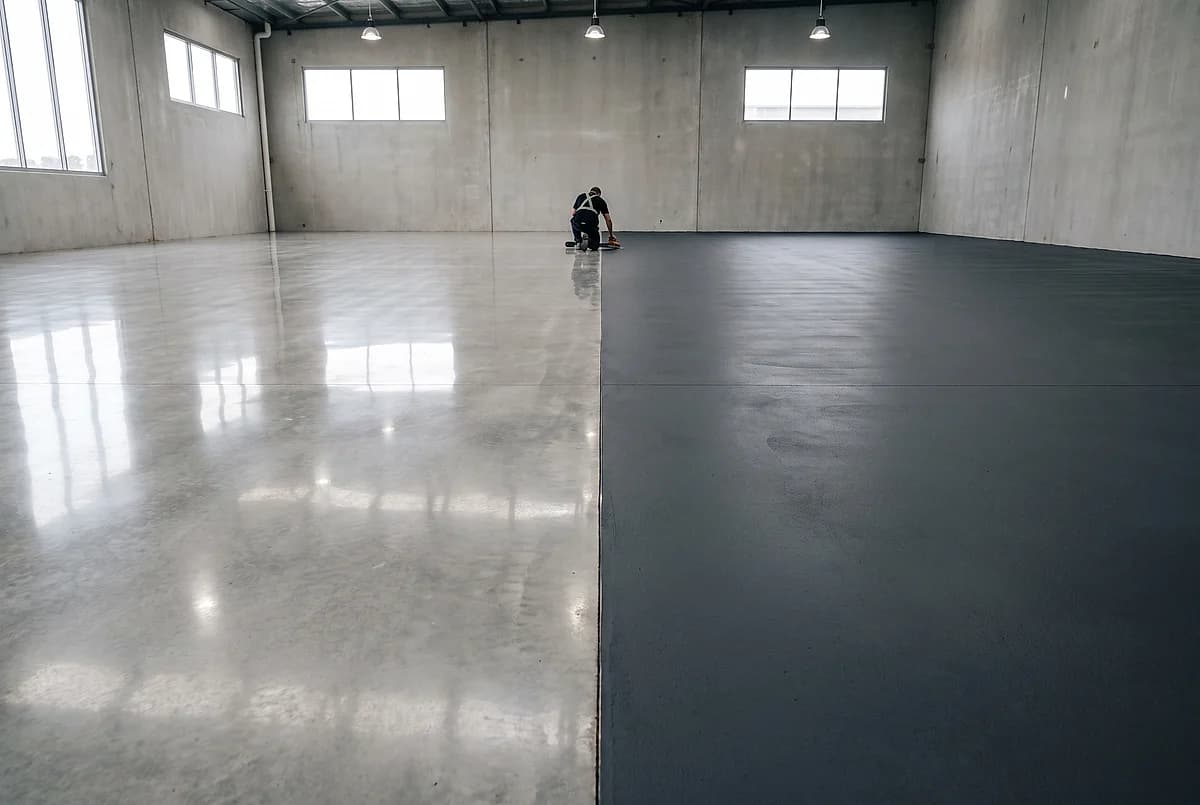
Polished concrete11 min read
Polished Concrete vs Epoxy Coatings: Which Floor Is Right for Your Space?
Two systems, two price curves, one slab. What each one costs to install and to keep, and which spaces each one actually suits.
Read it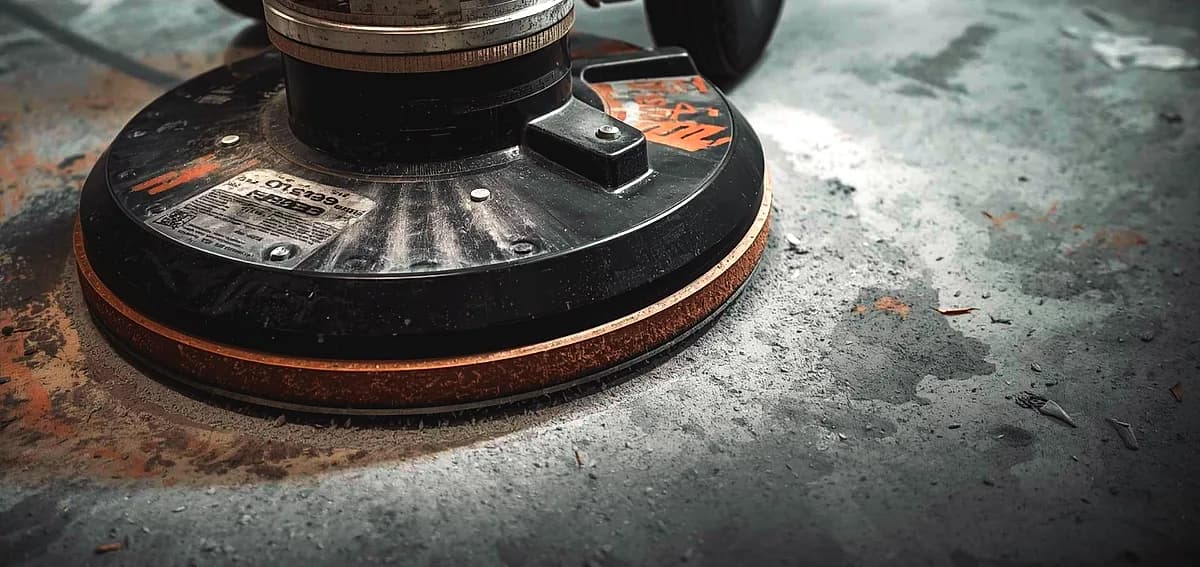
Polished concrete8 min read
What to Know Before Polishing Your Existing Concrete Slab
Before any mechanical refinement can begin, a thorough evaluation of the current foundation is required.
Read it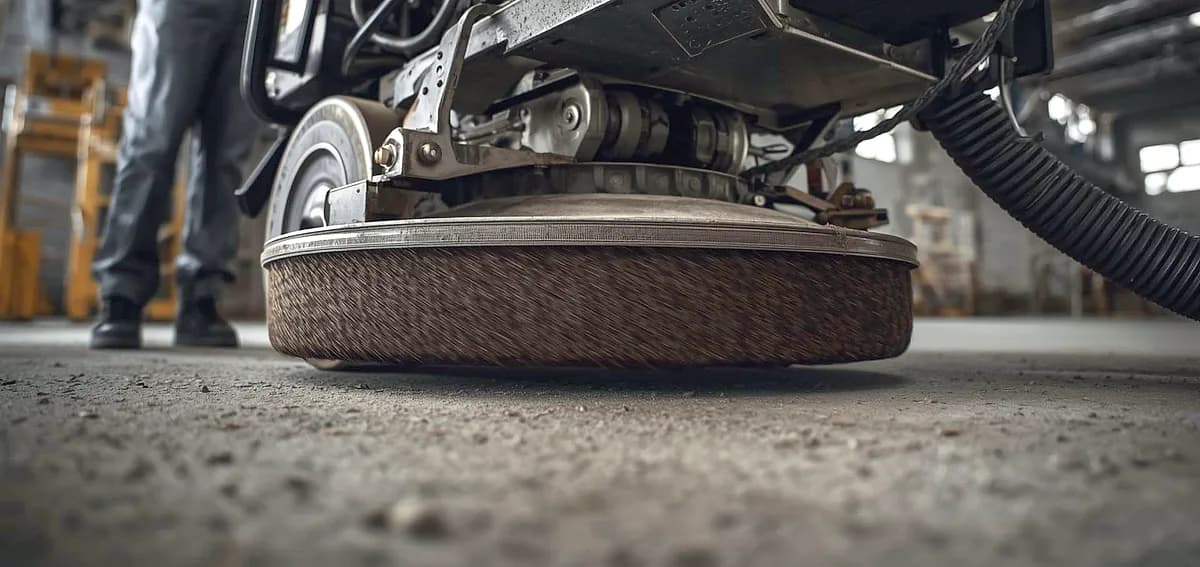
Polished concrete8 min read
Is Polished Concrete Worth the Investment for Miami Properties?
It is essential to distinguish between a simple topical seal and mechanically refined concrete.
Read it
Tell us about the floor
Tell us the space and roughly how big it is.We come back with what it would cost and when we could start.
Prefer to talk? Call +1 844-876-5474
- Leads@
nationalconcretepolishing.net - 2200 NW 32nd St #600,
Pompano Beach, FL 33069 Mon to Fri, 9:00 to 5:30