The NCP blog
How to Safely Remove Adhesive from a Concrete Floor Without Damage
Polished concrete8 min read
How to remove glue and adhesive from a concrete floor by type, the hand or power tools to use, and how to test first.
Whether you’re renovating a basement or updating a garage, leftover glue residue can turn a simple project into a costly headache. The right approach protects your floors and saves time.
Concrete’s porous nature makes it vulnerable to scratches and chemical damage. Different adhesives (like epoxy, latex, or solvent-based glues) require tailored removal methods. Skipping proper preparation can lead to surface pitting or discoloration.
Your project’s success hinges on understanding the glue’s composition and your concrete’s condition. Testing small areas first helps avoid widespread damage. With strategic planning, you’ll restore your floor’s integrity efficiently.
Understanding Adhesive Residue on Concrete Floors
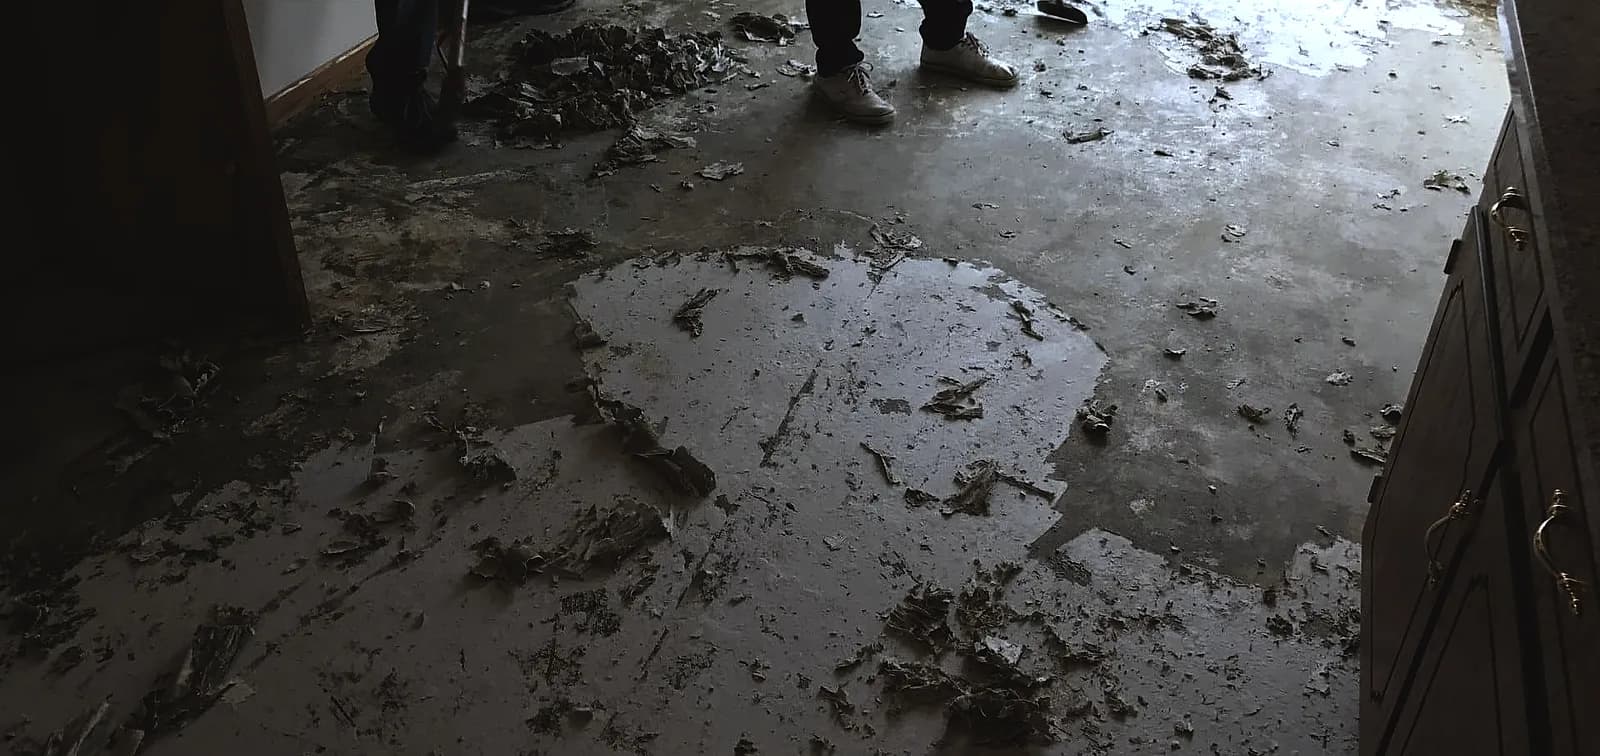
Adhesive residues on concrete surfaces vary widely in complexity. Their removal depends on material composition, installation methods, and environmental conditions. Identifying the glue type is critical before starting any cleanup process.
Types of Adhesives and Their Characteristics
Water-based carpet glue bonds tightly to porous concrete. It often requires heat or solvents for complete elimination. Mastic adhesives, commonly used for vinyl flooring, can leave stubborn residues if aged, and some soften with water or heat.
Epoxy and solvent-based adhesives generally form stronger bonds. These demand specialized removers to avoid surface damage. Black mastic and other old flooring adhesive may contain asbestos. OSHA's asbestos standard for construction requires employers to treat asphalt and vinyl flooring installed no later than 1980 as asbestos-containing unless they determine that it is not. When employers remove such flooring in buildings constructed no later than 1980 without having verified that it is asbestos-free, the standard assumes the flooring, its mastic and its backing contain asbestos unless an industrial hygienist finds otherwise, and it prohibits sanding the flooring. Those are rules for employers, but the same caution makes sense at home: have old adhesive tested before you scrape, sand or grind it.
Factors That Influence Adhesive Bonding on Concrete
Concrete’s texture allows glues to penetrate deeply. Rough surfaces increase bonding strength, complicating removal. Humidity and temperature fluctuations during installation also affect adhesion quality.
Older adhesives often harden and discolor floors permanently. Recent spills might respond to basic scraping, while decades-old residues could etch the surface. Always test removal techniques in inconspicuous areas first.
Start With Mechanical Removal Before Solvents
Non-invasive techniques protect your floor’s structure while tackling stubborn bonding materials. Begin with mechanical methods before considering chemical solutions for optimal results.
Initial Scraping and Light Sanding Techniques
Start with a long-handled floor scraper angled at 30 degrees. Push firmly against dried residues without digging into the surface. Wear cut-resistant gloves and safety glasses to prevent injuries from flying debris.
Sand only adhesive that you know is free of asbestos (see the note on old mastic above). For thin glue layers of that kind, use 60-80 grit sandpaper on an orbital sander. Move in circular motions with light pressure. Vacuum dust frequently to maintain visibility and prevent scratches from trapped particles.
| Method | Best For | Tools Needed | Key Tip |
|---|---|---|---|
| Scraping | Loose or thick glue patches | Razor scraper, putty knife | Replace blades when they dull |
| Sanding | Thin, even layers of adhesive known to be asbestos-free | Palm sander, vacuum | Use a HEPA filter for dust control |
Evaluating When to Use a Solvent Approach
Persistent residues after mechanical removal signal the need for solvents. Citrus-based products work well on water-based glues, while epoxy requires specialized removers. Always test solutions on a small hidden area first.
Apply solvent with a paintbrush, working one small section at a time. Wait for the dwell time on the product label, until the glue softens or bubbles. Re-scrape with a stiff nylon brush to avoid metal-on-concrete contact. Repeat process across the floor in manageable zones.
Tools and Methods for Safe Adhesive Removal
Selecting the right equipment makes the difference between efficient cleanup and costly mistakes. The choice between manual and mechanical approaches depends on your project’s scale and the glue’s tenacity.
Hand Tools vs. Power Tools for Effective Removal
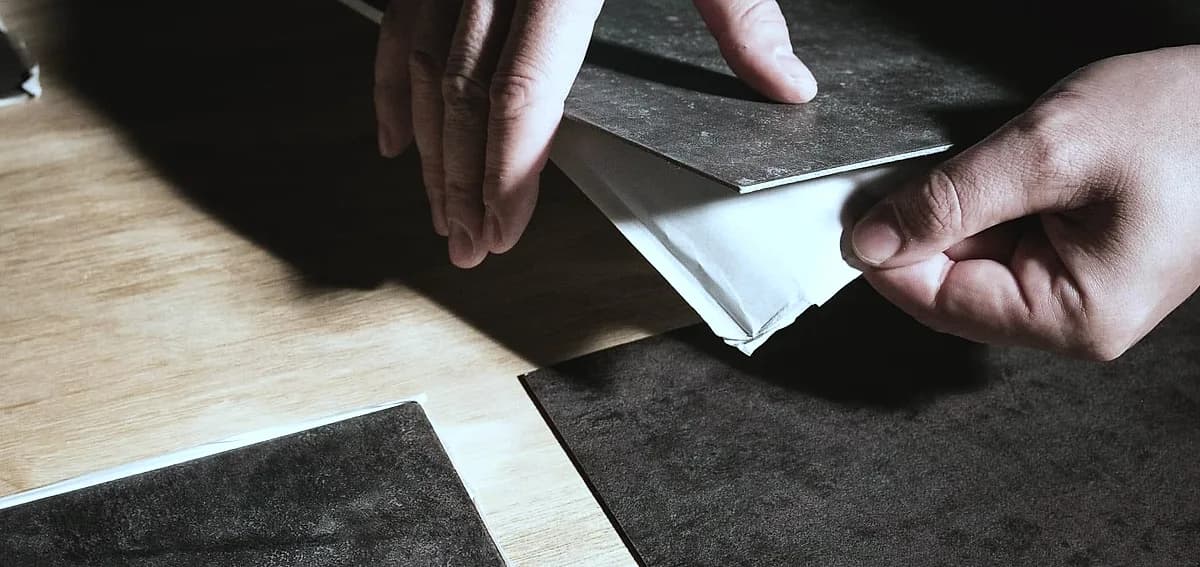
Scrapers and stiff-bristle brushes excel in corners and edges. They offer precision when working near baseboards or delicate surfaces. A sharp 4-inch putty knife removes raised glue blobs without gouging the substrate.
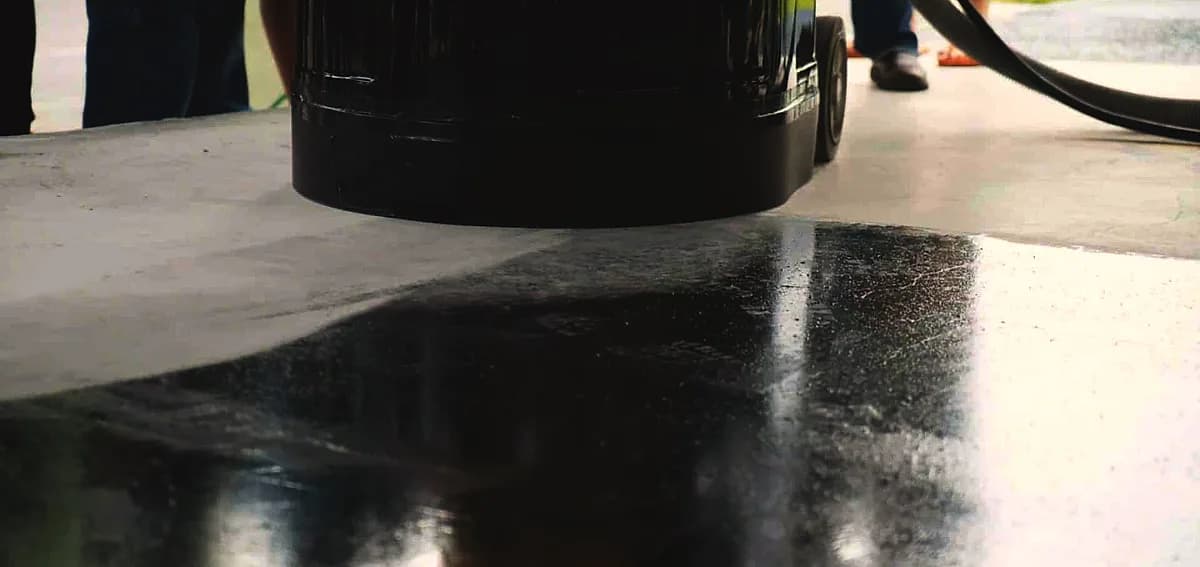
For open floor areas, machines are far faster than hand tools. Floor grinders with diamond tooling are the usual machine for heavy mastic layers, once the mastic is known to be asbestos-free. These machines strip residues quickly but require steady handling to prevent uneven surfaces.
| Tool Type | Coverage Area | Best Use Case | Safety Tip |
|---|---|---|---|
| Manual Scrapers | Small areas | Tight spaces | Replace blades when they dull |
| Floor Grinder | Large areas | Open surfaces | Control dust with water or a dust collector |
Eco-Friendly and Chemical Remover Options
Soy- and citrus-based removers are sold as lower-odor alternatives to solvent-based products. They can take longer, and aged glue may need more than one application. The manufacturer’s page for one soy-based remover, BEAN•e•doo 500MR, for example, says vinyl or acrylic mastics typically soften in four to eight hours, and to reapply if necessary. Check the product safety data sheet for VOC content and handling instructions, and test it on a hidden spot first.
Professional Equipment for Adhesive Removal
Mastic can clog ordinary sanding and polishing tools, so removal is usually done with diamond tooling built for the job.
Safety Precautions and Best Practices
What separates successful projects from hazardous mishaps? Safety protocols reduce the risk of accidents and help protect the concrete. Follow these guidelines to maintain control over every step of the process.
Protective Gear and Preventive Measures
Always wear ANSI-approved safety goggles and nitrile gloves when handling solvents. Grinding concrete releases respirable crystalline silica dust, so control the dust at the tool. For walk-behind floor grinders, OSHA's silica standard for construction requires employers to use integrated water delivery or a dust collector with the manufacturer's airflow and a filter of 99% or greater efficiency, plus a HEPA-filtered vacuum for loose dust indoors. Handheld grinders have their own requirements in the same table, and the same controls make sense at home. Open windows and position fans to create cross-ventilation before applying chemical removers.
Work in small sections to prevent fatigue-related errors. Keep a fire extinguisher nearby when using flammable products like acetone. Store used rags in metal containers to avoid spontaneous combustion.
Testing Solvents on Small Surface Patches
Apply a dime-sized amount of remover to an inconspicuous area. Wait the dwell time on the label, then check for discoloration or texture changes. If the concrete remains unaffected, proceed with the full application using a natural-bristle brush.
Thick glue layers need longer to soften, so give the remover the dwell time on its label. Never rush this step: adequate dwell time reduces scraping effort. Wipe residues with clean cloths instead of rinsing, which can spread contaminants.
| Safety Measure | Purpose | Critical Tools |
|---|---|---|
| Patch Testing | Prevents surface damage | Cotton swabs, timer |
| Containment | Controls chemical spread | Plastic sheeting, tape |
| Waste Disposal | Follows local hazardous-waste rules | Sealed containers, labels |
Dispose of adhesive waste at approved facilities, and never pour solvents down drains. Contact local authorities for hazardous material guidelines. If residues resist multiple removal attempts, consult licensed professionals to avoid irreversible surface harm.
Maintaining and Protecting Your Cleaned Concrete Surface
The real work begins after adhesive removal: preserving your concrete’s new lease on life. Proper care prevents future damage and prepares surfaces for decorative treatments. Start by eliminating lingering residues that compromise coatings or finishes.
Post-Cleanup Maintenance and Surface Care Tips
Mix warm water with pH-neutral soap to scrub floors thoroughly. Rinse with clean water and dry using microfiber cloths. This removes chemical traces and creates a blank canvas for sealers or epoxy.
Before you seal, coat or polish a cleaned slab, test it for moisture. ASTM F2170 states that excessive moisture in floor slabs after floor covering has been installed can cause failures such as debonding, peaking and deterioration of finish flooring and coatings, and microbial growth. That test method measures the relative humidity inside the slab with in situ probes. The result holds only for the time and places tested, and you compare it with the limit the coating or flooring maker sets, since manufacturers generally require moisture testing before installation.
Apply penetrating sealers once the floor is clean and fully dry. These products block stains while letting concrete breathe. For high-traffic areas, choose epoxy coatings that withstand scratches and spills.
| Product Type | Best For | Application Frequency |
|---|---|---|
| Acrylic Sealer | Indoor floors | Often every 4 to 5 years in lighter-traffic interiors |
| Epoxy Coating | Garages, workshops | Depends on the system and use |
| Concrete Overlay | Severe imperfections | Depends on the system and use |
Staining or dyeing requires completely bare concrete. Residual glue creates uneven color absorption. Test small sections before full application to ensure consistency.
For stubborn adhesive spots, consider decorative overlays. These thin cement mixtures mask flaws while adding texture. Pair with sealers for double protection against moisture and wear.
Get Professional Help for Complex Adhesive Removal Projects
Not all adhesive challenges are created equal. When carpet glue bonds with porous concrete over decades, DIY methods often reach their limits. Large commercial spaces or multi-room residential projects demand industrial solutions that balance efficiency with surface protection.
National Concrete Polishing serves South Florida with specialized diamond grinding equipment.
Consider professional assistance if you encounter:
- Large areas of adhesive
- Black mastic or flooring installed in 1980 or earlier (see the asbestos note above)
- Concrete discoloration after multiple removal attempts
Commercial-grade machines strip residues much faster than manual tools. Hazardous waste, including asbestos-containing material, has its own disposal rules.
Time-sensitive renovations benefit most from professional services. Technicians complete the job while you focus on other project phases.
Contact National Concrete Polishing at +1 844-876-5474 for stubborn carpet glue removal or epoxy residue challenges. Our in-house crews are based in South Florida and cover Miami-Dade and Broward counties as well as Palm Beach County.
Conclusion
Mastering adhesive cleanup on concrete demands strategic planning and material awareness. Your success lies in matching techniques to specific glue types, whether using scrapers for latex residues or solvents for epoxy bonds. Protecting surfaces starts with proper tool selection and controlled application methods.
Surface preservation remains critical throughout the process. Always test removal products in hidden areas first. This prevents discoloration while confirming effectiveness against aged or stubborn materials.
Patience yields better results than rushed efforts. Tackle projects systematically, section by section, to maintain consistency. For complex cases, professional services offer industrial solutions that balance speed with surface integrity.
Equipped with these insights, you can restore floors confidently. Proper execution creates clean foundations for coatings, overlays, or decorative treatments. Every successful project begins with respecting concrete’s unique properties and adhesive challenges.
Frequently Asked Questions
What’s the safest way to remove carpet glue from concrete floors?
Start with mechanical methods like scraping or light sanding. For stubborn residue, apply an adhesive remover made for concrete, following its label. Test products on small areas first to avoid surface damage.
Can a floor grinder eliminate epoxy adhesive from concrete?
Yes. Diamond-grit grinders efficiently strip epoxy and mastic residues. Use water or a dust collector on the grinder, grind only adhesive that is known to be asbestos-free, and consult National Concrete Polishing for heavy-duty projects. Always wear protective gear during use.
Are eco-friendly adhesive removers effective on concrete?
Citrus-based removers work for light adhesives. For tougher jobs, combine with scraping. Eco options reduce chemical exposure but may require longer dwell times.
How do you prevent concrete damage during adhesive removal?
Avoid aggressive scraping on untreated surfaces. Use a plastic scraper first, then progress to steel tools if needed. Test solvents in hidden areas and rinse thoroughly after application.
When should professionals handle adhesive removal?
For large areas, thick mastic layers, or bonded flooring like VCT tiles, hire experts. Professionals use industrial equipment to save time and protect the surface.
What protective gear is essential for adhesive removal?
Wear nitrile gloves, safety goggles, and an N95 mask. For grinding or sanding, add ear protection and a respirator to avoid inhaling concrete dust or chemical fumes.
How long does solvent take to soften adhesive on concrete?
The time depends on the product and the adhesive, so follow the label. Thick layers may need reapplication.
Can leftover residue affect new flooring installations?
Yes. Even minor adhesive traces compromise adhesion. After removal, clean the floor and let it dry completely before installing new materials.
Written by

Founder and CEO
Chris Lavin is an esteemed leader in concrete polishing and epoxy coatings with a distinguished 20-year career. As founder and CEO of National Concrete Polishing and owner of Xtreme Polishing Systems, he's renowned for polishing and epoxy coating more floors than anyone globally. Chris is recognized for his innovative approach and commitment to enhancing floor durability and aesthetics. His hands-on experience and technical proficiency make him a respected authority and a valuable resource in the field of floor polishing and coatings.
Same topic
Related articles
All stories
Residential7 min read
Polished Concrete Garage Floor vs Epoxy: Pros and Cons
This process smooths the surface, and a densifier hardens it, so polished concrete is used in high-traffic areas.
Read it
Polished concrete11 min read
Can You Polish Old Concrete? Transform Your Floors Today
Old concrete floors often hide tremendous potential beneath their weathered, dull surfaces.
Read it
Cost & ROI11 min read
How Much Does It Cost To Polish Concrete Floors?
Choosing polished concrete flooring for your residential or commercial space is a no-brainer these days.
Read it
Tell us about the floor
Tell us the space and roughly how big it is.We come back with what it would cost and when we could start.
Prefer to talk? Call +1 844-876-5474
- Leads@
nationalconcretepolishing.net - 2200 NW 32nd St #600,
Pompano Beach, FL 33069 Mon to Fri, 9:00 to 5:30