
The NCP blog
How To Polish Concrete Floors: A Step-by-Step Guide
Polished concrete8 min read
Signs that a concrete floor needs polishing include dullness, visible surface scratches, dusting, and uneven texture.
Concrete polishing uses progressively finer diamond abrasives to grind and smooth a concrete surface until it achieves a desired level of gloss. The process increases durability, improves stain resistance, and enhances the floor’s visual appeal without the need for wax or coatings.
Signs that a concrete floor needs polishing include dullness, visible surface scratches, dusting, and uneven texture. These issues indicate wear and loss of protective finish, which polishing can restore for improved performance and appearance.
To polish concrete floors, begin by grinding the surface with coarse-grit diamond pads and gradually work through finer grits while applying a densifier midway through the process. Finish with high-grit polishing pads to achieve the desired shine, then clean and seal the surface if needed.
What Is Concrete Polishing?
Concrete polishing is a mechanical process that transforms raw concrete surfaces into smooth, glossy finishes through grinding and refining. This method involves using industrial-grade machines equipped with diamond-embedded abrasives to gradually smooth the surface and increase its reflectivity.
The process enhances durability, improves stain resistance, and eliminates the need for coatings or waxes. Polished concrete is popular in commercial and residential settings due to its low maintenance requirements and modern appearance. Its finish ranges from matte to high-gloss, depending on the grit level and polish intensity applied.
What are the Signs That a Concrete Floor Needs Polishing?
Signs that a concrete floor needs polishing include visible wear, dullness, surface dusting, and the presence of minor scratches or stains. Floors that have lost their shine or show signs of uneven texture benefit from polishing to restore aesthetics and durability.
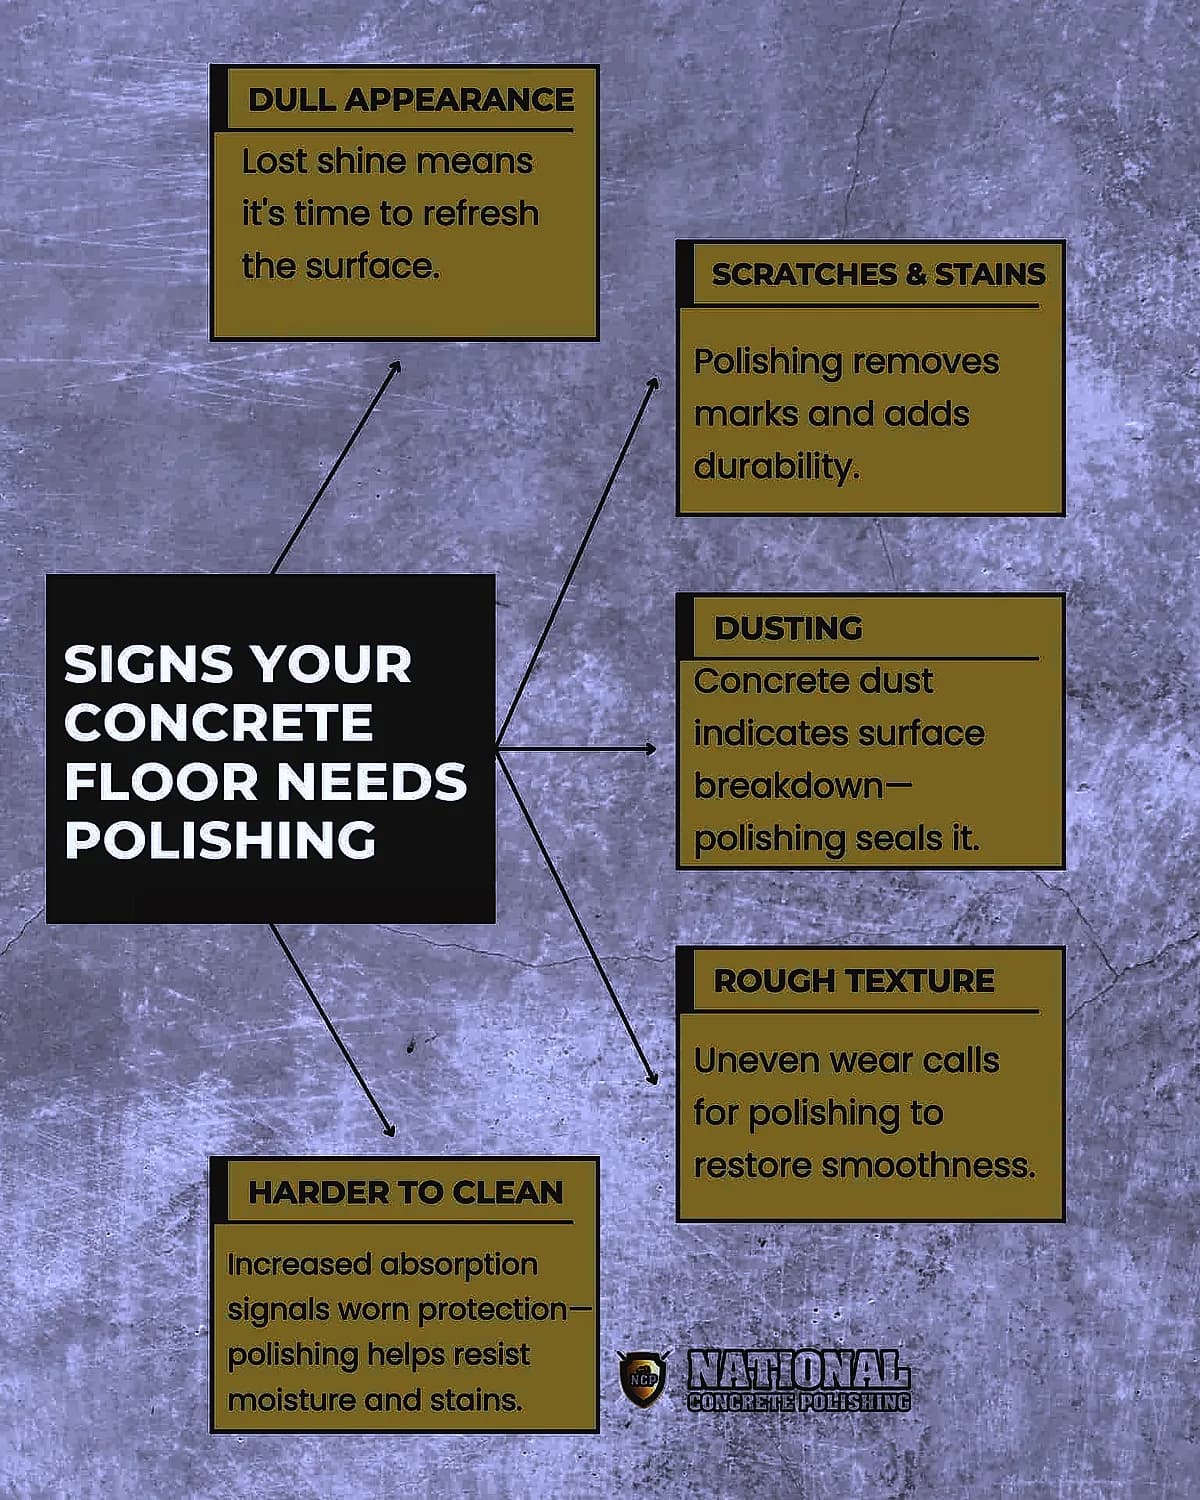
Ways to know if your concrete floor needs polishing include:
- Surface Dullness: When the floor loses its natural shine and appears cloudy or faded, it indicates the polish layer has worn away. Polishing restores the glossy finish and revitalizes the surface.
- Visible Scratches and Stains: Frequent foot traffic, spills, and abrasions leave marks that polishing can remove or reduce. A polished surface resists future damage more effectively.
- Dusting or Powdering: If fine concrete dust appears on the surface, it signals that the top layer is degrading. Polishing includes a densifier step that hardens the surface, which helps reduce dust.
- Uneven Texture: Areas that feel rough or patchy underfoot suggest inconsistent surface wear. Polishing smooths these inconsistencies and improves uniformity.
- Difficult Maintenance: If cleaning becomes harder or the floor absorbs more liquid, the protective layer has likely worn off. A guard or sealer applied after polishing helps the surface resist moisture and stains; polished concrete without one is still porous.
What Tools and Materials do I Need to Polish Concrete Floors?
The tools and materials you need to polish concrete floors are diamond grinders, polishing pads, a floor buffer, a concrete densifier, a vacuum system, and safety gear. Diamond grinders and progressively finer grits of polishing pads perform the actual smoothing, while densifiers harden the surface, and a vacuum controls dust during the process.
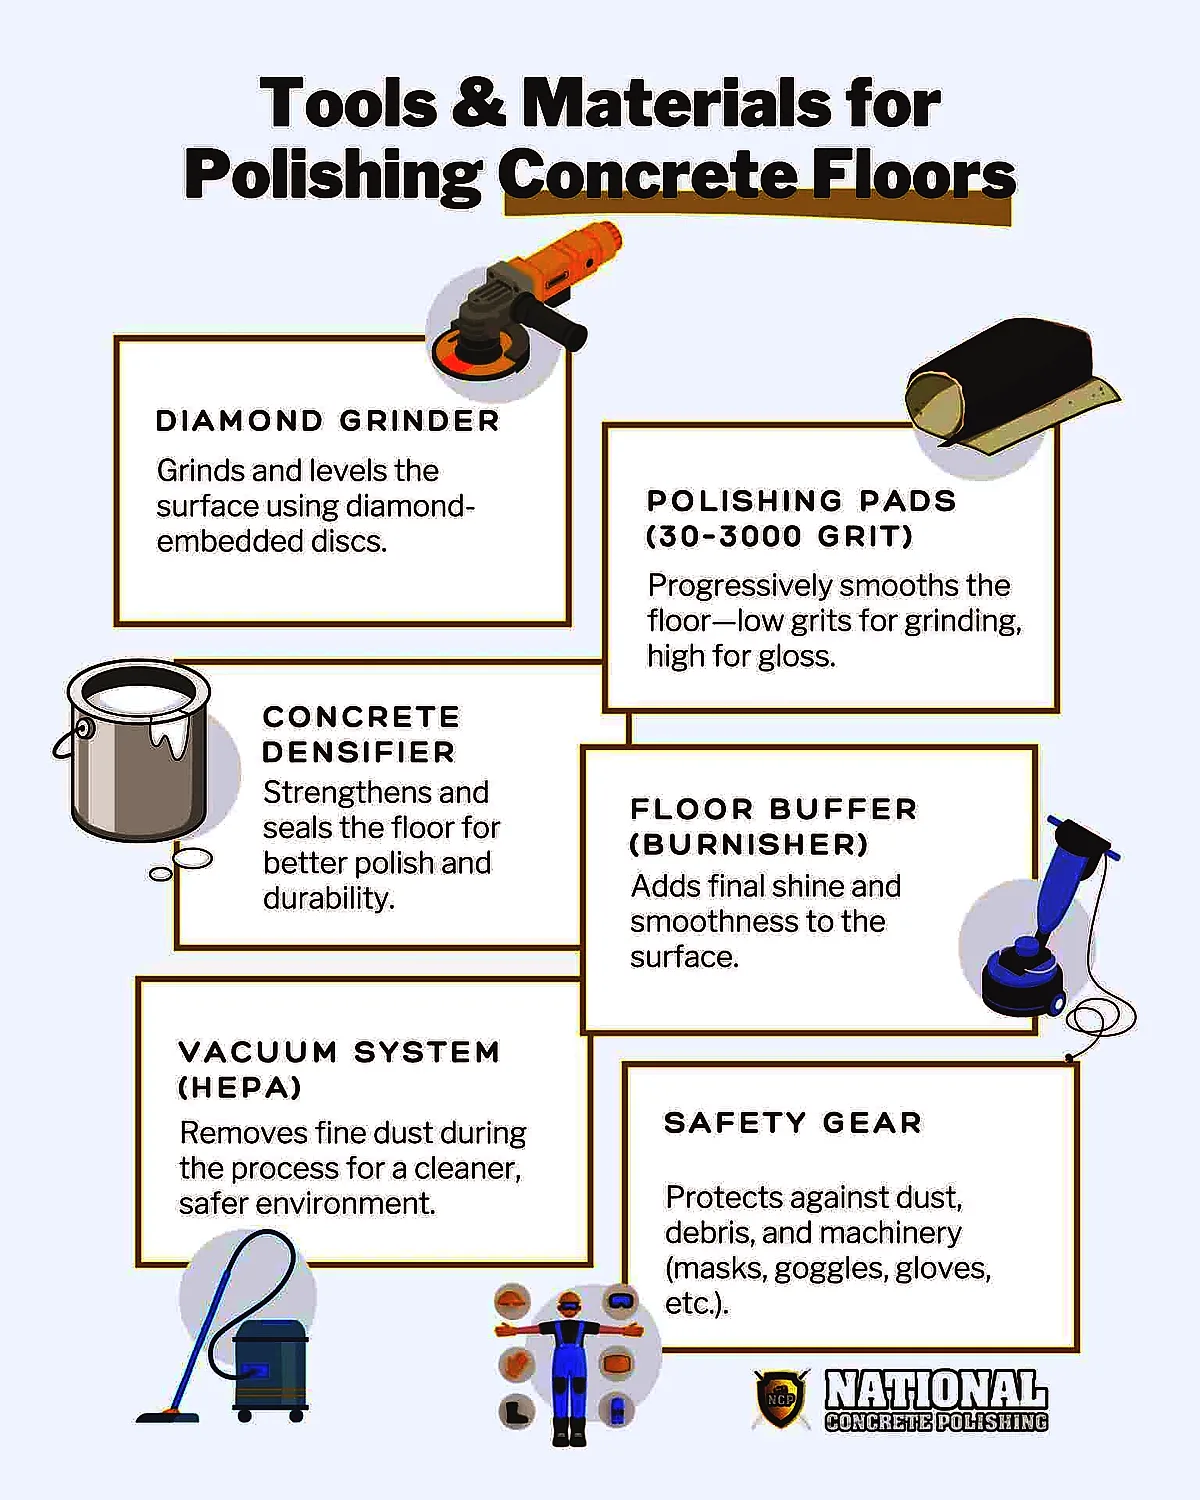
The tools and materials used to polish concrete floors include the following:
- Diamond Grinder: A heavy-duty machine that uses rotating discs embedded with industrial diamonds to grind down the concrete surface. It removes imperfections, levels the floor, and opens the surface for polishing.
- Polishing Pads (Various Grits): Pads made with bonded abrasives in different grit levels are used to refine the concrete surface in stages. Lower grits (30 to 100) remove material quickly, while higher grits (400 to 3000) create a smooth, glossy finish.
- Concrete Densifier: A liquid chemical hardener that penetrates the concrete and reacts with calcium hydroxide to produce a harder, less dusty surface. It strengthens the slab and improves the polish’s durability and shine.
- Floor Buffer (Burnisher): A high-speed rotating tool used at the final stages to enhance the gloss of the polished floor. It smooths the surface further and adds a reflective finish.
- Vacuum System (HEPA-rated): An industrial vacuum attached to the grinder to capture fine dust during grinding and polishing. Grinding concrete releases respirable crystalline silica, and for contractors OSHA's construction silica standard, 29 CFR 1926.1153, has walk-behind floor grinders use either an integrated water delivery system or a manufacturer-recommended dust collector with a filter that is 99% or more efficient, plus a HEPA-filtered vacuum for loose dust between passes when working indoors.
- Safety Gear: Includes dust masks, safety goggles, ear protection, gloves, and steel-toe boots. These protect the operator from dust inhalation, flying debris, and machine-related hazards.
How to Polish Concrete Floors
To polish concrete floors, start by grinding the surface with coarse diamond grit pads, then gradually move to finer grits until the desired smoothness is achieved. After grinding, apply a concrete densifier, let it cure, and finish with high-grit polishing pads to create a glossy, durable surface.
The step-by-step guide to polishing concrete floors is explained below:
Step 1: Clean the Surface. Remove all debris, dust, oil, or coatings from the concrete using a broom, vacuum, or degreaser. Surface cleanliness ensures the grinder works efficiently and prevents contaminants from embedding into the floor. Allow the floor to dry completely before starting.
Step 2: Start Grinding with Coarse Grit. Use a diamond grinder fitted with 30- or 40-grit metal-bond discs to remove surface imperfections and level the floor. Work in consistent, overlapping passes to avoid uneven grinding. Vacuum the dust between each grinding pass.
Step 3: Progress Through Medium to Fine Grits. Switch to 80- and then 150-grit pads for smoother refinement, with 400-grit pads coming after the densifier step. This is one common progression, not a fixed rule: the starting grit and the steps depend on the slab. Each pass removes the scratches from the previous grit and polishes the floor incrementally. Clean the surface thoroughly between grit changes.
Step 4: Apply Concrete Densifier. Once the coarse grinding is finished and the fine polishing is about to start, apply a densifier evenly using a sprayer or mop. Let it soak and cure for the time the product data sheet gives, so it can harden the concrete. Where it goes in the sequence varies: in one published example it goes on after the 80 or 150 grit pass, and in the 800-grit sequence National Concrete Polishing documents it goes on after the 200-grit resin step.
Step 5: Final Polishing with High-Grit Pads
Use 800-, 1500-, and 3000-grit pads for the final polish, depending on the desired gloss level. In National Concrete Polishing's proposals 800 grit is a common finish, and 1500 and 3000 grit are upgrades when specified. These fine abrasives enhance clarity, reflectivity, and smoothness. Repeat passes until the floor achieves a uniform shine.
Step 6: Seal or Burnish (Optional). Apply a penetrating sealer for added stain resistance, or burnish the floor using a high-speed buffer for maximum gloss. Sealing protects the finish, while burnishing improves aesthetics without adding coatings. Let the floor rest before use to ensure durability.
How Do I Prepare the Floor for Polishing?
You prepare the floor for polishing by thoroughly cleaning the surface to remove dirt, grease, adhesives, or coatings that interfere with grinding. Next, inspect for cracks or holes and patch them with appropriate repair compounds to create a smooth, stable surface before grinding begins.
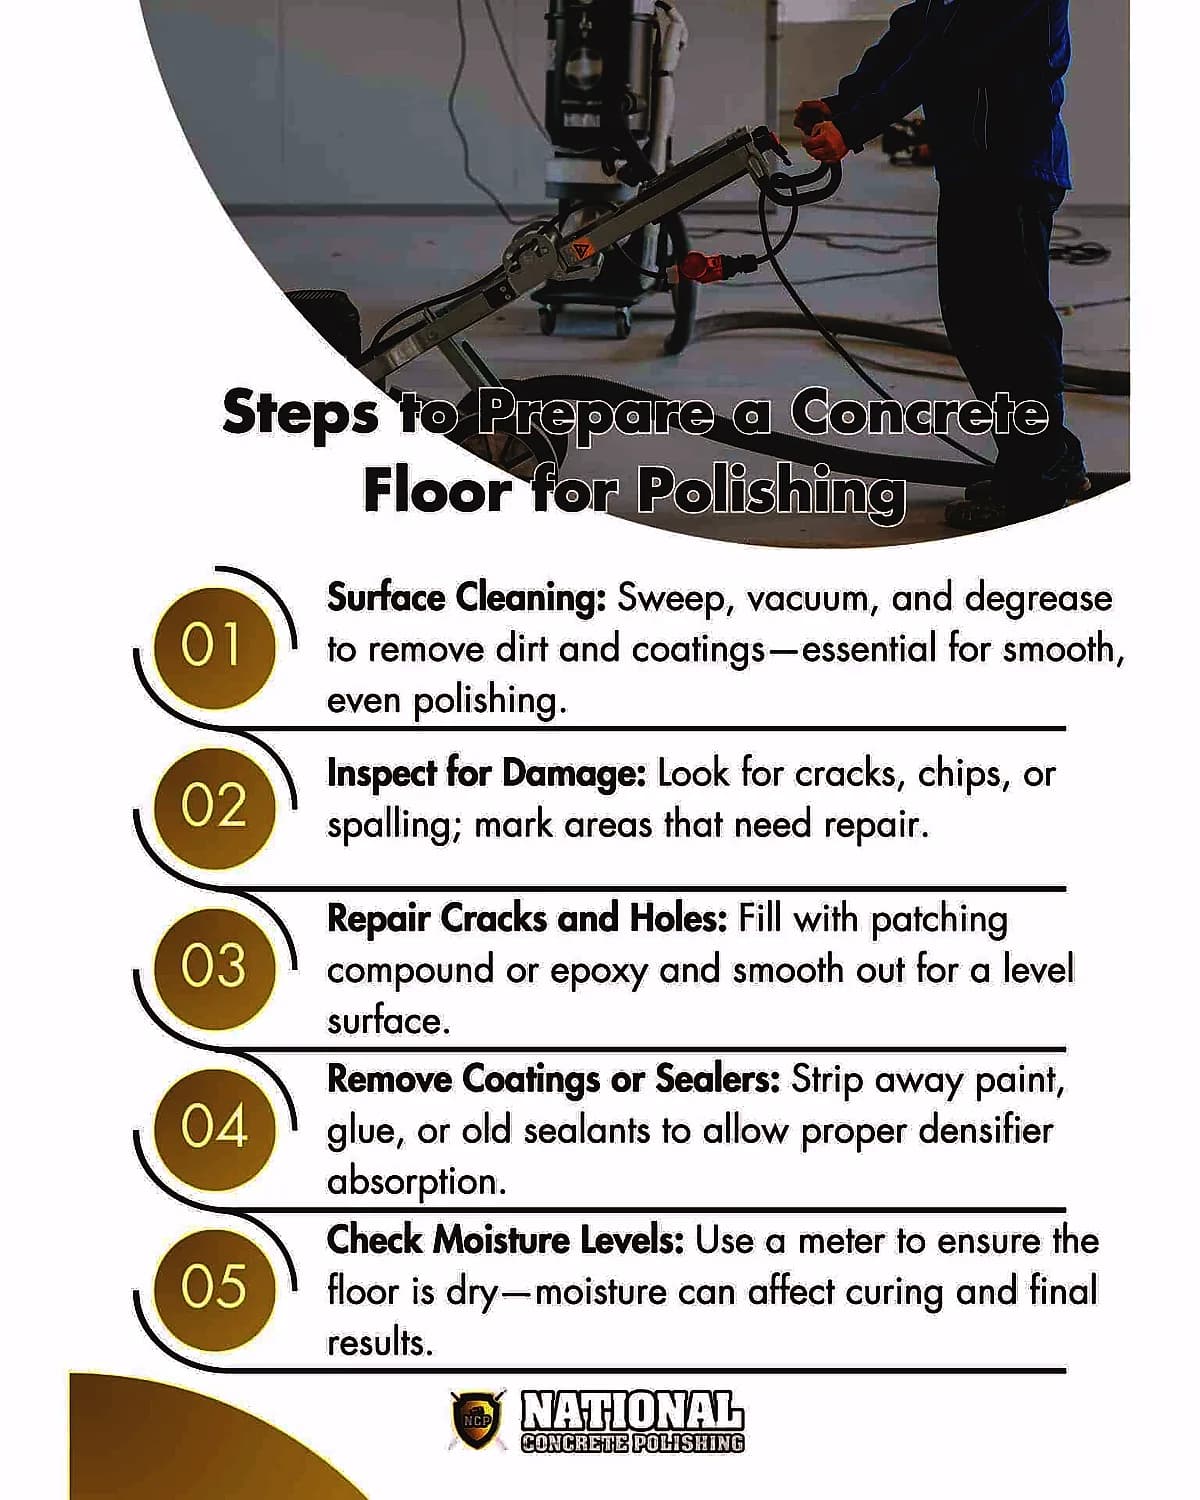
Ways to prepare the floor for polishing are explained below:
- Surface Cleaning: You prepare the floor for polishing by removing dust, dirt, grease, and coatings using a broom, vacuum, degreaser, or stripping agent. A clean surface ensures the grinding tools make proper contact and prevents defects in the finish. Allow the floor to dry thoroughly before continuing.
- Inspect for Damage: Examine the concrete for cracks, chips, or spalling. Mark problem areas and determine whether patching or filling is needed before grinding begins. Damaged surfaces interfere with polishing and reduce long-term performance.
- Repair Cracks and Holes: Use a concrete patching compound or epoxy filler to repair visible cracks, joints, or holes. Smooth out the repairs to match the surface level. Allow curing time as specified by the product instructions.
- Remove Existing Coatings or Sealers: Strip off any paint, glue, epoxy, or previous sealants using chemical removers or coarse grit grinding. These materials act as barriers and must be eliminated for proper densifier absorption and even polishing. Confirm removal by testing a small spot with water: if it absorbs, the surface is open.
- Check Moisture Levels: Use a moisture meter to verify that the concrete isn’t retaining excessive water. High moisture can interfere with densifier curing and cause long-term adhesion problems with sealers. Floors should be completely dry before proceeding.
What Is the Grinding Process and How Do I Do It?
The grinding process involves using a concrete grinder equipped with diamond-embedded discs to gradually wear down the surface. It begins with coarse grits (such as 30 or 40) to remove surface imperfections, paint, or old coatings.
As the floor becomes more level and smooth, finer grits (80 and 150, then 400 after the densifier) are used in sequence to refine the texture and reduce scratch marks left by earlier stages. Each grinding pass should overlap the previous one to ensure even coverage and consistent results.
Dust must be vacuumed after each stage to maintain a clean surface and allow accurate inspection between steps.
Why Should I Apply A Densifier and When?
You should apply a densifier when the floor has been ground to a mid-level grit, usually partway through the sequence, after the coarse grinding and before the final polishing stages begin. In the published sequence cited above it goes on after the 80 or 150 grit metal-matrix pass, and in National Concrete Polishing’s own 800-grit sequence it goes on after the 200-grit resin step. Densifiers chemically react with the calcium hydroxide in the concrete to produce a harder, denser surface that resists dusting and improves the overall durability of the floor.
This step also enhances the floor’s ability to achieve a high-gloss finish during the final polish. It’s applied evenly across the surface, allowed to penetrate for the time the product data sheet gives, and then cleaned or buffed before moving to the next polishing stage.
How Do I Achieve the Desired Shine and Finish?
To achieve the desired shine and finish, continue polishing the floor with high-grit resin-bond pads, 800, 1500, and 3000 grit, depending on whether a matte, satin, or high-gloss look is preferred.
Each stage further smooths the surface and enhances its reflectivity. For a mirror-like finish, ensure consistent passes with each grit and avoid skipping steps, as this affects the uniformity of the final result. A burnisher is also used at the end to increase gloss without applying a topical coating.
What Are the Final Steps After Polishing?
The final steps after polishing involve cleaning the floor thoroughly to remove any remaining dust or residue, then applying a sealer or protective treatment if desired. A penetrating sealer adds resistance to stains and moisture without adding a topical film.
After sealing, allow proper curing time before exposing the floor to foot traffic or heavy use. In some cases, a high-speed burnisher is used as a finishing touch to enhance the shine even further and lock in the polished look.
How Do I Care for a Polished Floor?
Routine care is simple. Concrete International advises daily dust mopping, because dirt and grime can quickly dull a polished floor by abrading the surface, and it advises using a neutral cleaner rather than one that is highly alkaline or acidic, which quickly dulls the floor.
- Dust mop daily so grit does not abrade the surface.
- Mop with a neutral cleaner, not a highly alkaline or acidic one.
- Clean spills quickly. Acidic spills such as pickle juice or battery acid can etch the surface, and oil is absorbed into polished concrete and changes its color.
How Long Does the Polishing Process Take?
Polishing time depends on the floor’s size, condition, and the desired finish level. As a planning range for open, accessible floors, a standard National Concrete Polishing crew polishes roughly 1,500 to 3,000 square feet of open slab per day, and adhesive or coating removal, edges, repairs, small rooms and phasing can reduce that a lot. Factors such as curing time for repairs, the number of grinding and polishing stages, and whether a densifier or sealer is applied extend the timeline.
Larger commercial floors require more time due to surface area and equipment movement. For smaller residential areas, the process is completed more quickly if the floor is already in good condition.
Can I Polish Concrete Floors Myself, or Should I Hire A Professional?
Yes, you can polish concrete floors yourself. It is possible for small residential projects if you have access to the right tools and understand the process. However, professional polishing is recommended for large or heavily worn surfaces, as it requires technical skill, industrial equipment, and knowledge of floor preparation, grit progression, and chemical application.
DIY attempts result in uneven finishes or missed steps, which can affect durability and aesthetics. Hiring a professional ensures a consistent result and saves time, especially when dealing with complex floor conditions.
Written by

Founder and CEO
Chris Lavin is an esteemed leader in concrete polishing and epoxy coatings with a distinguished 20-year career. As founder and CEO of National Concrete Polishing and owner of Xtreme Polishing Systems, he's renowned for polishing and epoxy coating more floors than anyone globally. Chris is recognized for his innovative approach and commitment to enhancing floor durability and aesthetics. His hands-on experience and technical proficiency make him a respected authority and a valuable resource in the field of floor polishing and coatings.
Same topic
Related articles
All stories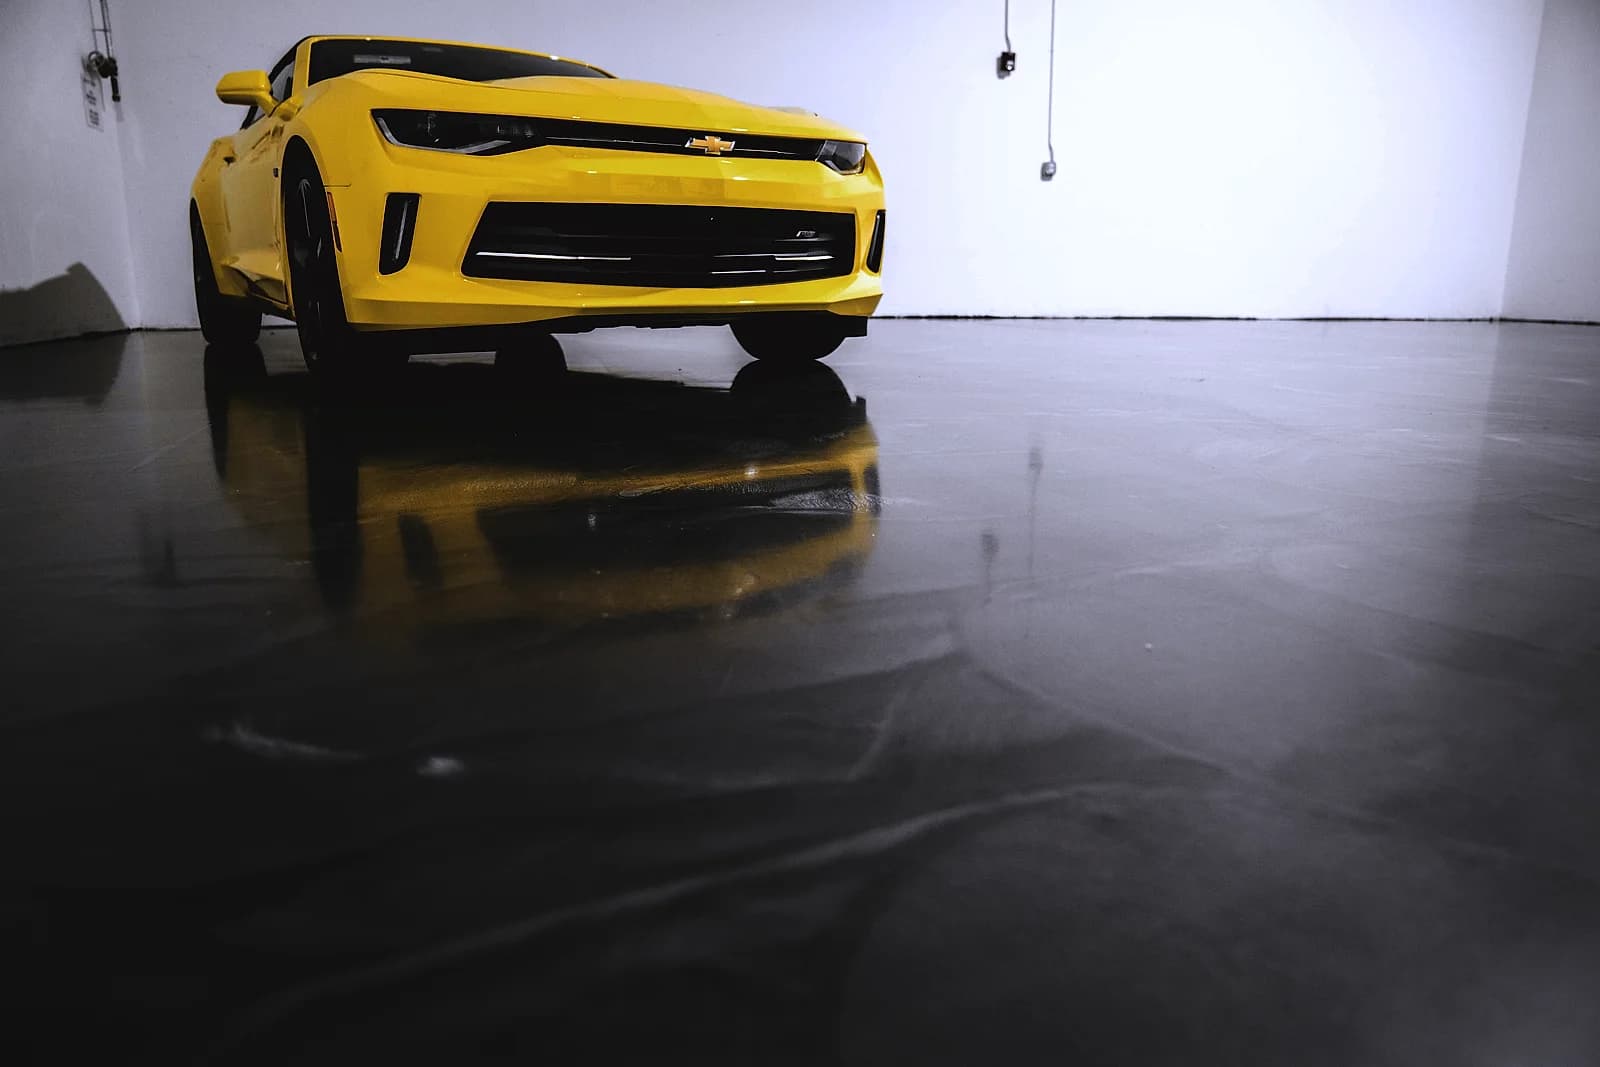
Residential7 min read
Polished Concrete Garage Floor vs Epoxy: Pros and Cons
This process smooths the surface, and a densifier hardens it, so polished concrete is used in high-traffic areas.
Read it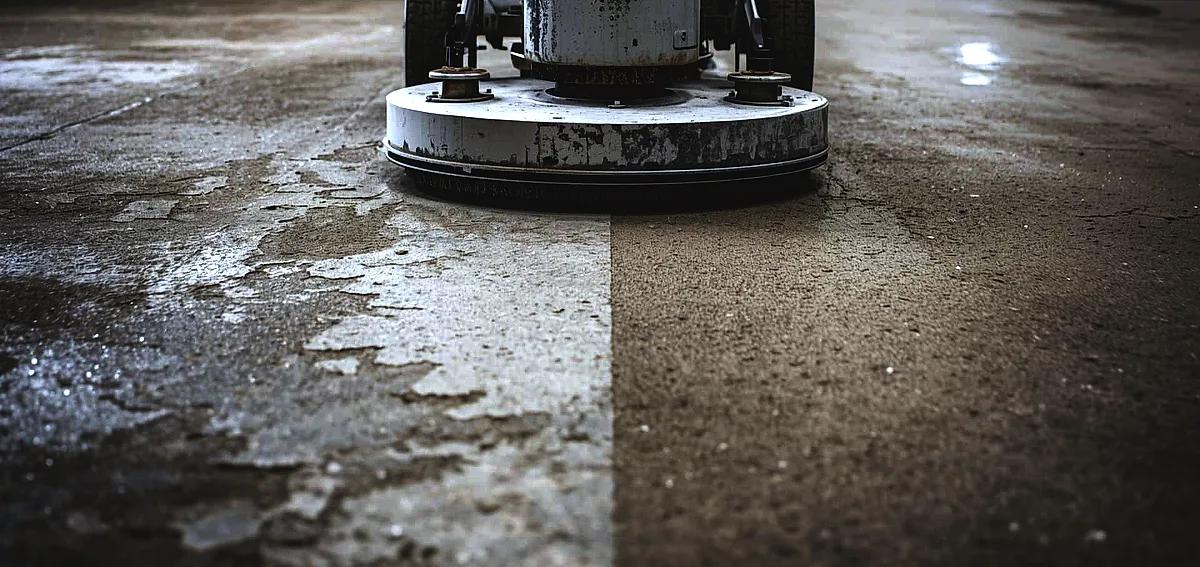
Polished concrete11 min read
Can You Polish Old Concrete? Transform Your Floors Today
Old concrete floors often hide tremendous potential beneath their weathered, dull surfaces.
Read it
Cost & ROI11 min read
How Much Does It Cost To Polish Concrete Floors?
Choosing polished concrete flooring for your residential or commercial space is a no-brainer these days.
Read it
Tell us about the floor
Tell us the space and roughly how big it is.We come back with what it would cost and when we could start.
Prefer to talk? Call +1 844-876-5474
- Leads@
nationalconcretepolishing.net - 2200 NW 32nd St #600,
Pompano Beach, FL 33069 Mon to Fri, 9:00 to 5:30