
The NCP blog
What Really Happens During Garage Floor Install Week
Residential9 min read
We have the right article for you, covering the entire week-long timeline, preparation steps, and post-installation care.
A professional garage floor installation typically requires between three to five days to ensure proper curing and surface adhesion in 2026. If you are preparing for a new epoxy or polished concrete surface, you may be wondering what the daily schedule entails and how it impacts your routine. We have the right article for you, covering the entire week-long timeline, preparation steps, and post-installation care.
UNDERSTANDING THE FULL PROCESS
Transforming an old, stained concrete slab into a durable, visually appealing surface requires precision and patience. Many property owners underestimate the time required for a proper installation. A durable floor system relies heavily on chemical bonding, which takes specific intervals of time to cure. Rushing any step compromises the integrity of the final product.
The timeline for a professional installation spans several days to account for grinding, repairing, coating, and curing. Industry data indicates that 85 percent of coating failures are directly attributed to improper surface preparation or inadequate curing times. This statistic underscores why professionals dedicate significant time to the foundational steps of the project.
As Robert Miller, Lead Structural Engineer at the American Society of Civil Engineers, explains: ‘Surface profiling dictates the mechanical bond strength of any polymer coating applied to a concrete substrate. Without adequate preparation, the coating simply floats on the surface rather than becoming integral to the slab.’
DAY ONE: CONCRETE PREPARATION AND REPAIRS
The first day focuses entirely on assessing and preparing the existing concrete slab. Our professionals arrive early to evaluate the condition of your floor. We check for signs of spalling (flaking or chipping of the concrete surface) and assess damage caused by historical freeze-thaw cycles. The goal is to create a clean, porous canvas for the base coat to adhere to.
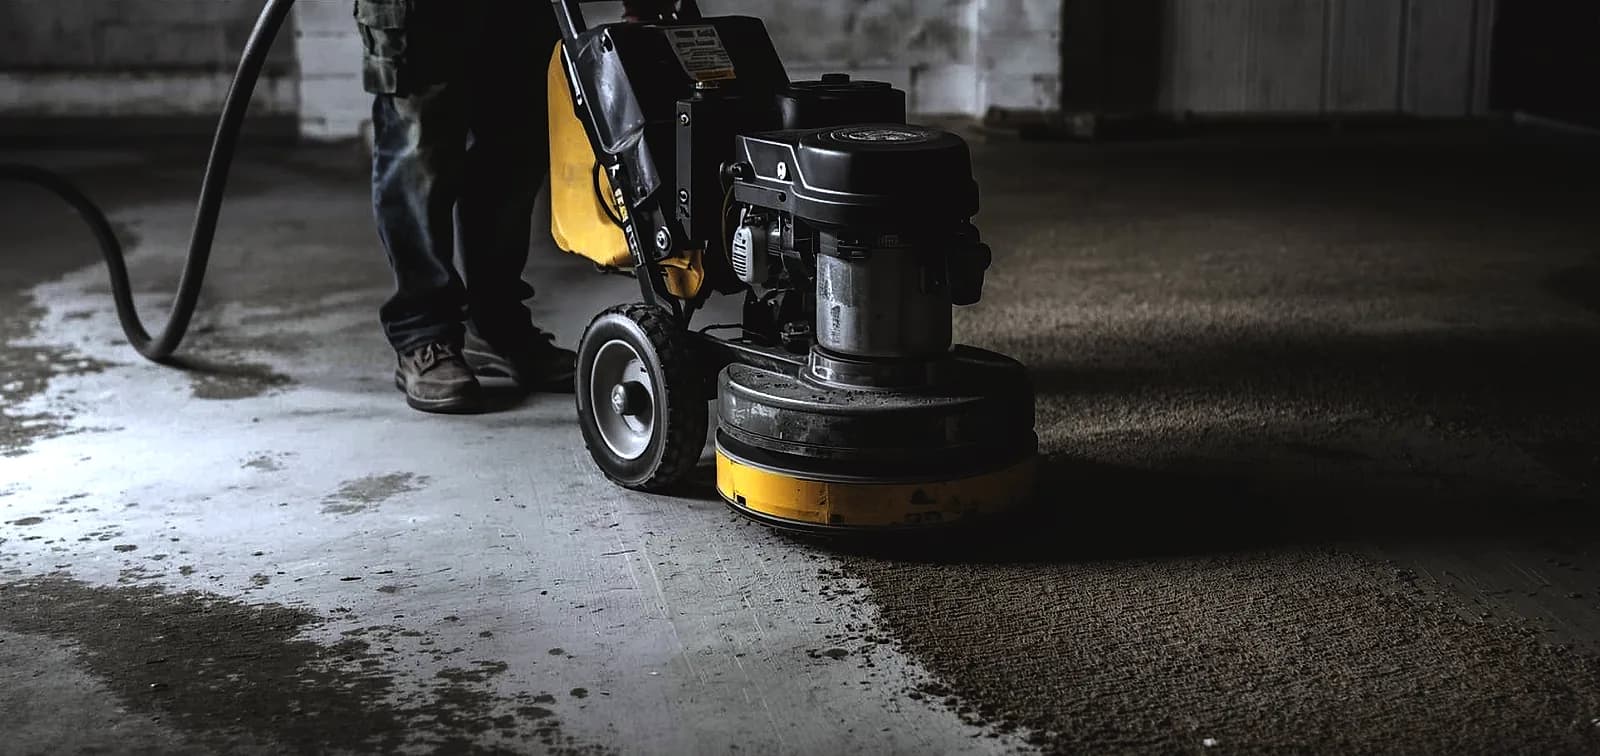
We utilize heavy-duty planetary grinders equipped with industrial diamond tooling to profile the floor. This process strips away old paints, sealers, and laitance (a weak layer of cement dust on the surface). Grinding typically removes 1/16 to 1/8 inch of the surface to achieve the correct Concrete Surface Profile. Proper profiling opens the pores of the concrete to accept the new materials.
Once grinding is complete, we address existing damage. We clean out cracks, divots, and expansion joints before filling them with a specialized polyurea or epoxy patching compound. These materials cure rapidly and are ground flush with the rest of the floor to ensure a perfectly seamless surface.
DAY TWO: MOISTURE MITIGATION AND PRIMING
Moisture is the primary enemy of any resinous flooring system. On day two, we conduct thorough moisture testing to ensure the slab is ready to receive a coating. Professionals often use a calcium chloride test to measure the Moisture Vapor Emission Rate. The emission rate must generally remain below three pounds per 1,000 square feet over a 24-hour period for standard epoxies.
If the moisture levels exceed acceptable limits, we apply a specialized moisture mitigation primer. This deep-penetrating epoxy creates a vapor barrier that protects subsequent layers from hydrostatic pressure. Applying this primer correctly is vital for preventing the system from peeling off the concrete in the future.
The primer needs sufficient time to dry and bond with the concrete substrate. Depending on ambient humidity and temperature, this curing phase can take anywhere from 12 to 24 hours. We strictly adhere to the manufacturer specifications to ensure maximum adhesion.
DAY THREE: BASE COAT APPLICATION AND BROADCASTING
With the primer fully cured, day three marks the application of the primary color or base coat. This step gives the floor its foundational strength and distinct color. The concrete must possess a minimum compressive strength of 3,000 PSI to adequately support high-performance industrial coatings. We mix the two-part resin system on site and apply it evenly across the entire surface using specialized squeegees and back-rolling techniques.
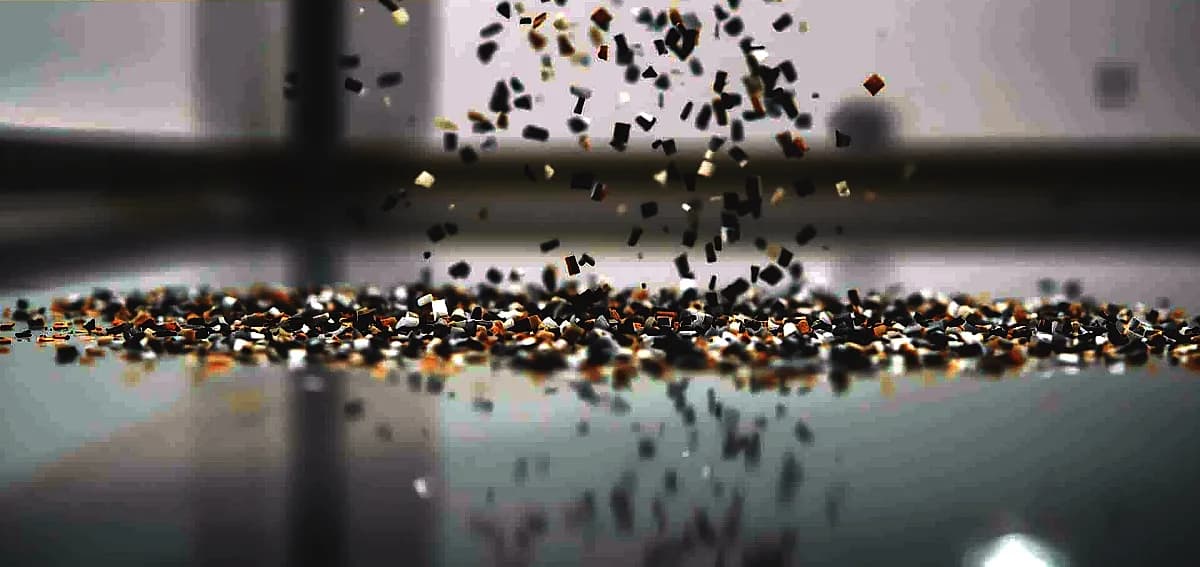
If you selected a flake or quartz system, this is the stage where broadcasting occurs. While the base coat is still wet, our technicians broadcast decorative vinyl flakes evenly across the surface until the floor is completely covered. This layer provides texture, slip resistance, and a highly customized aesthetic appeal.
The base coat and flakes are then left to cure overnight. Environmental conditions remain critical during this phase. Temperatures must generally remain between 55 and 80 degrees Fahrenheit for optimal curing. Large temperature fluctuations can lead to uneven drying times or surface defects.
DAY FOUR: TOPCOAT APPLICATION AND INITIAL CURING
On the morning of the fourth day, we return to scrape the cured floor. This process removes any loose or vertically standing flakes, resulting in a relatively smooth but textured surface. Afterward, we vacuum the floor meticulously to remove all debris and dust before applying the final clear layer.
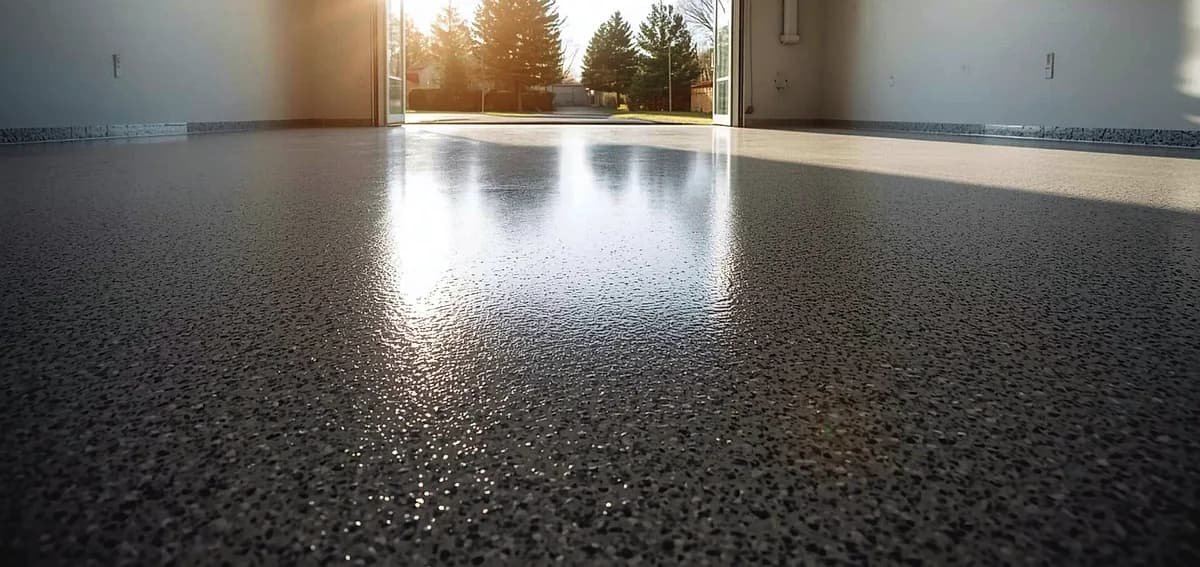
The application of the clear topcoat is the final installation step. We typically utilize an aliphatic polyaspartic or polyurethane topcoat for its superior durability and chemical resistance. This topcoat seals in the flakes and provides a resilient barrier against hot tires, oil spills, and chemical stains.
As Sarah Jenkins, Director of Coating Technologies at the National Ready Mixed Concrete Association, notes: ‘Aliphatic polyurethanes provide significantly higher resistance to ultraviolet degradation compared to standard bisphenol-A epoxies. This prevents the yellowing effect commonly seen in older garage floors.’
Once applied, the topcoat begins its curing phase at an average rate of 1.5 millimeters per day for specific polymer compounds. At this point, the physical installation is complete, but the chemical hardening process is just beginning.
DAYS FIVE TO SEVEN: FINAL CURING AND RETURN TO SERVICE
The days following the topcoat application are strictly reserved for curing. Patience during this period is essential to prevent permanent damage to your new floor. A common mistake property owners make is returning their vehicles to the space too quickly, leading to hot tire pickup or surface indentations.
Light foot traffic is usually safe after 24 hours of drying. However, moving heavy items, cabinetry, or appliances should be delayed until at least 48 to 72 hours have passed. Vehicle traffic requires 72 to 120 hours of curing time to ensure the polymers have achieved their maximum structural integrity.
During these final days, you might notice a distinct odor from the curing resins. High-solids coatings contain less than 50 grams per liter of volatile organic compounds, making them relatively safe, but proper ventilation is still advisable. Keeping the garage doors cracked or running a fan can expedite the dissipation of these odors.
COMPARING GARAGE FLOOR SYSTEM TIMELINES
Different flooring systems require slightly different schedules. While traditional epoxies represent the most common choice, alternative systems like polished concrete or polyaspartics offer varying timelines. Polished concrete, for example, reflects up to 30 percent more ambient light and requires zero curing time for vehicle traffic once the polishing process concludes.
The following table outlines the general timelines associated with the most popular professional floor systems.
| Flooring System | Installation Time | Foot Traffic Wait Time | Vehicle Traffic Wait Time |
|---|---|---|---|
| Standard Epoxy & Flake | 3 to 4 Days | 24 Hours | 72 to 120 Hours |
| 100% Polyaspartic System | 1 to 2 Days | 6 to 12 Hours | 48 Hours |
| Polished Concrete | 2 to 3 Days | Immediate | Immediate |
| Grind and Seal | 2 Days | 24 Hours | 72 Hours |
ENVIRONMENTAL FACTORS AFFECTING YOUR PROJECT
The specific timeline of your installation can be slightly altered by local environmental factors. High humidity slows down the evaporation of water in water-based primers and extends the cross-linking time of epoxies. Conversely, extremely hot conditions can accelerate the chemical reaction, reducing the working time our technicians have to apply the product smoothly.
It is essential to maintain a stable environment within the workspace during the entire week. Using industrial dehumidifiers or climate control systems helps mitigate these variables. Proper ventilation also plays a critical role in managing air quality during the curing process.
As David Chen, Environmental Scientist at the Environmental Protection Agency, explains: ‘Using high-solids, low-VOC concrete coatings dramatically reduces off-gassing and improves indoor air quality during the curing phase. Proper air exchange remains crucial for safety and optimal chemical bonding.’
Frequently Asked Questions
Do I need to empty my garage completely before installation?
Yes, the entire space must be completely empty prior to the first day of the project. We require unobstructed access to every square inch of the concrete slab to ensure comprehensive grinding and coating. It is advisable to rent a temporary storage pod or relocate items to a basement for the duration of the week.
Can the process be completed faster than a week?
While certain polyaspartic systems can be installed in one or two days, traditional high-build epoxies require a longer timeline. Rushing the process limits the effectiveness of moisture mitigation and proper curing. We prioritize long-term durability over an accelerated installation schedule.
What causes strong odors during the installation process?
The odors originate from the volatile organic compounds evaporating as the liquid resins harden into a solid plastic state. Our professionals at NCP utilize low-VOC and LEED-compliant materials to minimize these fumes. The smell generally dissipates completely within 48 to 72 hours of the final topcoat application.
How long do these floors typically last?
A professionally installed system typically provides a functional lifespan of 15 to 20 years under normal residential usage. A proper installation yields up to a 99 percent reduction in concrete dusting over its lifetime. Routine maintenance and avoiding harsh chemical exposure will extend the life of the coating.
Will rain delay my project?
Rain does not usually delay an indoor installation as long as the concrete slab itself remains dry. However, extreme exterior humidity drawn into the workspace can slightly extend the required curing periods. We monitor relative humidity levels daily to adjust our product mixing ratios accordingly.
How do you handle deep cracks in the slab?
We clean deep cracks with a V-blade grinder to remove loose debris and widen the opening slightly. We then fill the void with an elastomeric polyurea filler that expands and contracts with the concrete. This prevents the crack from telegraphing through the final topcoat during seasonal temperature changes.
Are the materials safe for pets and children?
Once the flooring system is fully cured, it is completely inert and safe for both children and pets. It provides a hygienic, seamless surface that harbors no bacteria or allergens. However, pets and children must be kept away from the workspace during the active installation and curing days.
What is the maintenance routine after the week is over?
Maintaining your new floor is incredibly straightforward. It generally requires only weekly sweeping and occasional mopping with a neutral pH cleaner and warm water. It is advisable to avoid acidic cleaners, abrasive scrubbing pads, or heavy-duty degreasers, as these can dull the clear topcoat over time.
FINAL THOUGHTS
Understanding the daily schedule of your upcoming project helps you plan your routine and sets accurate expectations for the week. A beautiful, durable surface requires meticulous grinding, precise patching, and careful application of high-quality resins. By respecting the necessary curing times, you ensure your new floor will withstand heavy vehicle traffic and look pristine for decades. If you are ready to upgrade your space with a professional flooring system, contact us today to schedule a consultation with our experienced team.
REFERENCES
Written by

Founder and CEO
Chris Lavin is an esteemed leader in concrete polishing and epoxy coatings with a distinguished 20-year career. As founder and CEO of National Concrete Polishing and owner of Xtreme Polishing Systems, he's renowned for polishing and epoxy coating more floors than anyone globally. Chris is recognized for his innovative approach and commitment to enhancing floor durability and aesthetics. His hands-on experience and technical proficiency make him a respected authority and a valuable resource in the field of floor polishing and coatings.
Same topic
Related articles
All stories
Residential8 min read
What Restaurants Need to Pass a Health Inspection Floor Check
It endures heavy foot traffic, dropped equipment, boiling water spills, and harsh degreasing chemicals daily.
Read it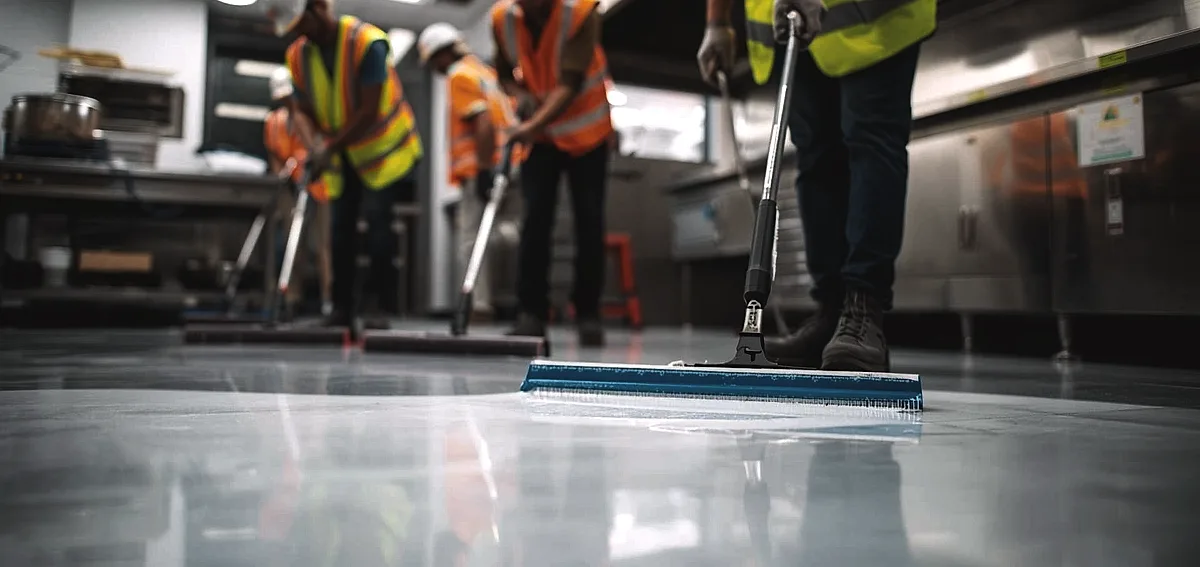
Residential9 min read
How Restaurants Replace Their Floors Without Closing for Long
The average food service establishment loses approximately $3,500 in daily revenue during unexpected closures in 2026.
Read it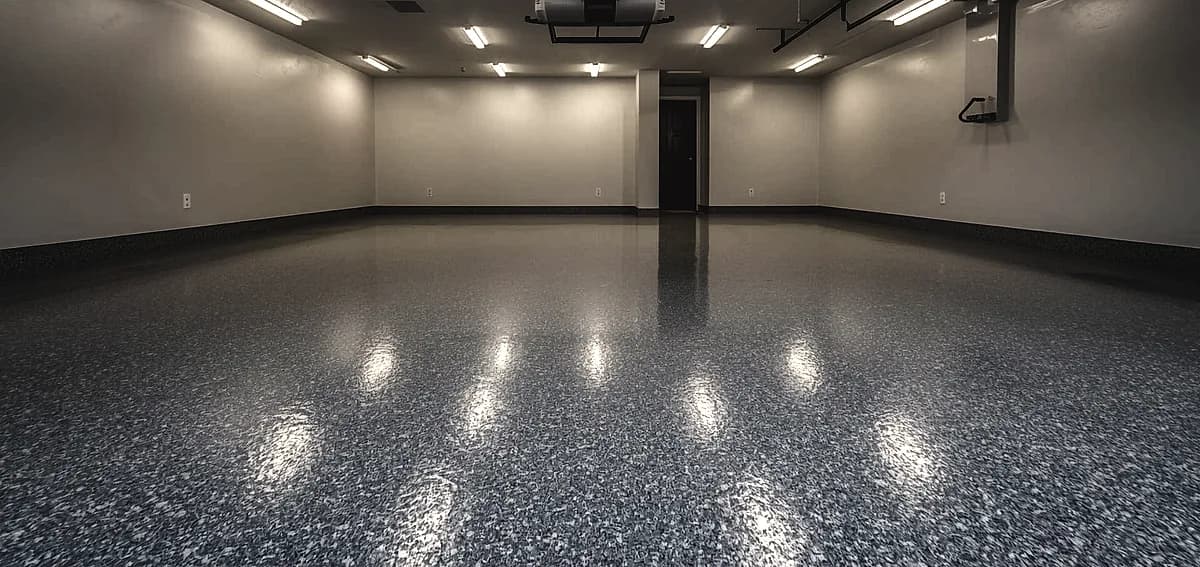
Residential8 min read
Where Polished Concrete Beats Epoxy in a Home (and Where It Doesn’t)
Before evaluating specific rooms, it is essential to understand how these two flooring systems function.
Read it
Tell us about the floor
Tell us the space and roughly how big it is.We come back with what it would cost and when we could start.
Prefer to talk? Call +1 844-876-5474
- Leads@
nationalconcretepolishing.net - 2200 NW 32nd St #600,
Pompano Beach, FL 33069 Mon to Fri, 9:00 to 5:30