
The NCP blog
Step-by-Step Concrete Polishing Process for Miami Projects
Polished concrete8 min read
Concrete polishing for Miami projects follows eight phases, from moisture testing through to guard application.
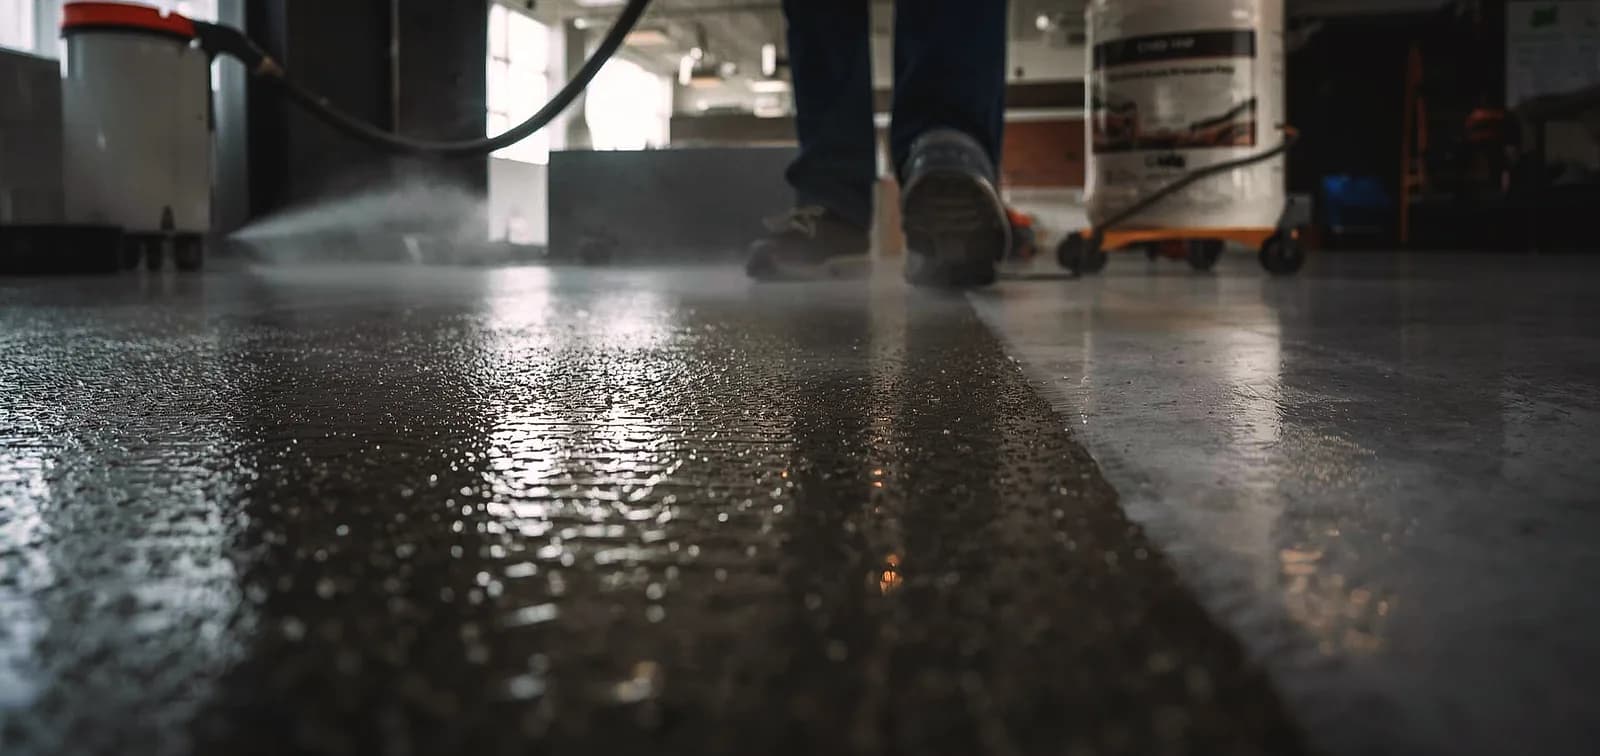
The concrete polishing process steps for Miami projects involve eight distinct phases that transform dull, porous concrete into a mirror-like surface capable of lasting 20+ years. Professional contractors in South Florida follow a specific sequence: moisture testing, surface preparation, crack repair, coarse grinding, fine grinding, densifier application, progressive polishing, and guard application. Skipping or rushing any step compromises the final result.
According to the Concrete Polishing Council, proper process adherence increases floor lifespan by 40% compared to abbreviated methods. In Miami’s humid subtropical climate, where average relative humidity exceeds 76%, each phase requires specific adjustments that mainland contractors often overlook. Here’s exactly what happens during professional concrete polishing in Miami.
Phase 1: Moisture Testing and Site Assessment
Every Miami concrete polishing project begins with comprehensive moisture testing. The acceptable moisture vapor emission rate (MVER) for polished concrete is 3 lbs per 1,000 square feet over 24 hours, per ASTM F1869 standards. Miami’s water table and humidity levels make this step critical.
Testing Methods Used:
- Calcium chloride testing: Measures moisture emission over 60-72 hours. Cost: $50-100 per test kit.
- Relative humidity testing: In-situ probes measure humidity at 40% slab depth. More accurate for thick slabs.
- Electronic moisture meters: Instant readings for preliminary assessment, but not definitive.
If moisture levels exceed acceptable thresholds, moisture mitigation systems must be installed before proceeding. The Portland Cement Association notes that 85% of concrete floor failures trace back to inadequate moisture management.
Phase 2: Surface Preparation and Cleaning
Surface preparation removes existing coatings, adhesives, and contaminants that would interfere with polishing. The International Concrete Repair Institute (ICRI) defines the required concrete surface profile (CSP) as 1-3 for polished concrete, meaning a nearly smooth texture with slight roughness for densifier penetration.
Common Contaminants in Miami Properties:
- Tile mastic and thin-set mortar from previous flooring
- Carpet adhesive residue
- Paint and epoxy coatings
- Oil stains from garage conversions
- Salt deposits from coastal exposure
Professional contractors use shot blasting or diamond grinding for heavy contamination. For lighter preparation, scarifying or concrete grinding methods with coarse tooling suffice.
Phase 3: Crack and Joint Repair
Miami’s soil conditions and building settlement create cracks that must be addressed before polishing. According to the American Concrete Institute, crack repair methods depend on crack width and movement:
| Crack Width | Repair Method | Material | Visibility After Polish |
|---|---|---|---|
| Hairline (<1/16″) | Gravity fill | Epoxy resin | Nearly invisible |
| Small (1/16″-1/4″) | Route and fill | Semi-rigid epoxy | Slight line visible |
| Medium (1/4″-1/2″) | Route, fill, overlay | Polyurea or epoxy mortar | Moderate visibility |
| Large (>1/2″) | Full-depth repair | Concrete patching compound | Visible as design element |
Control joints and expansion joints require special treatment. Learn more about joint treatment for epoxy floors, which uses similar principles for polished concrete.
Phase 4: Coarse Grinding (Metal-Bond Diamonds)
Coarse grinding removes the top layer of concrete to expose fresh material and create a flat, level surface. This phase uses metal-bond diamond tooling, which cuts aggressively through concrete.
Grit Progression for Coarse Grinding:
- 16-25 grit: Heavy removal of coatings, leveling high spots, opening severely closed surfaces
- 30-40 grit: Standard first cut, removes minor imperfections, establishes base profile
- 50-60 grit: Refines scratch pattern, prepares surface for transition to resin bonds
- 80-100 grit: Final metal-bond pass, creates consistent scratch pattern for densifier
The Concrete Polishing Association of America (CPAA) recommends never skipping more than one grit level. Each pass removes the scratch pattern from the previous grit. The diamond grit sequence directly impacts final clarity and reflectivity.
Phase 5: Densifier Application
Densifier application is the chemical heart of the concrete polishing process. Lithium silicate, sodium silicate, or potassium silicate solutions penetrate the concrete and react with free calcium hydroxide to form calcium silicate hydrate (CSH), the same compound that gives concrete its strength.
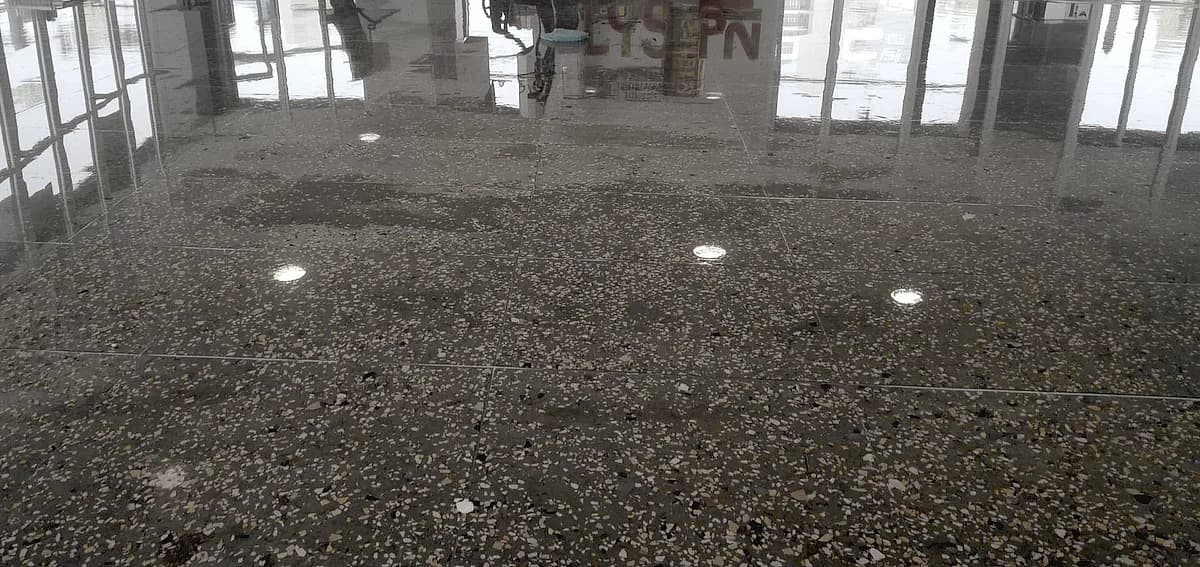
Densifier Benefits:
- Increases surface hardness by 40-50% (measured on Mohs scale)
- Reduces porosity and dusting
- Improves abrasion resistance
- Enhances stain resistance
- Creates better surface for polishing
Our comprehensive concrete densifier guide for South Florida explains how Miami’s climate affects densifier selection. Lithium silicates work best in humid conditions because they don’t leave white residue like sodium-based products.
Application timing matters. The concrete must be ground to at least 80-100 grit before densifier application for optimal penetration. Apply too early, and the product sits on the surface. Apply too late, and the surface is too closed for proper absorption. Understanding the difference between sealers and densifiers helps explain why this sequence is critical.
Phase 6: Fine Grinding and Honing (Resin-Bond Diamonds)
After densifier cures (typically 20-30 minutes in Miami’s climate), fine grinding begins with resin-bond diamonds. These softer tools create increasingly refined scratch patterns that build reflectivity.
Resin-Bond Progression:
- 100 grit resin: Transition from metal bonds, initial honing
- 200 grit resin: Removes 100-grit scratches, light reflectivity begins
- 400 grit resin: Noticeable clarity, low sheen develops
- 800 grit resin: Medium polish, significant light reflection
Different finish levels stop at different grits. A matte finish might stop at 400 grit, while a high-gloss finish continues to 3000+ grit. Review polished concrete reflectivity standards to understand the classification system.
Phase 7: Progressive Polishing (High-Grit Finishing)
For high-gloss finishes, progressive polishing continues beyond 800 grit. This phase transforms concrete from a honed surface to a mirror-like finish.
High-Grit Sequence:
- 1500 grit: High polish, distinct reflections visible
- 3000 grit: Maximum mechanical polish, mirror-like clarity
The CPAA classifies polished concrete finishes by distinctness of image (DOI), measured using a gloss meter. Level 1 (flat/matte) measures 0-25 DOI. Level 2 (satin) measures 25-45 DOI. Level 3 (semi-polished) measures 45-70 DOI. Level 4 (highly polished) measures 70+ DOI.
For projects requiring specific aggregate exposure levels, grinding depth during Phase 4 determines how much stone appears in the final surface. Class A (cream) shows no aggregate. Class B (salt and pepper) exposes fine aggregate. Class C (medium exposure) reveals coarse aggregate. Class D (large aggregate) displays maximum stone.
Phase 8: Guard Application and Curing
The final phase applies a stain-resistant guard that protects the polished surface. Guards are not coatings; they penetrate the surface rather than forming a film on top.
Guard Types:
- Lithium-based guards: Enhance densifier performance, improve stain resistance
- Fluoropolymer guards: Superior oil and chemical resistance for commercial applications
- Hybrid guards: Combine silicate and fluoropolymer technologies
Guard application requires clean, dry concrete. In Miami’s humidity, this means climate-controlled conditions during application and curing. Most guards cure within 30-60 minutes, but full performance develops over 24-72 hours.
Proper concrete sealing before polishing and guard application at the end create a complete protection system. Learn about ongoing maintenance for polished concrete to maximize the lifespan of your investment.
Miami-Specific Process Adjustments
Miami’s subtropical climate requires specific modifications to standard concrete polishing procedures. Understanding how humidity affects flooring applies equally to polished concrete projects.
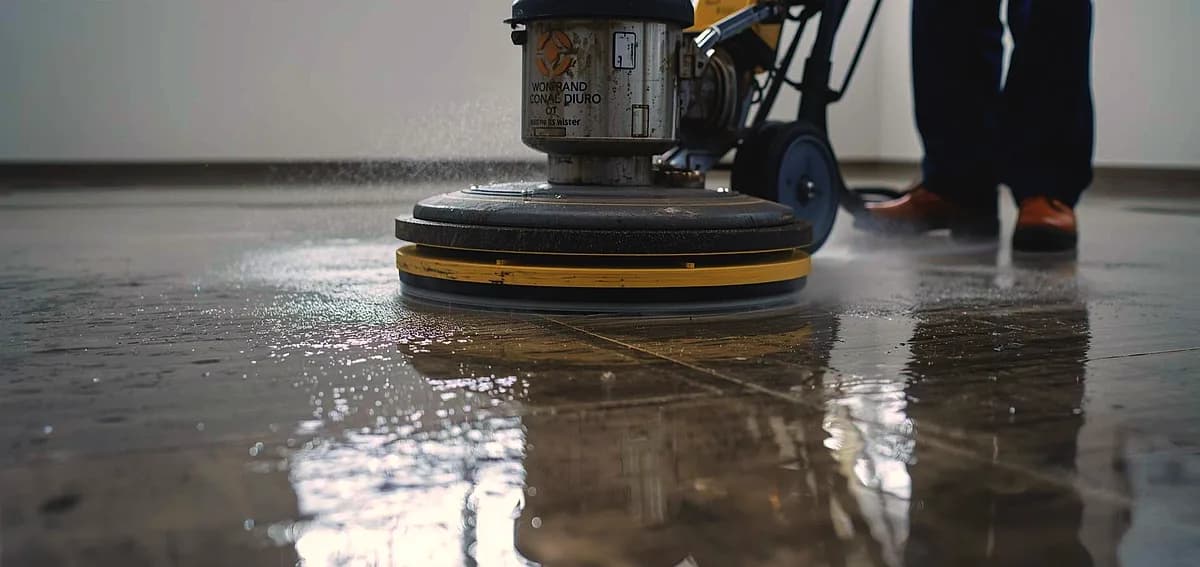
Humidity Management
With average humidity exceeding 76% year-round, moisture control becomes critical. Professional contractors in Miami use dehumidification equipment during grinding to prevent slurry from becoming gummy. NIST research indicates grinding efficiency drops 15-20% when relative humidity exceeds 70%.
Temperature Considerations
Concrete substrate temperature affects densifier penetration and guard curing. The ideal range is 50-90°F. Miami’s average daily highs of 83-91°F mean early morning application produces best results. Learn more about how concrete substrate temperature impacts flooring installations.
Salt Air Exposure
Coastal Miami properties face accelerated surface degradation from salt air. Learn how Miami salt air degrades floor coatings and what additional protective measures polished concrete requires in oceanfront locations.
Project Timeline and Cost Factors
A complete concrete polishing project in Miami typically requires 3-5 days for residential spaces (under 2,000 square feet) and 5-10 days for commercial projects. The timeline depends on existing conditions, desired finish level, and weather.
| Phase | Duration | Cost Range (per sq ft) |
|---|---|---|
| Moisture testing | 1-3 days | $0.15-0.25 |
| Surface preparation | 0.5-1 day | $0.50-2.00 |
| Crack repair | 0.5-1 day | $0.25-1.00 |
| Grinding and polishing | 2-5 days | $3.00-8.00 |
| Guard application | 0.5 day | $0.50-1.00 |
| Total | 3-10 days | $4.40-12.25 |
Additional factors affecting cost include existing floor condition, aggregate exposure level, dye or stain additions, and access limitations. For detailed pricing information, see our guide on concrete polishing costs.
Concrete Polishing vs. Other Finishing Methods
Understanding how polished concrete compares to alternatives helps property owners make informed decisions. Learn about the key differences in our detailed concrete polishing vs. epoxy coating comparison.
| Factor | Polished Concrete | Epoxy Coating | Stained Concrete | Stamped Overlay |
|---|---|---|---|---|
| Lifespan | 20-25+ years | 10-15 years | 5-10 years | 10-15 years |
| Maintenance | Very low | Low | Moderate | Moderate |
| Installation | 3-5 days | 2-3 days | 1-2 days | 3-5 days |
| Cost/sq ft | $4-12 | $3-8 | $2-6 | $8-15 |
| Best for | High-traffic, modern aesthetic | Garages, industrial | Budget projects | Decorative exteriors |
Frequently Asked Questions
How long does the concrete polishing process take in Miami?
The complete concrete polishing process takes 3-5 days for residential projects under 2,000 square feet and 5-10 days for commercial spaces. Miami’s humidity can add 1-2 days for moisture testing and extended curing times. Projects requiring extensive crack repair or contamination removal may require additional time.
Can existing concrete be polished, or does it need to be new?
Existing concrete can absolutely be polished. In fact, concrete that has cured for at least 28 days (ideally longer) polishes better than fresh concrete. Older slabs often have higher strength and density. Learn more about how concrete age affects polishing results. The key factors are structural integrity, moisture levels, and absence of contaminants that prevent proper grinding.
What level of polish should I choose for my Miami property?
The choice depends on aesthetics, maintenance preferences, and budget. Level 1 (matte) and Level 2 (satin) require fewer grinding passes and cost less. Level 3 (semi-polished) and Level 4 (high-gloss) offer maximum light reflection and easiest cleaning but cost more. High-traffic commercial spaces often benefit from Level 2-3 for the balance of appearance and practicality.
Is polished concrete slippery when wet?
Polished concrete has a coefficient of friction (COF) similar to standard concrete when treated with appropriate guards. The minimum recommended COF is 0.5 for flat surfaces per OSHA guidelines. Most professional polished concrete installations achieve 0.5-0.7 COF. For areas prone to water exposure, anti-slip additives can be incorporated into the final guard application without affecting appearance.
How do I maintain polished concrete floors in Miami?
Daily maintenance involves dust mopping or auto-scrubbing with a neutral pH cleaner. Weekly wet mopping removes accumulated grime. Apply a maintenance guard product every 6-12 months depending on traffic. Avoid acidic cleaners, wax-based products, and abrasive pads. Read our complete guide on how to clean polished floors for detailed procedures.
What happens if moisture problems develop after polishing?
Moisture vapor transmission through the slab can cause white discoloration (efflorescence) and reduced guard performance. If moisture levels were properly tested before installation, this is rare. If problems develop, the surface may need re-grinding and application of a moisture barrier system followed by re-polishing. Prevention through proper testing is far more cost-effective than remediation.
Get Professional Concrete Polishing in Miami
National Concrete Polishing brings 13+ years of experience to Miami concrete polishing projects. Our crews understand the specific challenges of South Florida’s climate and use the proper techniques for lasting results.
We serve Miami, Fort Lauderdale, Pompano Beach, and all of South Florida. Contact us today for a free consultation and detailed quote for your concrete polishing project.
Written by

Founder and CEO
Chris Lavin is an esteemed leader in concrete polishing and epoxy coatings with a distinguished 20-year career. As founder and CEO of National Concrete Polishing and owner of Xtreme Polishing Systems, he's renowned for polishing and epoxy coating more floors than anyone globally. Chris is recognized for his innovative approach and commitment to enhancing floor durability and aesthetics. His hands-on experience and technical proficiency make him a respected authority and a valuable resource in the field of floor polishing and coatings.
Same topic
Related articles
All stories
Polished concrete11 min read
Polished Concrete vs Epoxy Coatings: Which Floor Is Right for Your Space?
Two systems, two price curves, one slab. What each one costs to install and to keep, and which spaces each one actually suits.
Read it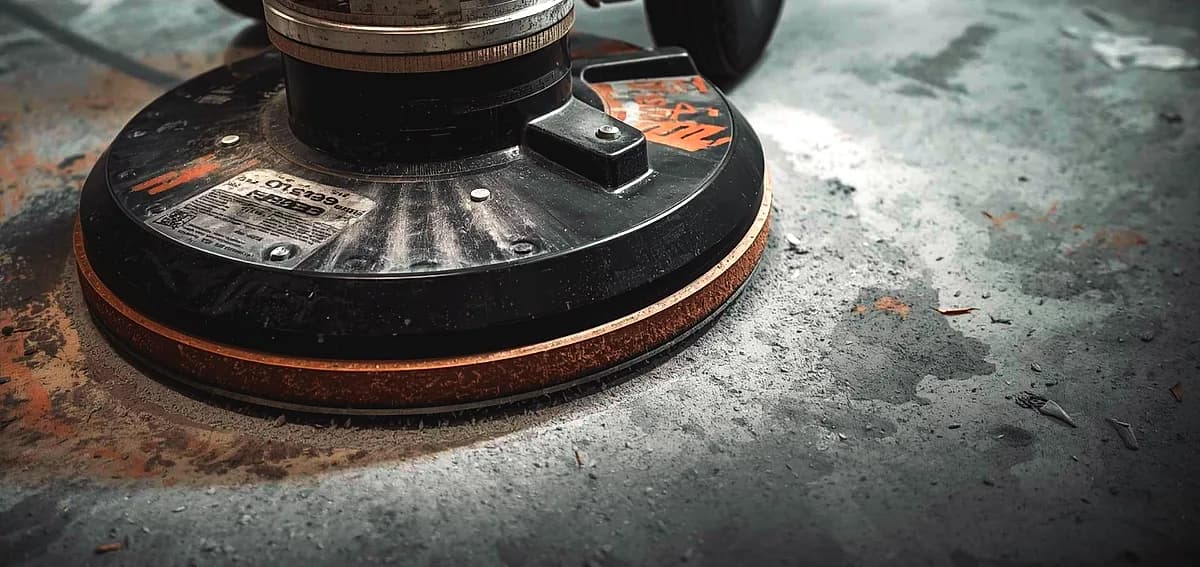
Polished concrete8 min read
What to Know Before Polishing Your Existing Concrete Slab
Before any mechanical refinement can begin, a thorough evaluation of the current foundation is required.
Read it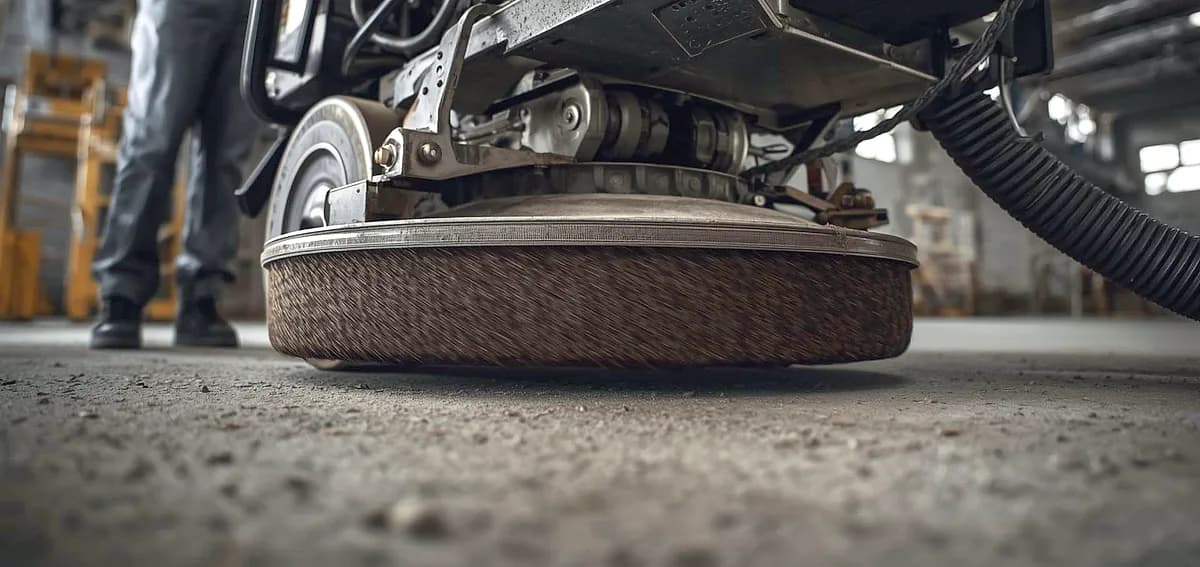
Polished concrete8 min read
Is Polished Concrete Worth the Investment for Miami Properties?
It is essential to distinguish between a simple topical seal and mechanically refined concrete.
Read it
Tell us about the floor
Tell us the space and roughly how big it is.We come back with what it would cost and when we could start.
Prefer to talk? Call +1 844-876-5474
- Leads@
nationalconcretepolishing.net - 2200 NW 32nd St #600,
Pompano Beach, FL 33069 Mon to Fri, 9:00 to 5:30