
The NCP blog
The Complete Guide to Professional Floor Removal: Protecting Your Substrate and Preparing for the Future
Epoxy & coatingsUpdated 9 min read
What appears to be a straightforward demolition job is actually a highly technical process fraught with hidden risks.
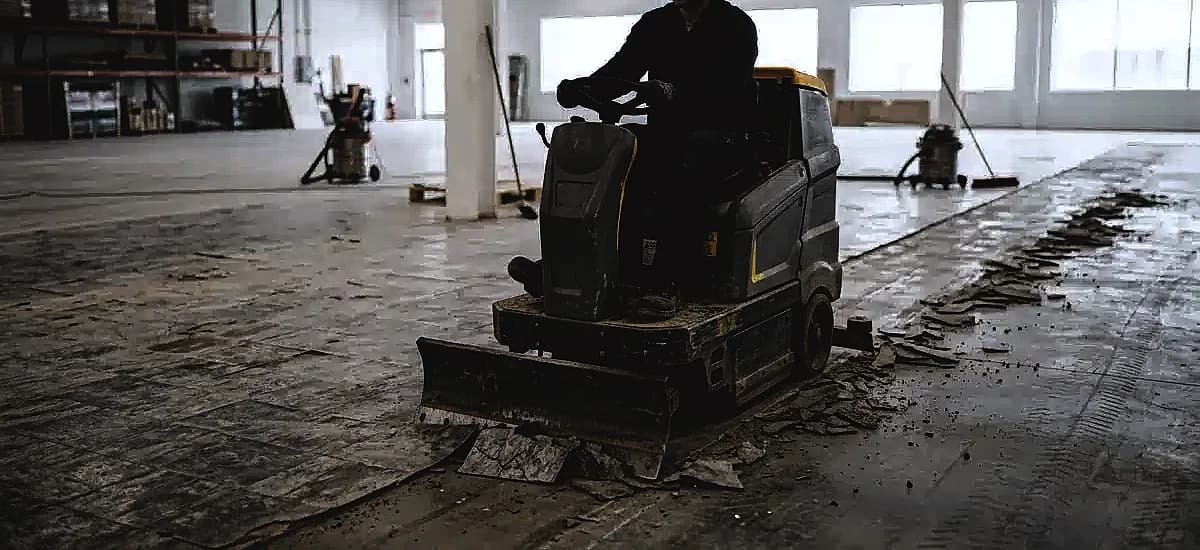
Professional floor removal is the systematic extraction of old flooring materials, adhesives, and coatings using specialized mechanical equipment and environmental containment protocols, ensuring the underlying concrete substrate is perfectly preserved and prepared for new installations. Rather than relying on manual scraping or destructive demolition, modern removal techniques utilize ride-on scrapers, planetary grinders, and HEPA-filtered vacuums to efficiently strip spaces while mitigating hazardous dust and preventing structural micro-fractures.
The Hidden Dangers of DIY Floor Demolition
Many property owners underestimate the complexity of tearing up old flooring. What appears to be a straightforward demolition job is actually a highly technical process fraught with hidden risks. Attempting to remove commercial tile, hardwood, or thick epoxy coatings with rented hand tools often leads to disastrous consequences for the concrete subfloor.
One of the most significant hazards is airborne particulate matter. According to the Occupational Safety and Health Administration (OSHA), the permissible exposure limit for respirable crystalline silica is strictly capped at 50 micrograms per cubic meter. Manual grinding or chipping of thinset and concrete releases massive amounts of this dangerous dust. Professional contractors mitigate this risk by utilizing industrial-grade vacuums equipped with HEPA filtration, ensuring that 99.97% of hazardous particulates are captured at the source.
Furthermore, older properties present unique environmental hazards. Research from the Environmental Protection Agency (EPA) indicates that approximately 60% of buildings constructed before 1980 contain asbestos in their flooring mastics or vinyl tiles. Disturbing these materials without proper abatement protocols can contaminate an entire facility.
“Attempting to remove commercial tile or epoxy without industrial ride-on scrapers isn’t just inefficient; it almost guarantees subfloor micro-fractures,” says Dr. Robert Vance, Materials Engineer at the Concrete Preservation Institute. “These invisible fractures compromise the structural integrity of the slab, leading to the premature failure of whatever new flooring is installed on top.”
Why 2026 Building Standards Demand Professional Extraction
The flooring industry has evolved significantly, and the standards for surface preparation in 2026 are more stringent than ever. Modern flooring solutions, particularly high-performance resinous coatings, require a flawless canvas to achieve a chemical bond. If you are considering polyaspartic or epoxy coatings for your property, the success of that installation hinges entirely on how the old floor was removed.
Industry data reveals that 80% of premature flooring failures are directly attributed to improper surface preparation and inadequate removal of legacy adhesives. When old glues, mastics, or thinsets are left behind, they create a barrier that prevents new coatings from penetrating the concrete’s pores. This inevitably leads to delamination, bubbling, and peeling.
“The biggest mistake facility managers make is assuming floor removal is just demolition. It is actually the first critical phase of surface preparation,” explains the team at National Concrete Polishing. “You cannot simply scrape the surface and expect a new high-build epoxy to adhere. The substrate must be mechanically profiled.”
Common Challenges with Aging Commercial and Residential Floors
Aging floors present a myriad of challenges that go beyond mere aesthetics. Over decades of use, flooring systems degrade, adhesives crystallize, and subfloors shift. Addressing these issues requires specialized knowledge and equipment.
Stubborn Adhesives and Mastics
Black mastic, carpet glue, and elastomeric membranes are notoriously difficult to remove. These substances are designed to be permanent. When amateur renovators try to dissolve them with chemical strippers, they often push the toxic chemicals deeper into the porous concrete, creating a bond-breaker that ruins future installations. Professional teams use aggressive planetary grinders fitted with polycrystalline diamond (PCD) tooling to shave off these adhesives without relying on harsh chemicals.
Delaminating Coatings
In many industrial and commercial spaces, you will encounter multiple layers of failing paint or epoxy. If you are dealing with peeling epoxy floors, the entire failing system must be eradicated down to bare concrete. Professionals use shot blasters or heavy-duty grinders to strip these layers efficiently, ensuring no weak links remain in the flooring profile.
The Professional Floor Removal Process: Step-by-Step
Reputable contractors follow a strict, systematic methodology to ensure the safe and efficient removal of old flooring materials. This process guarantees that the space is ready for the next phase of construction without unnecessary delays.
- Site Assessment and Scanning: Before any machinery is turned on, technicians evaluate the slab. In many commercial settings, this involves Ground Penetrating Radar (GPR) scanning to identify post-tension cables, embedded conduits, or structural anomalies hiding beneath the concrete.
- Environmental Containment: The work area is sealed off using heavy-duty plastic sheeting and negative air pressure machines. This prevents dust from migrating into HVAC systems or occupied areas of the building.
- Mechanical Extraction: Technicians deploy battery-operated or propane-powered ride-on scrapers. These machines use extreme hydraulic pressure and specialized oscillating blades to shear off tile, hardwood, or VCT at rates exceeding 3,000 square feet per hour.
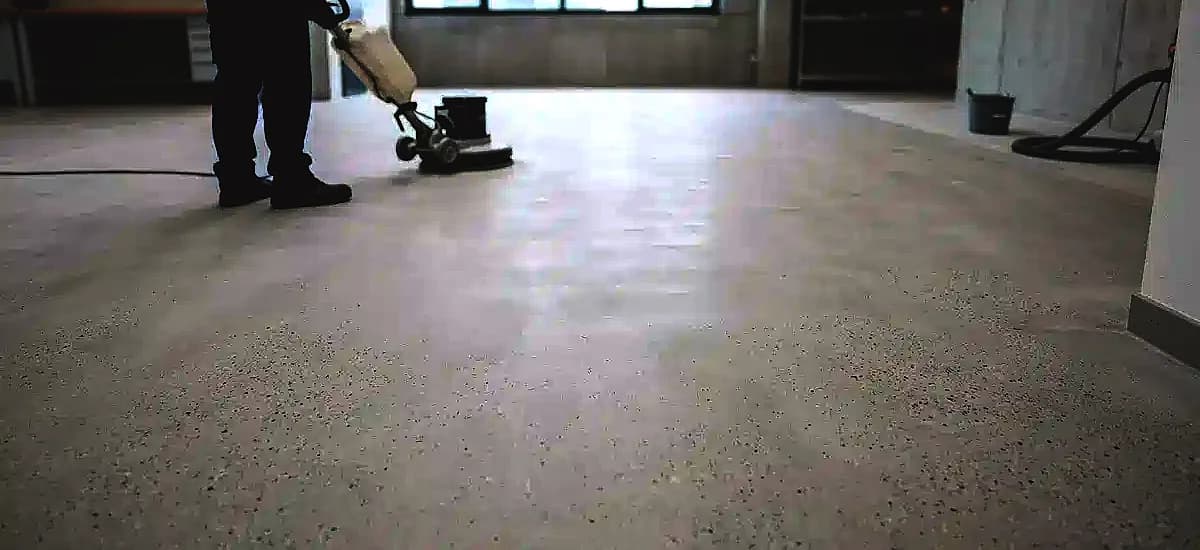
- Adhesive Eradication and Grinding: Once the bulk material is removed, walk-behind planetary grinders are used to remove the remaining thinset, glue, or mortar. This step also begins the process of opening the concrete’s pores.
- Final Substrate Profiling and Cleanup: The floor is vacuumed using industrial HEPA systems. The concrete is left clean, bare, and mechanically profiled to the exact specifications required by the new flooring manufacturer.
Comparing Floor Removal Methods
To truly understand the value of professional services, it is helpful to compare the different methods of floor removal available to property owners.
| Method | Speed & Efficiency | Dust Control | Subfloor Risk |
|---|---|---|---|
| DIY Hand Tools | Very Low (50-100 sq ft/day) | Poor (High airborne silica) | High (Gouging and chipping) |
| Walk-Behind Rentals | Moderate (400-800 sq ft/day) | Moderate (Depends on vacuum) | Medium (Requires operator skill) |
| Professional Ride-On | Extremely High (3,000+ sq ft/hr) | Excellent (99.97% HEPA capture) | Very Low (Precision blade control) |
Surface Preparation: The Critical Next Step
Removing the old floor is only half the battle. The ultimate goal is to prepare the concrete for its next life. According to the International Concrete Repair Institute (ICRI), different flooring systems require specific Concrete Surface Profiles (CSP), ranging from CSP 1 (nearly flat) to CSP 9 (heavily scarified).
“We see countless failed resinous coatings where the original installer simply scraped the old floor instead of properly profiling the concrete substrate,” states David Chen, Senior Technical Advisor at the Resin Flooring Association. “If you want a coating to last decades, you must grind the concrete to at least a CSP 2 or 3 to ensure mechanical adhesion.”
If your end goal is to leave the concrete bare and polished, the removal phase must be executed with extreme care. Aggressive scraping can leave deep scratches that are incredibly difficult to polish out later. Understanding the stages of concrete polishing helps removal teams choose the right tooling to strip the floor without damaging the canvas.
Cost Analysis: Professional Services vs. Hidden DIY Expenses
At first glance, tearing up a floor yourself seems like a great way to save money. However, a deeper cost analysis reveals a different reality. Statistics show that DIY floor removal takes an average of 4 to 5 times longer than professional services. For commercial spaces, this extended downtime translates directly into lost revenue.
Furthermore, renting industrial floor scrapers costs upwards of $300 to $500 per day, not including the cost of replacement blades, diamond tooling, and heavy-duty debris disposal. When amateurs operate this heavy machinery, they frequently gouge the concrete. Industry data indicates that 40% of DIYers end up hiring professionals to fix subfloor damage before new flooring can be installed.
When you factor in equipment rentals, labor time, disposal fees, and the high probability of requiring subfloor remediation, hiring a professional removal team is almost always the more economical choice. In fact, commercial floor replacement projects in 2026 see a 25% faster turnaround when using dedicated removal teams rather than general laborers.
How to Choose the Right Floor Removal Contractor
Not all demolition crews are equipped to handle technical floor removal. When vetting contractors, it is crucial to ask the right questions to protect your property and your investment.
- Verify Equipment: Do they own ride-on scrapers and planetary grinders, or are they renting walk-behind units? Proper equipment dictates the speed and quality of the job.
- Dust Mitigation Protocols: In 2026, environmental compliance regarding silica dust extraction is non-negotiable. Ensure the contractor uses HEPA-filtered negative air machines and industrial vacuums.
- Insurance and Licensing: Floor removal involves heavy machinery operating indoors. Ensure your contractor carries comprehensive liability insurance. If a water line is struck or a slab is cracked, you need to know if insurance will cover the project damages.
- End-to-End Capabilities: The best removal contractors are also surface preparation experts. They should be able to transition seamlessly from demolition to helping you achieve a smooth concrete finish ready for the next trade.
Because of the high demand for specialized machinery and skilled operators, top-tier contractors are often highly sought after. It is not uncommon to find that reputable floor projects are booked weeks in advance, so early scheduling is highly recommended.
Frequently Asked Questions
How long does professional floor removal take?
The timeline depends on the square footage and the type of material being removed. However, utilizing ride-on mechanical scrapers, professionals can typically remove between 1,500 and 3,000 square feet of flooring per hour, completing most residential and mid-sized commercial jobs in a single day.
Does floor removal create a lot of dust?
While the mechanical process generates significant dust, professional contractors utilize advanced containment systems. By attaching HEPA-filtered industrial vacuums directly to the grinding and scraping equipment, up to 99.97% of airborne dust is captured before it can spread.
Can you remove tile without damaging the concrete subfloor?
Yes, when performed by trained technicians using the correct machinery. Ride-on scrapers use precisely angled blades that shear the thinset away from the slab without digging into the concrete, preserving the substrate’s structural integrity.
What happens to the old flooring debris?
Professional floor removal services typically include comprehensive debris management. The team will collect, haul away, and properly dispose of all old flooring materials, adhesives, and concrete dust in accordance with local environmental regulations.
Do I need to leave my home or business during the removal process?
It is generally recommended to vacate the immediate work area due to noise and heavy machinery operation. However, because professionals use strict dust containment barriers, adjacent rooms or offices can often remain occupied safely.
Is it cheaper to remove the floor myself before the installers arrive?
Rarely. While you save on initial labor costs, DIY removal often leaves behind stubborn adhesives or causes subfloor damage. Installers will then charge premium rates for surface preparation and concrete patching, ultimately costing you more time and money.
Conclusion
Saying goodbye to old, worn-out floors is the first exciting step in revitalizing your residential or commercial space. However, the importance of professional floor removal cannot be overstated. By leveraging specialized mechanical equipment, strict dust containment protocols, and expert surface preparation techniques, professional contractors protect your concrete substrate and ensure your new flooring system will last for decades.
Attempting to cut corners with DIY demolition almost always leads to hidden costs, structural damage, and premature coating failures. If you want the job done safely, efficiently, and to the highest industry standards, trust the experts who understand the science of concrete profiling.
Ready to transform your space and start your flooring project on the right foundation? Contact our team today to schedule a comprehensive site assessment and discover how our advanced floor removal services can save you time and money.
Written by

Founder and CEO
Chris Lavin is an esteemed leader in concrete polishing and epoxy coatings with a distinguished 20-year career. As founder and CEO of National Concrete Polishing and owner of Xtreme Polishing Systems, he's renowned for polishing and epoxy coating more floors than anyone globally. Chris is recognized for his innovative approach and commitment to enhancing floor durability and aesthetics. His hands-on experience and technical proficiency make him a respected authority and a valuable resource in the field of floor polishing and coatings.
Same topic
Related articles
All stories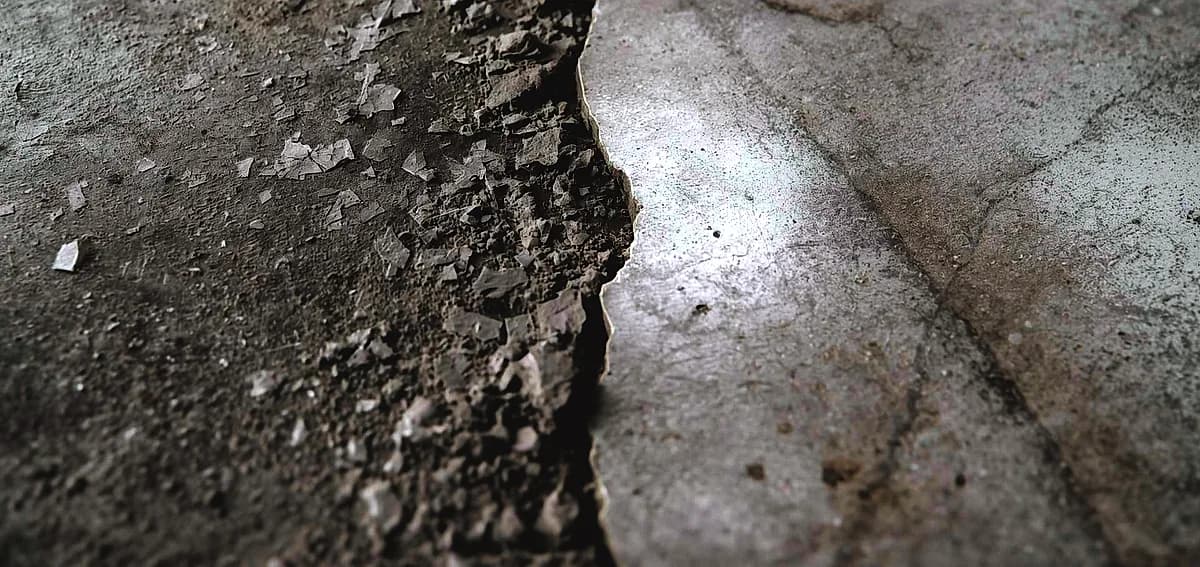
Epoxy & coatings8 min read
DIY vs Professional Epoxy Flooring in Fort Lauderdale
Hardware stores heavily market all-in-one boxes that promise a showroom finish with minimal effort.
Read it
Epoxy & coatings8 min read
Can You DIY Epoxy Flooring in Miami? Pros, Cons, and Tips
Applying a durable floor finish in a tropical or highly humid climate presents unique environmental challenges.
Read it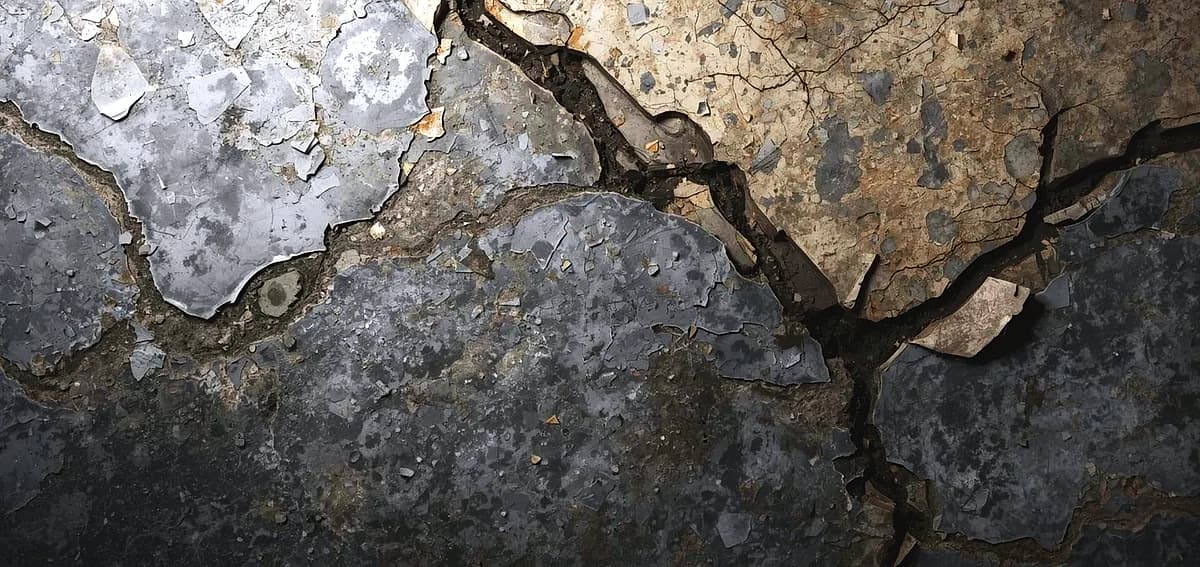
Epoxy & coatings7 min read
DIY Epoxy Flooring in South Florida: Is It Worth the Risk?
However, these products generally contain high levels of water or solvents to extend their pot life.
Read it
Tell us about the floor
Tell us the space and roughly how big it is.We come back with what it would cost and when we could start.
Prefer to talk? Call +1 844-876-5474
- Leads@
nationalconcretepolishing.net - 2200 NW 32nd St #600,
Pompano Beach, FL 33069 Mon to Fri, 9:00 to 5:30